16
MAINTENANCE
Electric tools used on fiberglass material, wallboard, spackling
compounds, or plaster are subject to accelerated wear and
possible premature failure because the fiberglass chips and
grindings are highly abrasive to bearings, brushes, commu-
tators, etc. Consequently, we do not recommended using this
tool for extended work on these types of materials. However,
if you do work with any of these materials, it is extremely
important to clean the tool using compressed air.
LUBRICATION
All of the bearings in this tool are lubricated with a sufficient
amount of high grade lubricant for the life of the unit under
normal operating conditions. Therefore, no further lubrica-
tion is required.
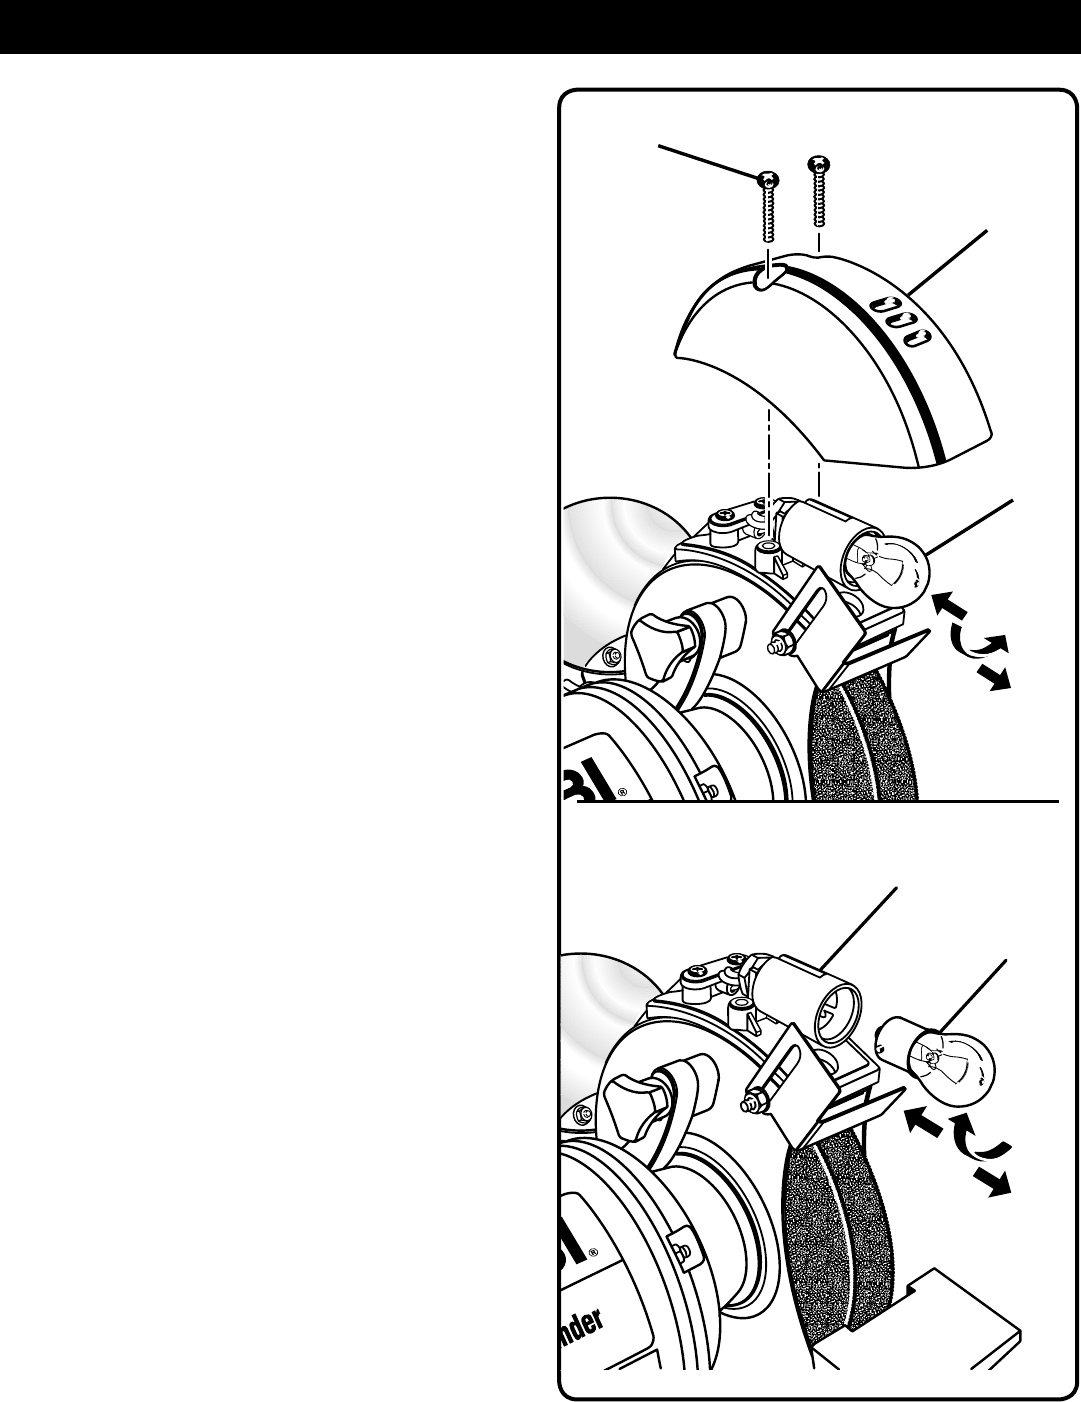
WORKLIGHT BULB REPLACEMENT
See Figure 13.
Contact Customer Service at 1-800-525-2579 for information
on replacement bulb.
NOTE: Follow these instructions to change a burnt out
bulb.
n Unplug the grinder.
n Remove the two phillips head screws from the top of
worklight housing.
n Remove worklight housing.
n
While gently pushing in bulb, turn bulb to left to release.
n Place new bulb into bulb receptacle and gently push in
while turning to the right until bulb is fully seated.
n Reinstall the worklight housing using the two phillips head
screws.
NOTE: To avoid the risk of fire, always use a 12v bulb with
a wattage no greater than 10w.
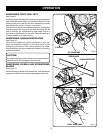
WHEEL DRESSING TOOL-MODEL BGH827
Dressing a wheel is done to renew sharpness or to true up
the face of the wheel.
Set the work rest of the bench grinder at a slight angle and
brace the wheel dresser against it. Do not make contact with
the grinding wheel until after you have turned on the motor
and the wheel is rotating at full speed. Press the dresser
slightly against the rotating wheel until you get a bite, then
move slowly from side to side across the wheel. A small bite
and many passes is better than a big bite and one pass.
Work cautiously, hold the dresser with force on the work rest.
Do not use excessive pressure against the grinding wheel.
Proceed slowly until you master the technique.
TO REMOVE BULB
Fig. 13
TO INSTALL BULB
AUTO-ON WORK-
LIGHT COVER
SCREWS
BULB
BULB SOCKET
BULB


