


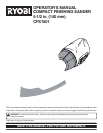


Page 8
UNPACKING
INSTRUCTIONS
When unpacking the sander:
■ Carefully remove the tool and accessories from the box.
■ Make sure that all items listed in the packing list are
included.
■ Inspect the tool carefully to make sure no breakage or
damage occurred during shipping.
■ Do not discard the packing material until you have care-
fully inspected and satisfactorily operated the tool.
■ If any parts are damaged or missing, please call
1-800-525-2579 for assistance.
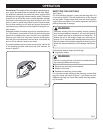
WARNING:
If any parts are missing do not operate your tool until the
missing parts are replaced. Failure to do so could result
in possible serious personal injury.
WARNING:
The tool should never be connected to a power supply
when you are assembling parts, making adjustments,
cleaning, performing maintenance, or when the tool is
not in use. Disconnecting the tool will prevent accidental
starting that could cause serious injury.
ASSEMBLY
SANDING DISC SELECTION
Selecting the correct size grit and type sanding disc is an
extremely important step in achieving a high quality sanded
finish. Aluminum oxide, silicon carbide, and other synthetic
abrasives are best for power sanding. Natural abrasives, such
as flint and garnet are too soft for economical use in power
sanding.
In general, coarse grit will remove the most material and finer
grit will produce the best finish in all sanding operations. The
condition of the surface to be sanded will determine which
grit will do the job. If the surface is rough, start with a coarse
grit and sand until the surface is uniform. Medium grit may
then be used to remove scratches left by the coarser grit
and finer grit used for finishing of the surface. Always con-
tinue sanding with each grit until surface is uniform.
Sheet/Pad Recommended Use
Heavy scrubbing pad Paint and rust removal
Light scrubbing pad Light scrubbing and cleaning
60-grit sanding sheet Coarse sanding
120-grit sanding sheet Light sanding
240-grit sanding sheet Finish sanding
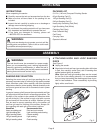
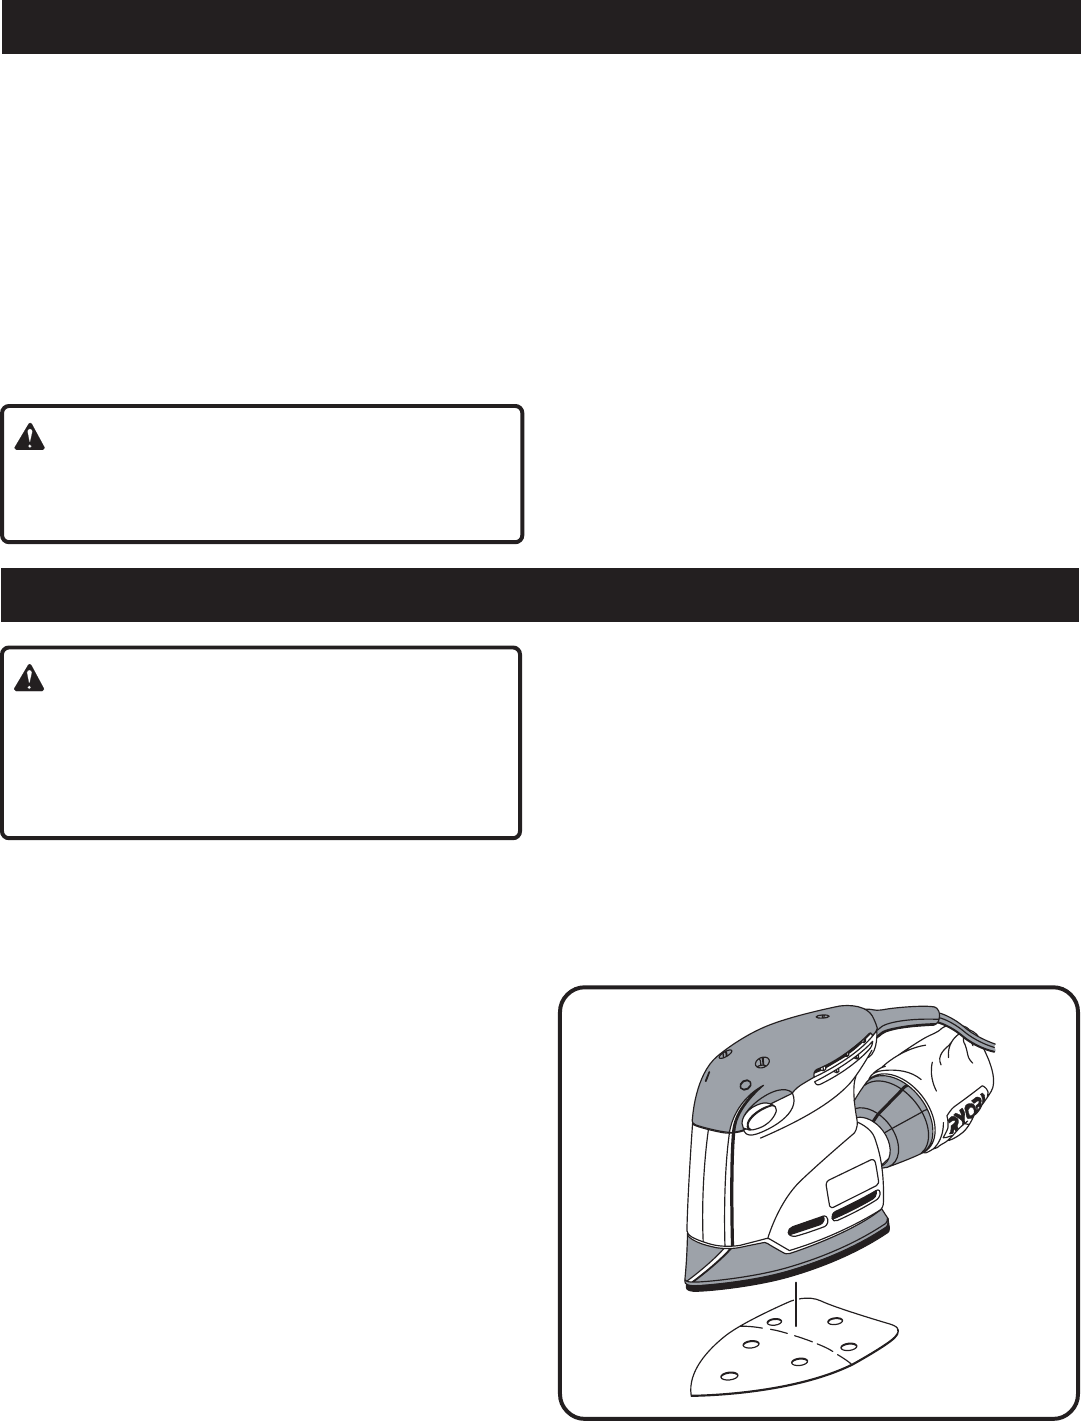
ATTACHING HOOK AND LOOP SANDING
DISCS
See Figure 2.
■ Unplug the sander.
■ Align holes in hook and loop type sanding disc with holes
in pad, then carefully press fuzzy side of sanding disc
against pad as tightly as possible.
Note: Hook and loop type sanding discs can be reused
for the life of the sanding abrasive. It is recommended
that you keep the sanding disc backing pad clean to pro-
vide for best adhesion. Clean occasionally by brushing
lightly with a small brush.
PACKING LIST
5-1/2 in. (140 mm) Compact Finishing Sander
60-grit Sanding Pad (2)
120-grit Sanding Pad (3)
240-grit Sanding Pad (2)
Heavy-duty Scrubbing Pad (Red)
Light Scrubbing Pad (White)
Polishing Pad (Gray)
Dust Collection Bag
Pad Punch
Carrying Case
Operator's Manual
Fig. 2