


Page 10
OPERATION
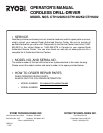
Fig. 8
Fig. 10
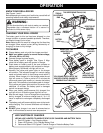
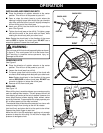
INSTALLING AND REMOVING BITS
■ Place the direction of rotation selector at the center
position. This will turn off the power to your drill.
■ Open or close the chuck jaws to a point where the
opening is slightly larger than the bit size you intend to
use. Also, raise the front of your drill slightly to keep the
bit from falling out of the chuck jaws.
■ Insert your drill bit into the chuck the full length of the
jaws.
See Figure 8.
■ Tighten the chuck jaws on the drill bit. To tighten, grasp
and hold the collar of the chuck with one hand, while
rotating the chuck body with your other hand.
Note: Rotate the chuck body in the direction of the arrow
marked GRIP to tighten the chuck jaws. DO NOT use a
wrench to tighten or loosen the chuck jaws.
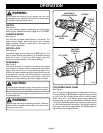
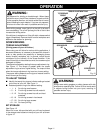
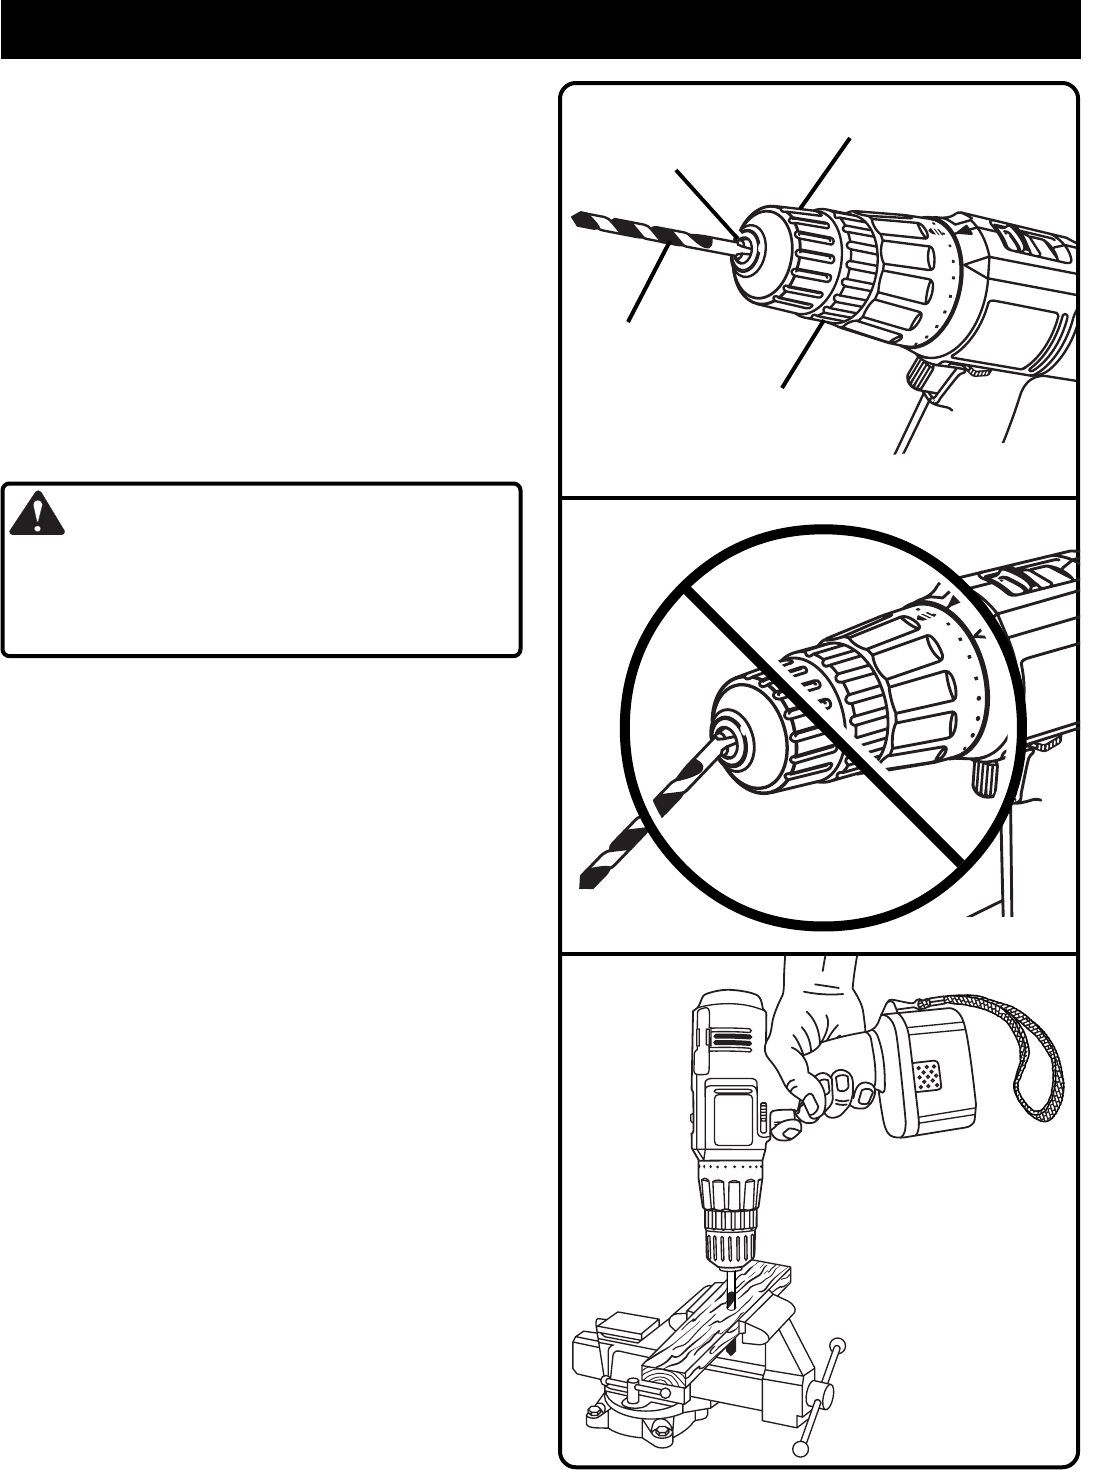
WARNING:
Do not insert drill bit into chuck jaws and tighten as shown
in figure 9. This could cause drill bit to be thrown from
drill resulting in possible serious personal injury or
damage to the chuck.
REMOVING BITS
See Figure 8.
■ Place the direction of rotation selector at the center
position. This will turn off the power to your drill.
■ Loosen the chuck jaws from drill bit
.
■ To loosen: grasp and hold the collar of the chuck with
one hand, while rotating chuck body with your other hand.
Note: Rotate chuck body in the direction of the arrow
marked RELEASE to loosen chuck jaws. DO NOT use
a wrench to tighten or loosen the chuck jaws.
■ Remove drill bit from chuck jaws.
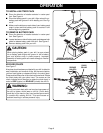
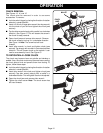
DRILLING
See Figure 10.
When drilling hard, smooth surfaces, use a center punch to
mark the desired hole location. This will prevent the drill bit
from slipping off center as the hole is started. However, the
lower speed feature allows starting holes without center
punching if desired. To accomplish this, simply operate your
drill at lower speed until the hole is started.
The material to be drilled should be secured in a vise or with
clamps to keep it from turning as the drill bit rotates.
Hold tool firmly and place the bit at the point to be drilled.
Depress the switch trigger to start tool.
Move the drill bit into the workpiece, applying only enough
pressure to keep the bit cutting. Do not force or apply side
pressure to elongate a hole.
2
20
22
18
16
16
18
20
22
RIGHT
WRONG
DRILL BIT
CHUCK BODY
CHUCK COLLAR
CHUCK JAWS
Fig. 9
2
20
22
18
16