


Page 9
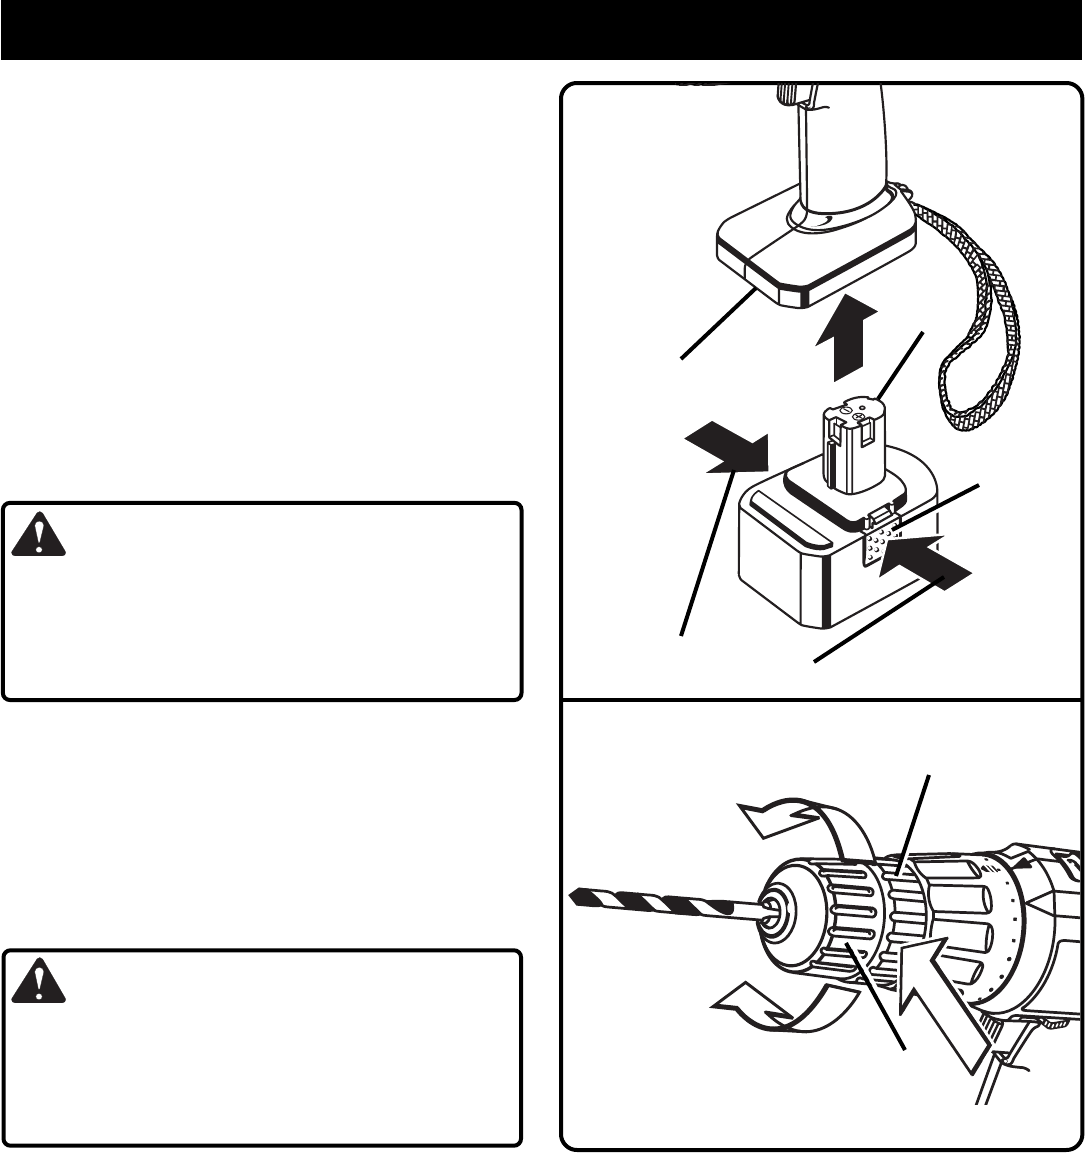
CHUCK
BODY
CHUCK
COLLAR
OPERATION
Fig. 6
Fig. 7
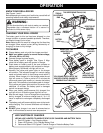
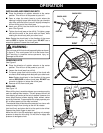
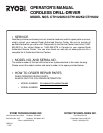
TO INSTALL BATTERY PACK
■ Place the direction of rotation selector in center posi-
tion.
See Figure 4.
■ Place the battery pack in your drill. Align raised rib on
battery pack with groove in drill's battery port.
See Fig-
ure 6.
■ Make sure the latches on each side of your battery pack
snap in place and that battery pack is secured in drill
before beginning operation.
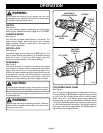
TO REMOVE BATTERY PACK
■ Place the direction of rotation selector in center posi-
tion.
See Figure 4.
■ Locate latches on side of battery pack and depress both
sides to release battery pack from drill.
See Figure 6.
■ Remove battery pack from your drill.
CAUTION:
When placing battery pack in your drill, be sure raised
rib on battery pack aligns with groove in drill's battery
port and latches snap in place properly. Improper
assembly of battery pack can cause damage to internal
components.
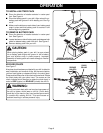
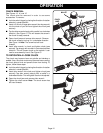
KEYLESS CHUCK
See Figure 7.
A keyless chuck has been provided with your drill to allow for
easy installation and removal of bits. As the name implies,
you can hand tighten or release drill bits in the chuck jaws.
Grasp and hold the collar of the chuck with one hand. Rotate
the chuck body with your other hand. The arrows on the
chuck indicate which direction to rotate the chuck body in
order to GRIP (tighten) or RELEASE (unlock) the drill bit.
WARNING:
Do not hold chuck body with one hand and use power of
the drill to tighten chuck jaws on drill bit. Chuck body
could slip in your hand or your hand could slip and come
in contact with rotating drill bit. This could cause an
accident resulting in serious personal injury.
20
22
18
16
GRIP
(TIGHTEN)
RELEASE
(UNLOCK)
BATTERY
PORT
BATTERY
PACK
LATCHES
DEPRESS LATCHES TO
RELEASE BATTERY PACK