14
OPERATION
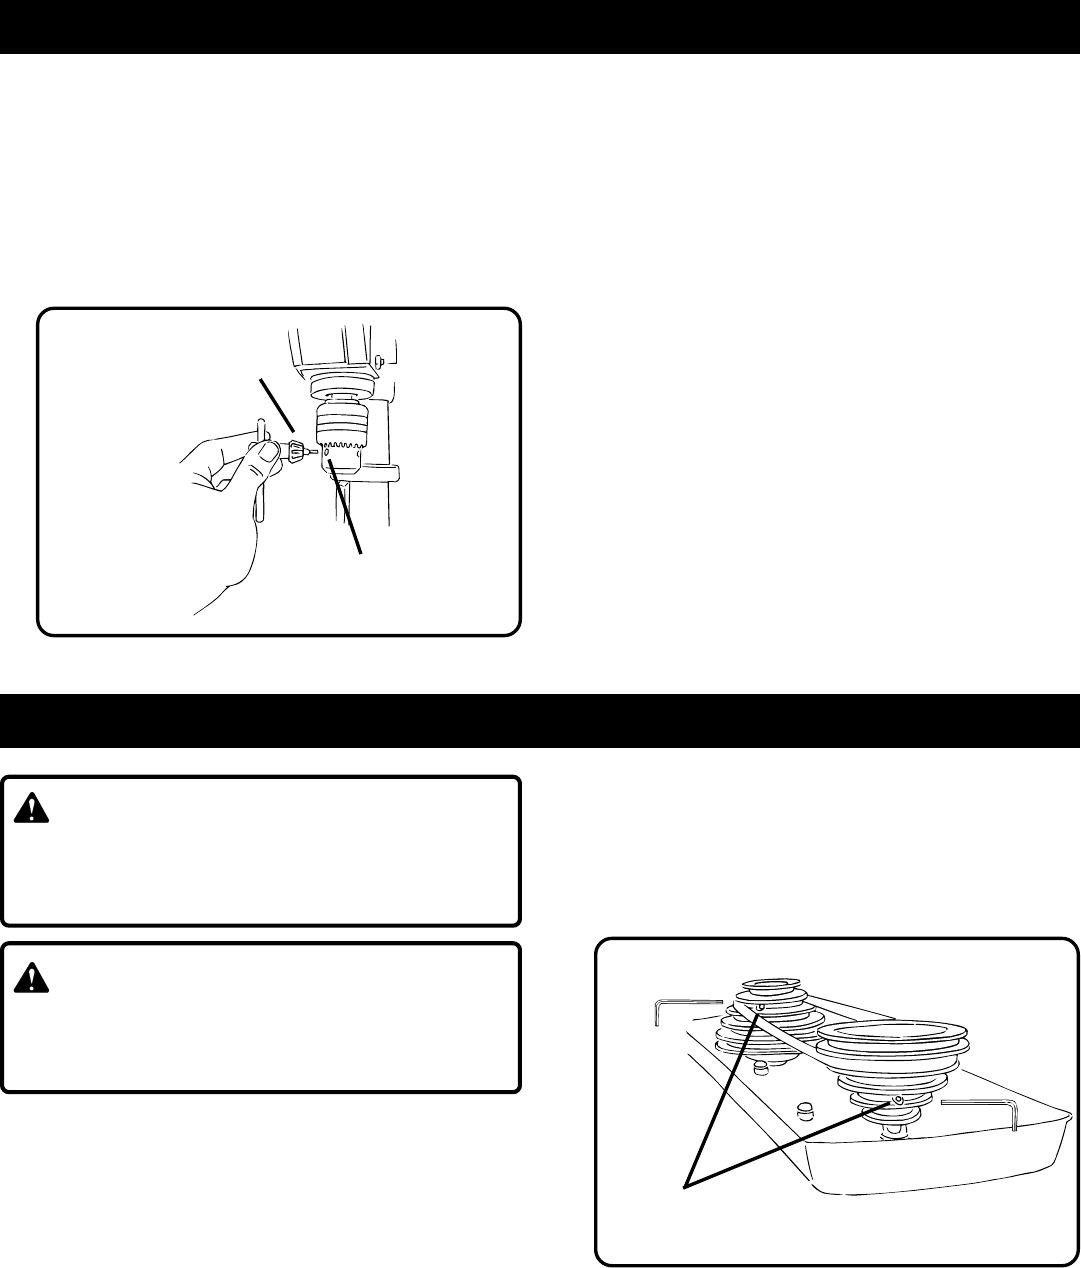
3. Loosen the chuck by inserting the chuck key into the
chuck and turning the chuck key counterclockwise.
See
Figure 17.
4. Place drill bit between the jaws of the chuck and tighten
chuck by turning the key clockwise.
5. Set table assembly to desired height. See page 11.
If
desired, set quill at desired spindle depth. See Depth
Stop Adjustment on page 12.
6. Make sure the work table is free of all loose objects and
that the bit is not in contact with the workpiece.
7. Plug electrical cord into power supply and turn switch
ON. Make sure spindle rotates freely.
8. Slowly lower drill bit into workpiece. Do not force the bit,
let the drill press do the work.
9. Once the hole is completed, allow the spring-loaded quill
to return to its normal position. This will automatically
raise the chuck and bit.
DRILLING TIPS
If the hole is large, it’s a good idea to drill a smaller pilot hole
before drilling the final one. Your hole will be more accurately
positioned, rounder, and the bits will last longer.
If the hole is deeper than it is wide, back off occasionally to
clear the chips. When drilling metal also use a coolant.
As you increase the drill size, you may need to reduce the
spindle speed.
If drilling a through hole, make sure that the bit will not drill
into the table after moving through your work.
Fig. 17
CHUCK
KEY
KEY HOLE
MAINTENANCE
WARNING:
When servicing use only identical Ryobi replacement
parts. Use of any other parts may create a hazard or cause
product damage.
WARNING:
To avoid serious personal injury make sure the drill press is
turned OFF and the cord is unplugged from the power
source before performing any maintenance or adjustment.
GENERAL MAINTENANCE
After using your drill press, clean it completely and lubricate
all sliding and moving parts. Apply a light coat of automotive
type paste wax to the table and column to help keep the
surfaces clean.
Motor Housing
Frequently blow out any dust that may accumulate inside
the motor housing.
Worm Gear and Gear Rack
Periodically lubricate the worm gear and gear rack in order
to keep the vertical movement smooth and to help prolong
the life of your drill press.
Pulleys
Should you feel an unusually high level of vibration, the
pulleys may not be tightly secured on the motor and/or spindle
shafts. To make sure the pulleys are properly seated and
tight, locate the set screw on each of the pulleys as shown in
Figure 18. Tighten each set screw with a 4 mm hex wrench.
Fig. 18
PULLEY
SET SCREWS
LUBRICATION
The ball bearings in the quill and V-belt pulley are permanently
lubricated. To lubricate the spindle, pull quill down to
maximum depth and oil moderately once every three months.
Oil all slide bars lightly every two months. If cranking becomes
difficult, grease bracket lightly.


