9
ADJUSTMENTS
WARNING:
Your screwdriver/flashlight combination should never
be connected to power supply when you are
assembling parts, making adjustments, cleaning,
performing maintenance, or when not in use.
Disconnecting your tools will prevent accidental
starting that could cause serious injury.
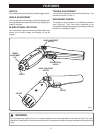
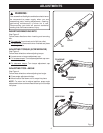
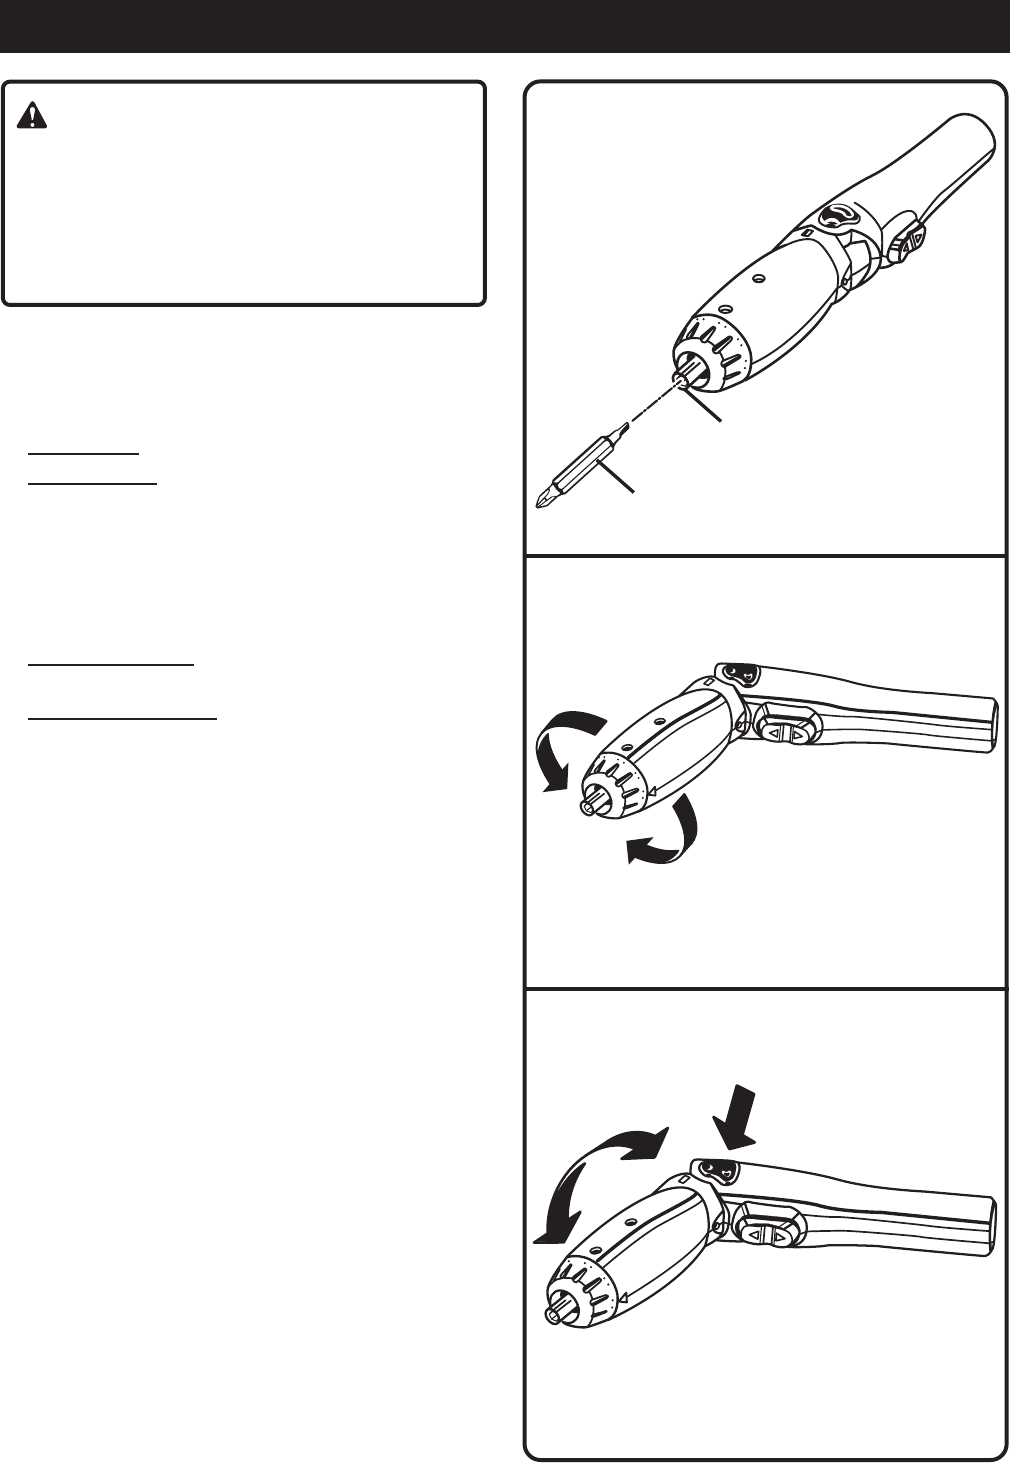
INSERTING/REMOVING BITS
See Figure 2.
Follow these directions when inserting and removing
bits.
■ To insert bit: Insert shank end of bit into collet.
■ To remove bit: Remove bit when finished and place
in storage cradle.
ADJUSTING TORQUE (SCREWDRIVER)
See Figure 3.
Follow these directions when adjusting torque.
■ Locate arrow on torque adjustment cap.
■ To increase torque: Turn torque adjustment cap coun-
terclockwise.
■ To decrease torque: Turn torque adjustment cap
clockwise.
ADJUSTING TOOL ANGLE
See Figure 4.
Follow these directions when adjusting tool angle.
■ Press angle adjustment button.
■ Move head of tool down until it snaps into place.
NOTE: To return tool to original position, press angle
adjustment button and move head of tool up until it snaps
into place.
Fig. 2
Fig. 3
Fig. 4
13
16
19
22
COLLET
BIT
13
16
19
22
TO DECREASE
TORQUE
TO INCREASE
TORQUE
13
16
19
22
PRESS
MOVE DOWN


