


11
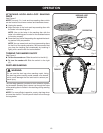
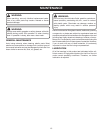
TO ATTACH THE DUST BAG ASSEMBLY
See Figure 4.
Unplug the sander.
Slide the dust bag onto the dust exhaust on the sander
using a slight twisting motion.
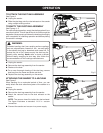
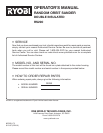
TO EMPTY THE DUST BAG ASSEMBLY
See Figures 4 - 5.
For more efficient operation, empty the dust bag when it is no
more than half full. This will permit the air to flow through the
bag better. Always empty and clean the dust bag thoroughly
upon completion of a sanding operation and before placing
the sander in storage.
WARNING:
Collected sanding dust from sanding surface coatings
such as polyurethanes, linseed oil, etc., can self-ignite
in the sander dust bag or elsewhere and cause fire. To
reduce the risk of fire, always empty the dust bag fre-
quently while sanding. Never store or leave a sander
without totally emptying its dust bag. Also follow the
recommendations of the coatings manufacturers.
Unplug the sander.
Remove the dust bag assembly from the sander.
Shake out the dust.
For a more thorough cleaning of the dust bag, remove
dust bag from the frame and shake out dust.
Replace the dust bag assembly on the sander.
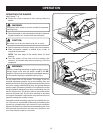
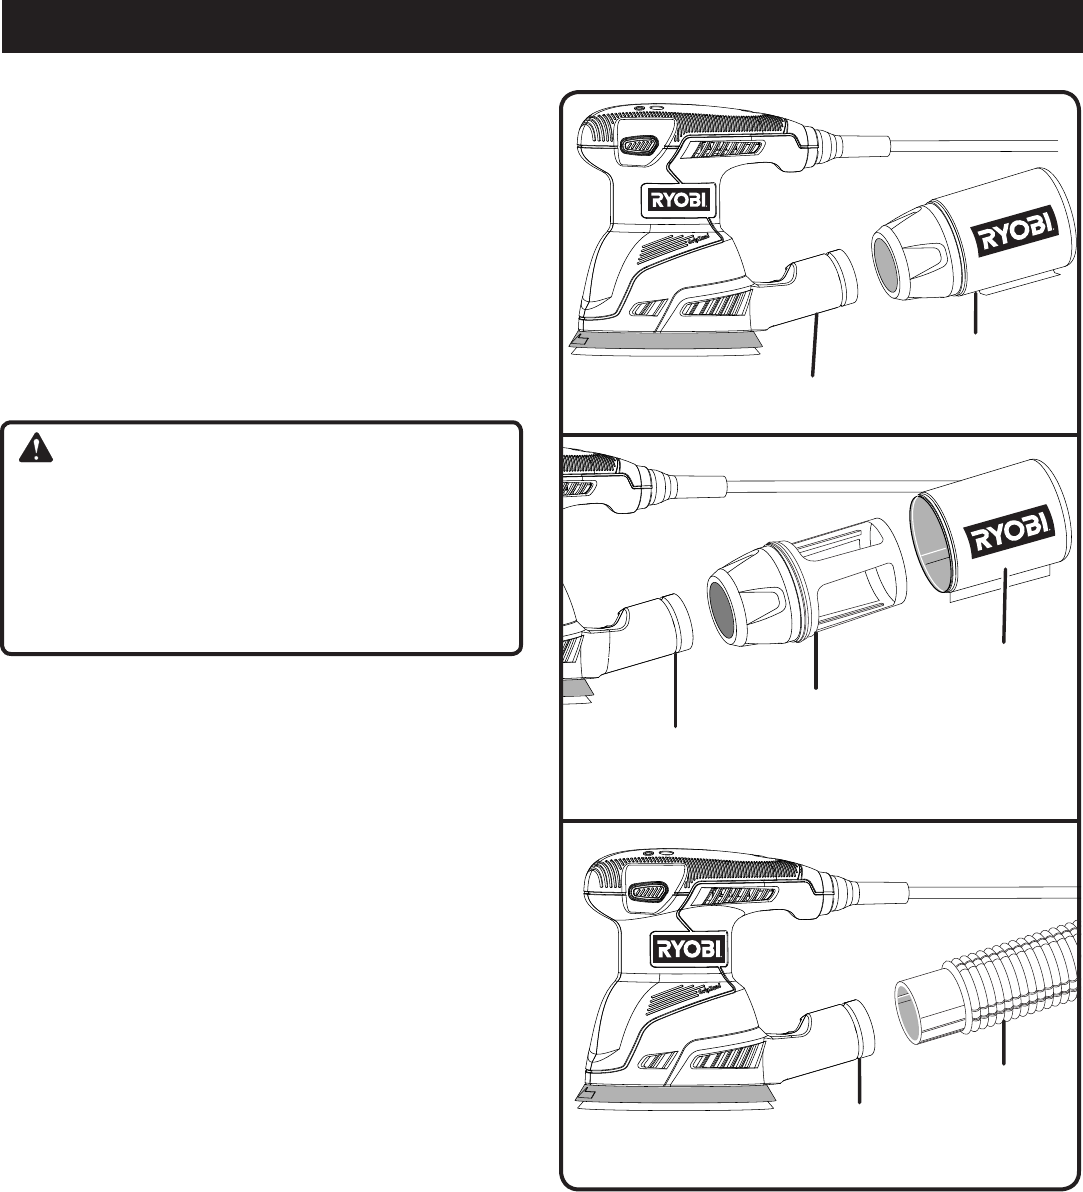
ATTACHING THE SANDER TO A VACUUM
See Figure 6.
When sanding for an extended period of time, you can
easily attach the dust collection system of the sander to a
vacuum.
Unplug the sander.
Remove the dust bag assembly from the sander.
Attach the vacuum hose to the dust exhaust on the
sander.
NOTE: The vacuum hose fits inside the dust exhaust.
The figure illustrates a standard 1-1/4 in. vacuum
connection.
Connect the sander and vacuum to a power supply.
Fig. 4
Fig. 5
DUST BAG
DUST EXhAUST
fRAME
DUST BAG
ASSEMBLY
DUST
EXhAUST
OPERATION
Fig. 6
DUST EXhAUST
VACUUM
hoSE