ACCESSORIES
24
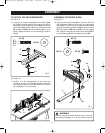
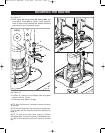
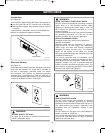
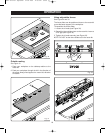
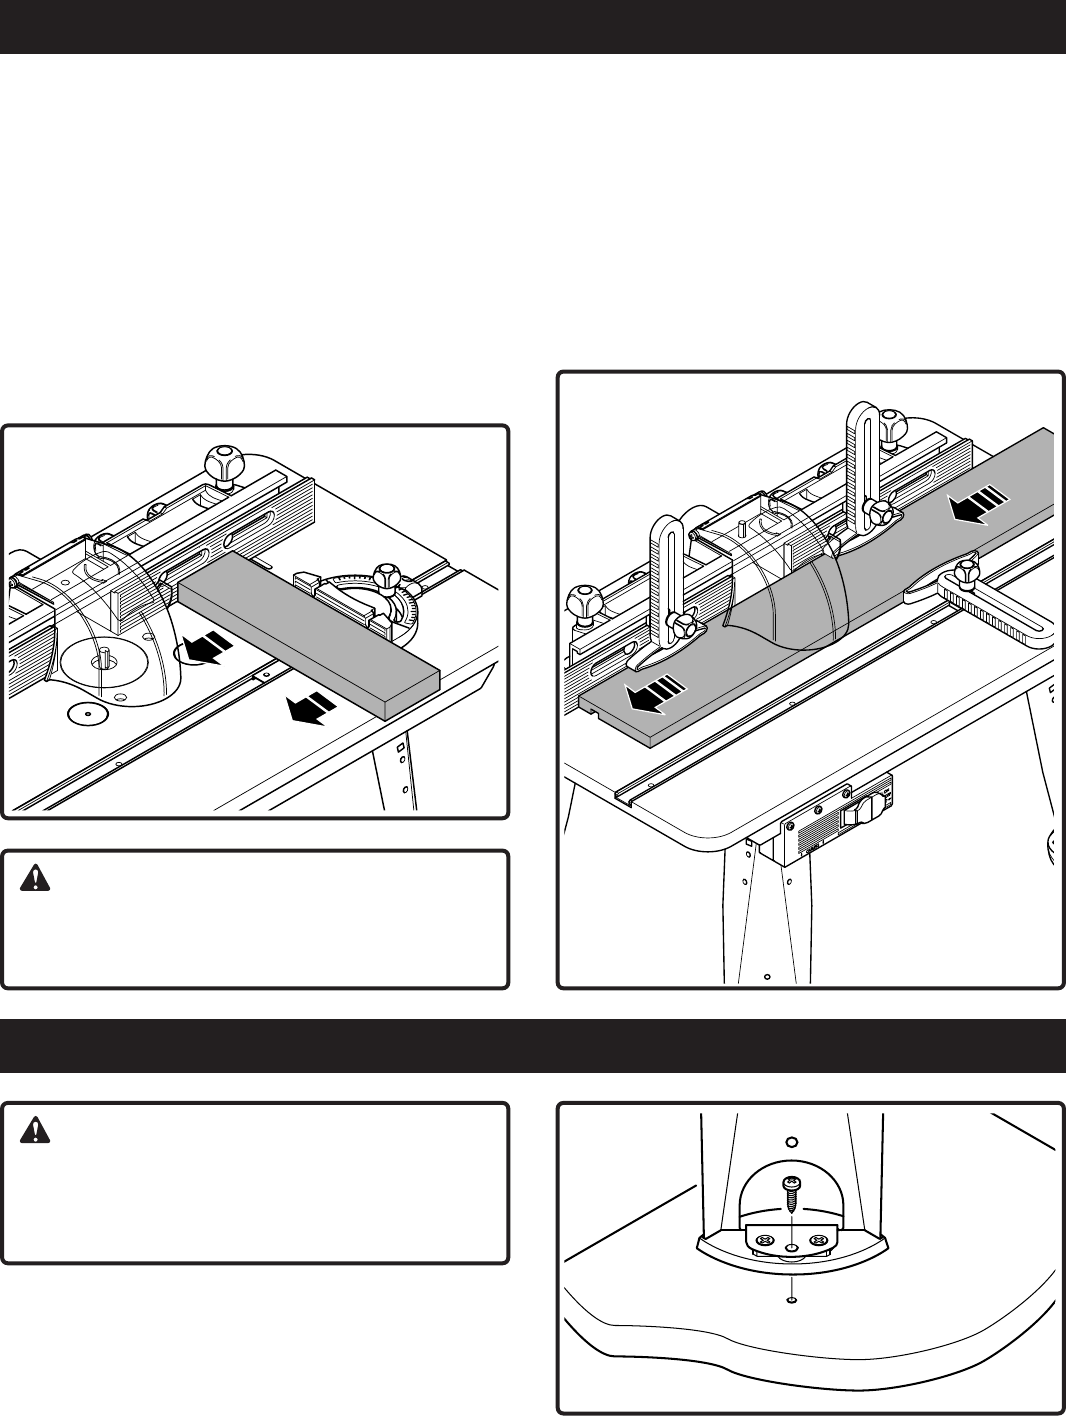
Fig. 35
Fig. 34
Using featherboards
See Figure 35
The featherboards provide support for the workpiece by
holding it securely, which helps minimize chatter and
kickback.
Insert the 2 featherboards as shown below, with the sli-
ding blocks positioned in the slot of the fence and then
securely tighten the knobs.
Insert the third featherboard in the slot of miter chanel and
tighten knob.
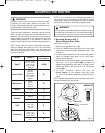
Using miter guide
See Figure 34
The miter guide can serve as extra support for routing
small workpieces and for ends of long workpieces.
NOTE: Make sure that the fence and miter bar slot are
parallel before cutting.
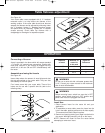
To cut miters, unclamp knob that secures the protractor
head. Turn head up to 60° in either direction. Retighten
knob.
When making cuts using the miter guide, hold the work-
piece firmly against the fence, the miter guide, and the
table.
WARNING:
Do not allow any body part to be in line with the router
bit at any time when the miter gauge is in use. Doing
so could lead to serious personal injury.
SECURING THE ROUTER TABLE
WARNING:
DO NOT use the router table unless it is firmly
mounted to a stable work surface. Failure to securely
mount the router table could lead to serious personal
injury and/or property damage.
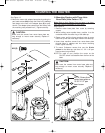
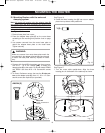
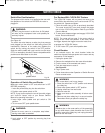
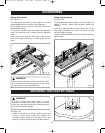
See Figure 36
1. Secure router table to the work surface using wood
screws or sheet metal screws and washers (not
provided) through the holes in the legs or use a one
hand bar clamp to clamp the leg to the work surface.
Fig. 36
Bdal 6146.461 3Sprachen 04.06.2005 11:58 Uhr Seite 24


