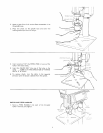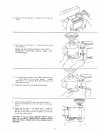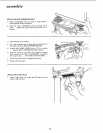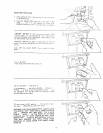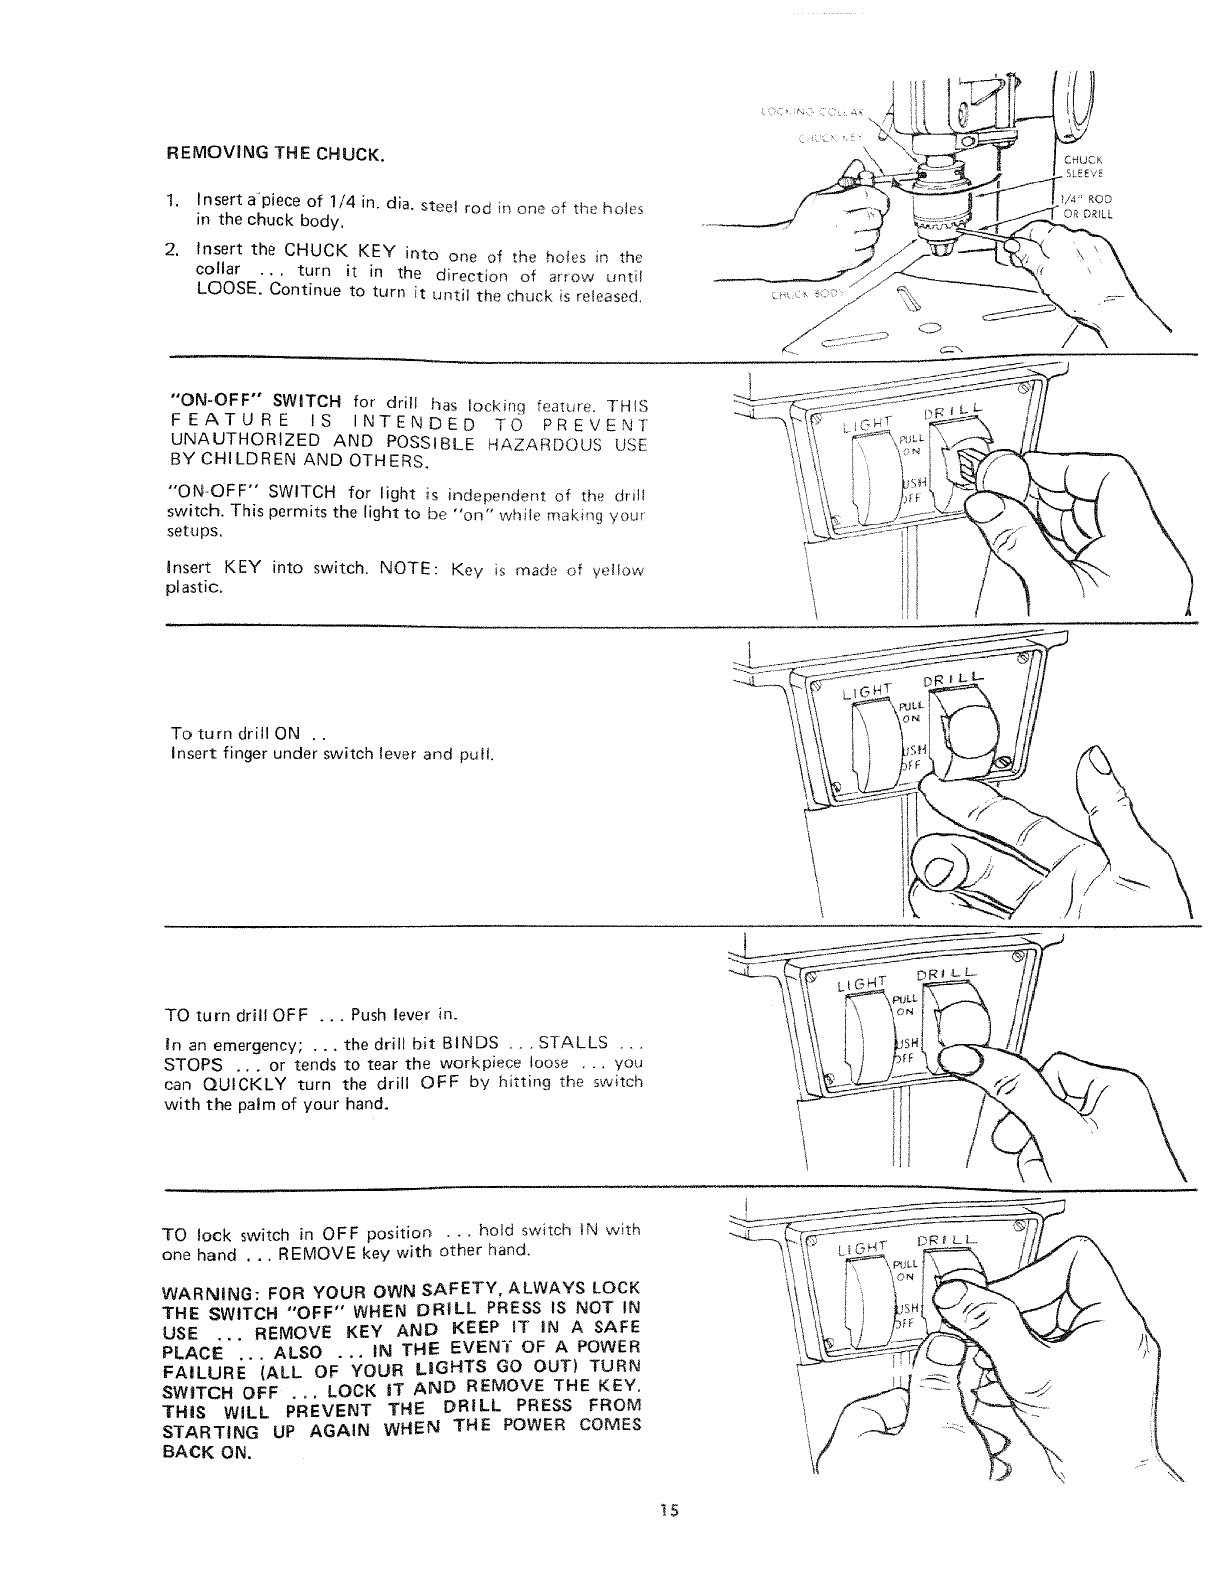
REMOVINGTHE CHUCK.
1,
2.
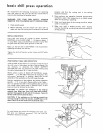
Insert apiece of 1/4 in. alia. steel rod in one of the holes
in the chuck body,
insert the CHUCK KEY into one of the hoIes in the
collar ... turn it in the direction of arrow until
LOOSE. Continue to turn it until the chuck is released.
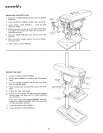
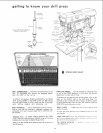
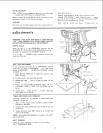
"'ON-OFF" SWITCH for drill has Iockinq feature. THIS
FEATURE IS INTENDED TO PREVENT
UNAUTHORIZED AND POSSIBLE HAZARDOUS USE
BY CHILDREN AND OTHERS.
"ON-OFF" SWITCH for light is independent of the drii(
switch. This permits the light to be "on" while making ,!our
setups.
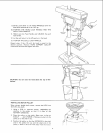
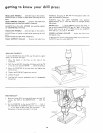
Insert KEY into switch. NOTE: Key is made, of yellow
plastic.
To turn drill ON ..
Insert finger under switch lever and pull.
TO turn drill OFF ... Push lever in.
In an emergency; .,. the drill bit BINDS .. , STALLS ,..
STOPS ... or tends to tear the workpiece loose ,.. you
can QUICKLY turn the drill OFF by hitting the switch
with the palm of your hand,
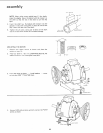
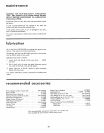
TO lock switch in OFF position .., hold switch iN with
one hand . .. REMOVE key with other hand,
WARNING: FOR YOUR OWN SAFETY, ALWAYS LOCK
THE SWITCH "OFF" WHEN DRILL PRESS IS NOT IN
USE ... REMOVE KEY AND KEEP IT IN A SAFE
PLACE ... ALSO ... IN THE EVENT OF A POWER
FAILURE (ALL OF YOUR LIGHTS GO OUT) TURN
SWITCH OFF .o. LOCK IT AND REMOVE THE KEY.
THIS WILL PREVENT THE DRILL PRESS FROM
STARTING UP AGAIN WHEN THE POWER COMES
BACK ON.
!5


