


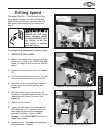
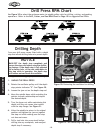
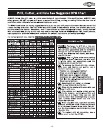
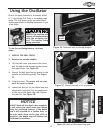
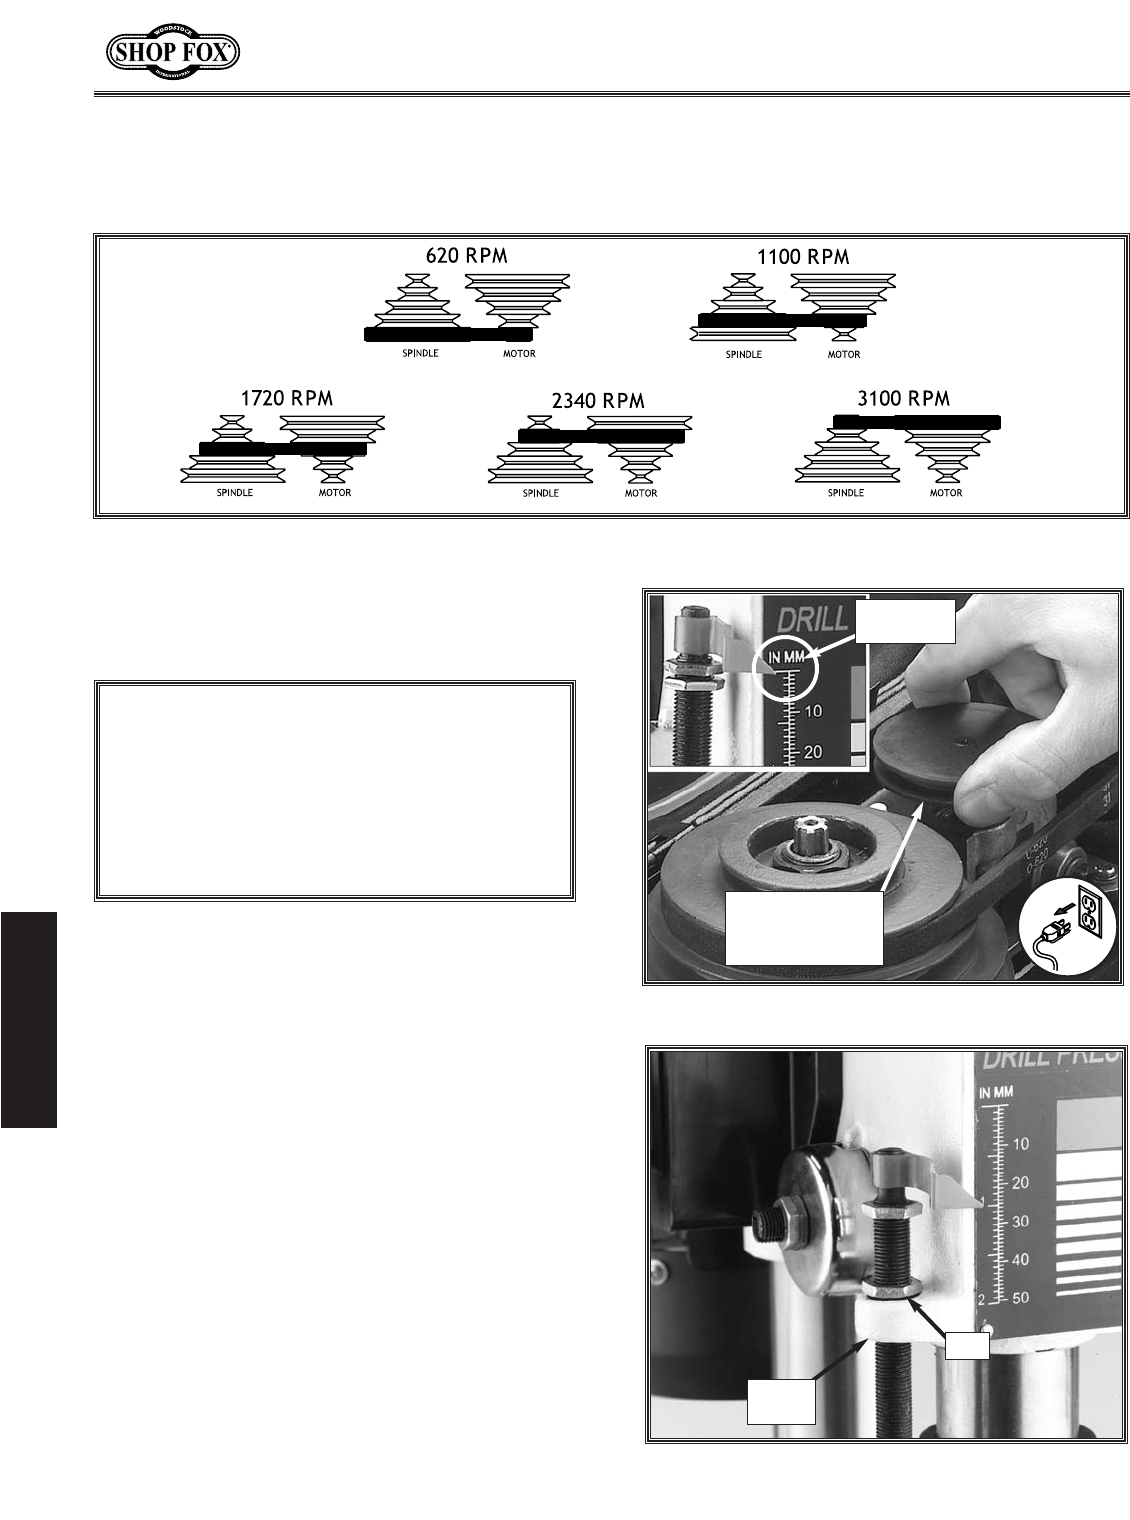
Use Figure 30 to select the optimum motor-to-spindle pulley ratio for drilling, cutting, and sanding
operations. Refer to the Drill, Cutter, and Saw RPM Chart on Page 19 for suggested tool RPMs.
Figure 30. Drill Press RPM Chart.
-18-
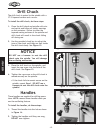
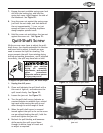
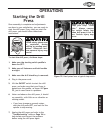
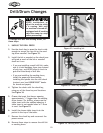
Your new drill press comes fitted with a depth
stop that allows drilling holes at a preset depth.
To adjust the drilling depth, do these steps:
1. UNPLUG THE DRILL PRESS!
2. Rotate the oscillator pulley until the depth
stop pointer indicates “0”. See Figure 30.
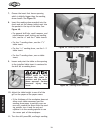
3. Loosen the jam nut on the depth stop rod.
4. Move the spindle down while watching the
pointer-to-scale relationship and stop at
the desired depth.
5. Turn the lower nut while maintaining this
depth until the nut comes into contact
with the stop flange. See Figure 31.
6. Allow the spindle to return to its original
position and tighten the jam nut against
the stop nut while making sure the stop
nut does not move.
7. Drill a test hole into scrap stock before
drilling into any workpiece, and readjust
depth stop if necessary.
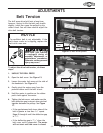
Figure 31. Nut contacting stop flange.
Figure 30. Retracting the oscillator for drilling.
Stop
Flange
Nut
Rotate Oscillator
Pulley Until
Depth Stop Reads
Zero.
Depth Stop
Reads “0”
NOTICE
BACK-OFF the depth stop completely and
secure the stop nuts before using the oscillat-
ing feature. If the depth stop is left adjusted
for a shallow hole, or the nuts rattle down to
the stop while in operation, the depth stop
will bottom out and break the oscillator.
ADJUSTMENTS
Drilling Depth
Drill Press RPM Chart