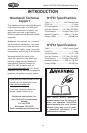
Model W1793/W1794 Professional Spray Gun
-6-
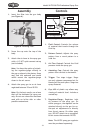
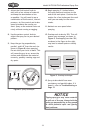
Assembly
2. Screw the cup onto the top of the
body.
3. Attach the air hose to the spray gun
with a 1⁄4" NPT quick connect set-up
(not included).
Note: You have the option of attach-
ing the regulator/guage directly to
the gun as shown in the photos. Some
may find this awkward and would
rather mount the regulator/gauge
closer to the air source.
4. Attach the spray gun to an air hose
regulated between 29 and 50 PSI.
Note: For the best results, use a hose
that will be dedicated for spray use
only. Do not use a hose that has been
used with an in-line oiler or other
possible contaminant.
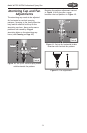
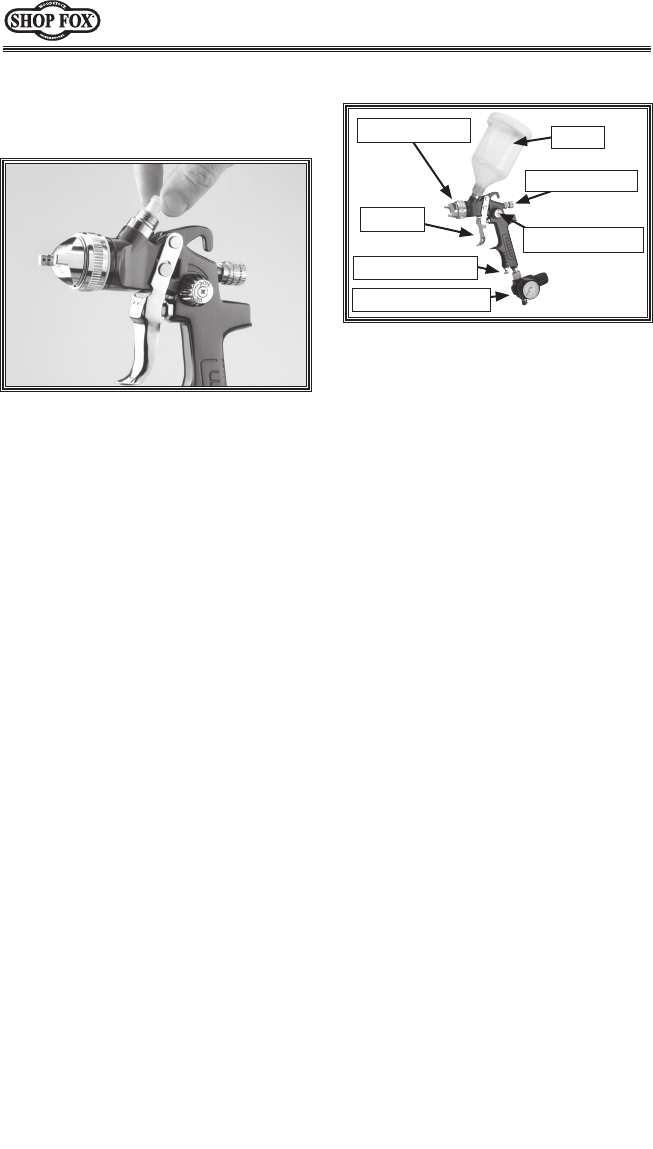
1. Insert the filter into the gun body
(see Figure
6).
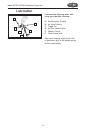
1.
Fluid Control: Controls the volume
of material that travels through the
fluid tip.
2. Pattern Control: Adjusts the spray
pattern from a round pattern to a
wide fan.
3. Air Flow Control: Controls the fluid
pressure inside the spray gun.
4. Atomizing Cap: Controls the spray
pattern from vertical to horizontal.
5. Trigger: Two stage trigger. Stage
one only releases compressed air for
blowing off the work piece. Stage two
sprays material.
6. Cup: 600 ml plastic cup allows easy
viewing of material level. Includes a
vented cap.
7. Regulator/Gauge: Regulates inlet
air pressure to the spray gun. On
either spray gun, the regulator can be
attached directly to the gun for on-
the-spot air adjustments or directly
from the air source. On either spray
gun, DO NOT attach to an unregulat-
ed air source that exceeds 120 PSI.
Note: The W1793 spray gun regulator
must be purchased separately.
Controls
Figure 6. Installing filter.
Figure 7. Controls.
Cup
Fluid Control
Pattern Control
Atomizing Cap
Trigger
W1794 Regulator
Air Flow Control