


-23-
W1808/W1809/W1810 Cyclone Dust Collectors
SET UP
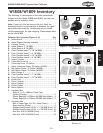
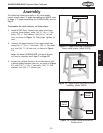
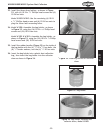
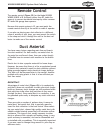
17. Model W1810: Mount the two filters to the cross
braces with brace gaskets between them, as shown
in Figure 26, using (8)
5
/16"-18 x
3
/4" hex bolts and
(8)
5
/16" fender washers.
Model W1808-9: Mount the filter to the L-braces with
brace gaskets between them using
(4)
5
/16"-18 x
3
/4"
hex bolts and (4)
5
/16" fender washers.
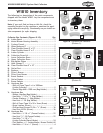
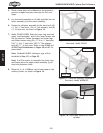
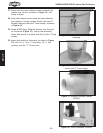
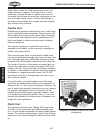
18. Model W1810: Connect (2) 8" x 23" flexible hoses, (2)
8" noise reducers, and (2) 8" x 4" flexible hoses to
the outlet ports and filters using (8) 8" hose clamps
as shown in Figure
27. Extend the ribbed part of the
hoses at least
1
/2" past the outlet and filter ridges
(Figure 26) and secure with the clamps.
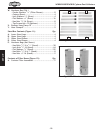
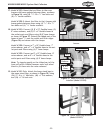
Model W1808: Connect a 7" x 18" flexible hose, 7"
noise reducer, and a 7" x 4" flexible hose to the out
-
let ports and filters using (4) 7" hose clamps.
Model W1809: Connect an 8" x 19" flexible hose, 8"
noise reducer, and an 8" x 4" flexible hose to the
outlet ports and filters using (4) 8" hose clamps.
Note: Try tapping gently on the ribbed part of the
hose coils with a rubber hammer and a soft wood
block to fit them onto the noise reducers
.
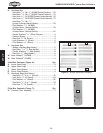
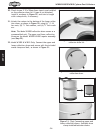
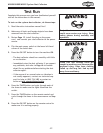
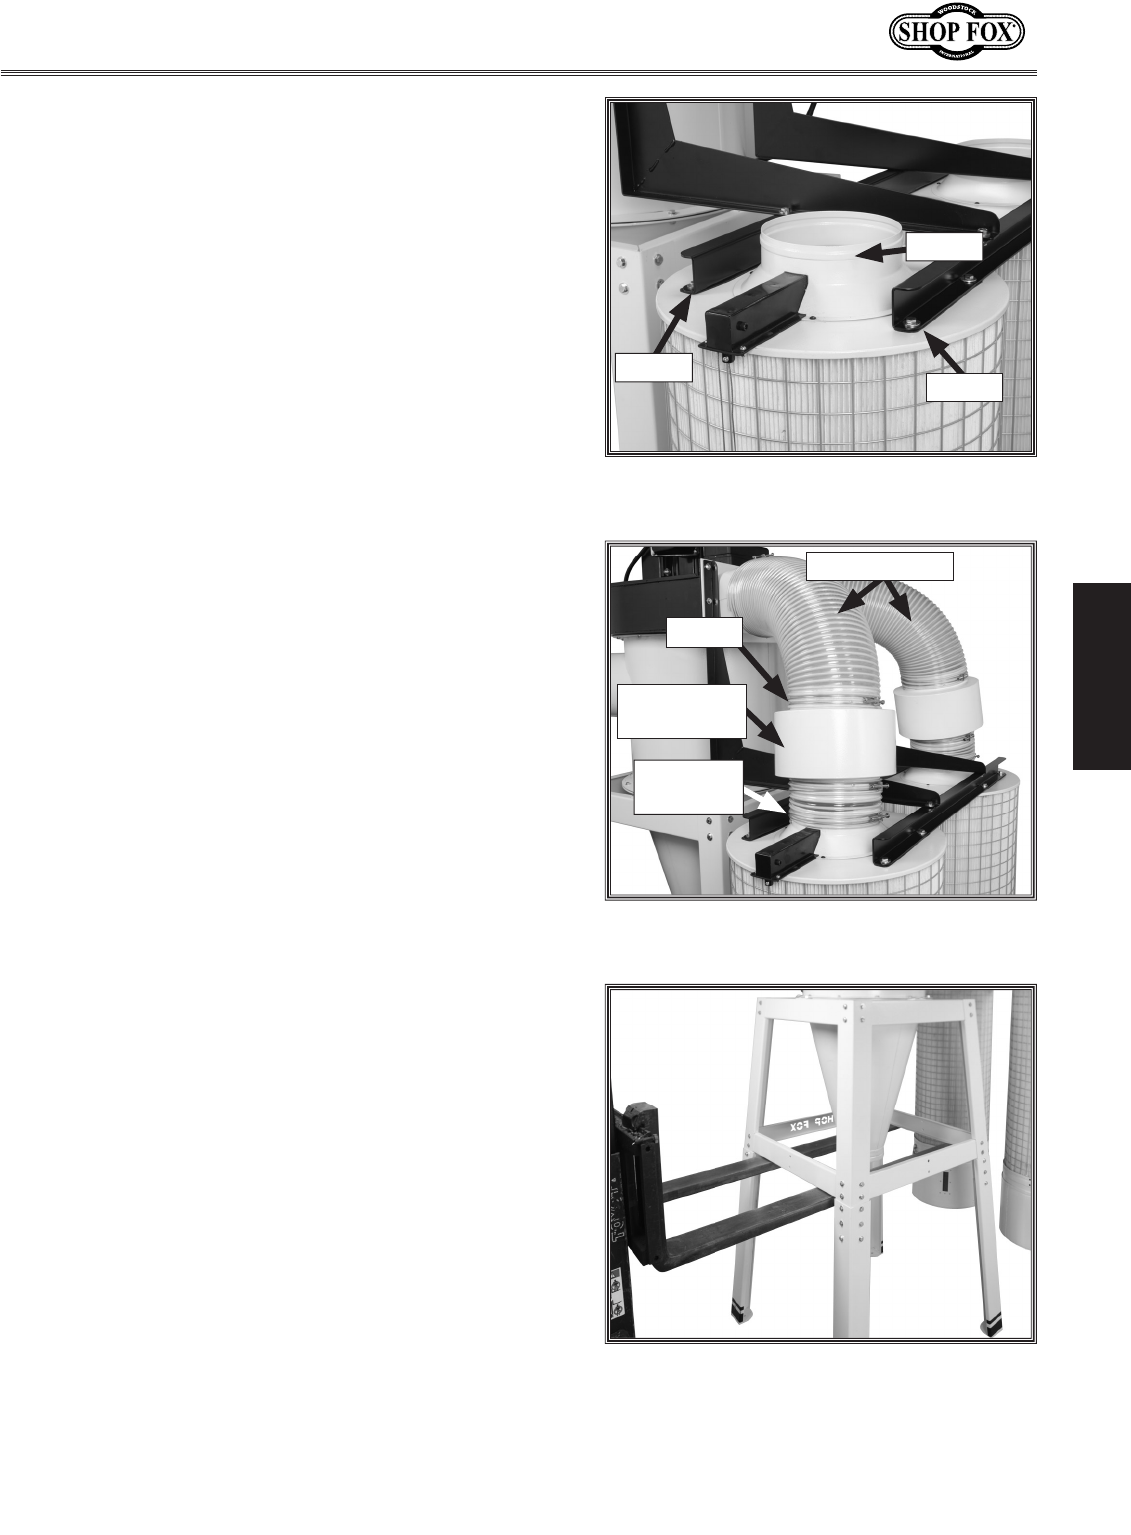
19. Model W1810 Only: Attach the lower stand legs to
the upper stand legs, as shown in
Figure 28, using
(24)
3
/8"-16 x
3
/4" hex bolts, (48)
3
/8" flat washers,
and (24)
3
/8"-16 lock nuts.
Figure 26. Filters mounted to cross
braces.
Gasket
Gasket
Ridge
Figure 27. Hoses and noise reducers
installed (Model W1810).
Nose
Reducer
8" x 23" Hoses
8" x 4"
Hose
Clamp
Figure 28. Lower stand legs attached
(Model W1810).