


-14-
(POWER MODE)
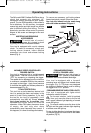
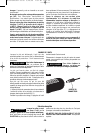
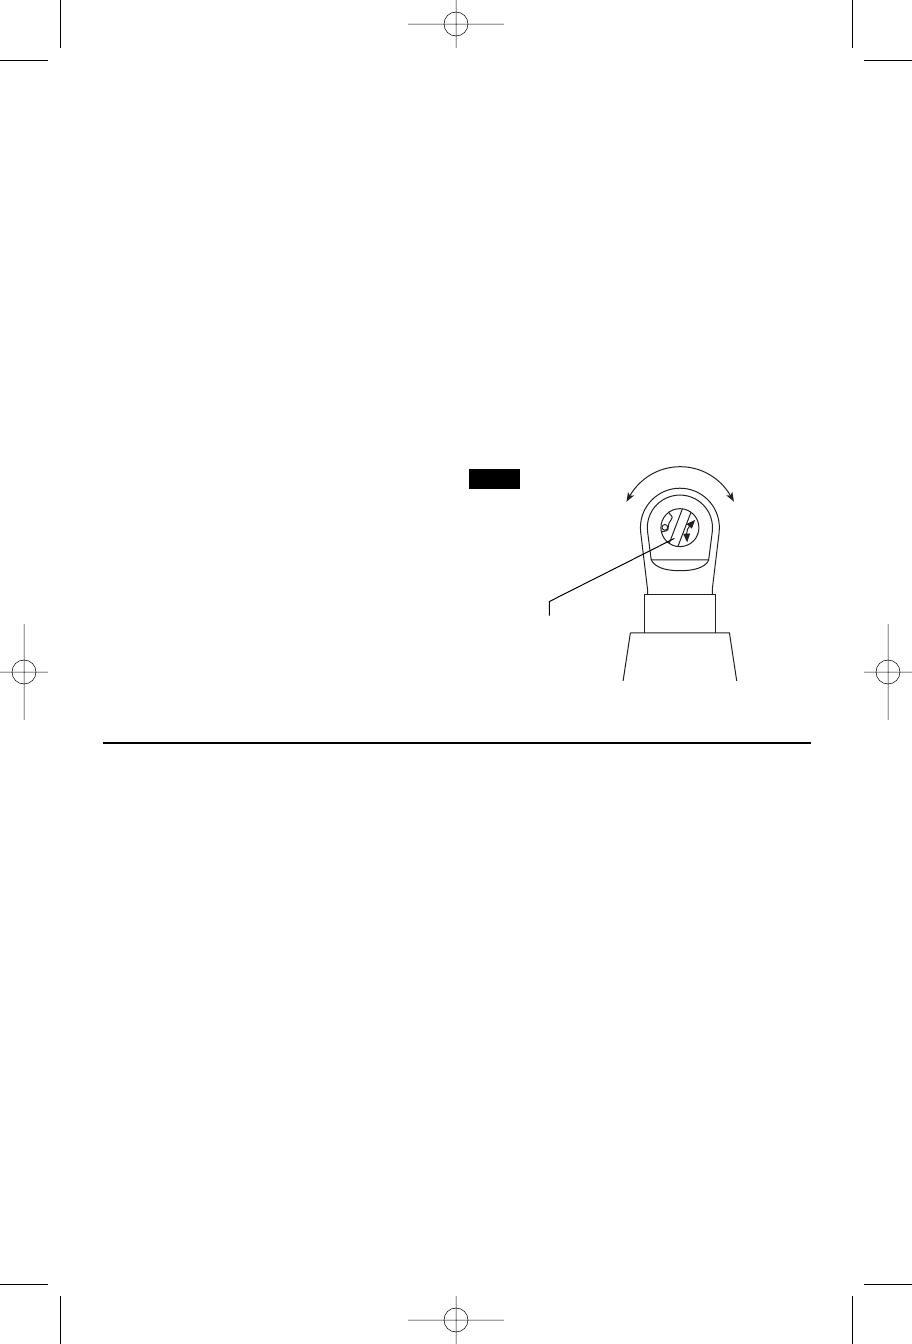
TRIGGER "ON-OFF" SWITCH
TO TURN THE TOOL "ON" squeeze the
trigger switch. TO TURN THE TOOL "OFF",
release the trigger switch, which is spring
loaded and will return to the "OFF" position
automatically (Fig. 7).
The power mode is only intended to run bolts
and nuts down and snug up. The power mode
is not intended for breakaway torque of bolts
and nuts as the action is not impacting and this
may cause the housing to break or other
failures to occur is attempted. Use the power
wrench in manual mode to fully tighten / break
away bolts or nuts then use power mode to
fasten / unfasten them.
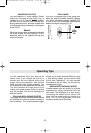
STALL PROTECTION
This tool has a stall protection feature built
into it to protect the motor and battery in the
event of a stall. While in the power mode, if
you stall the tool for too long or repeatedly, it
will automatically turn itself off. Simply
turn
the tool off for 3 seconds
, then turn it back
on again to continue using it. When the
battery becomes close to empty, the tool may
shut down automatically more frequently than
normal. If this happens, it is time to recharge
the battery.
(MANUAL MODE) AUTOLOCK™
Your tool is equipped with an automatic locking
system. This feature will lock the output drive in
one position when the trigger switch is
released. This will allow you to tighten or loosen
a nut or screw by rotating the tool by hand with
the switch off. This is convenient when higher
turning torque is needed.
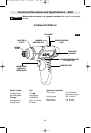
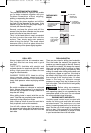
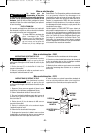
FORWARD/REVERSING LEVER
Your tool is equipped with a forward/
reversing lever (Fig. 9). This lever was
designed for changing rotation of the accessory.
For forward rotation, (with output drive pointed
away from you) move the lever counter-
clockwise.
For reverse rotation move the lever clockwise.
R
F
FORWARD/REVERSING
LEVER
FIG. 9
COUNTER-
CLOCKWISE
CLOCKWISE
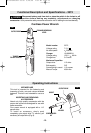
INSTALLING FASTENERS
To fasten: Start the fastener by hand onto or
into its threaded counter part (E.G. nut on to
bolt, bolt in to nut or threaded hole).
To tighten: With the proper accessory
securely mounted to the wrench, slide the
accessory on to the bolt head. (be sure the
rotational direction is “forward”).
Hold the tool securely with both hands,
squeeze and hold the trigger switch and
tighten fastener in the (power mode) until
output drive can no longer rotate, release
trigger switch and tighten fastener to desired
torque in the (manual mode).
To loosen: With the proper accessory
securely mounted to the wrench, slide the
accessory on to the bolt head. (be sure the
rotational direction is “reverse”).
First, break the fastener loose in the (manual
mode), if necessary.
Once the fastener has “broken loose” it will
start to unthread. Be careful that you do not
allow a fastener to spin freely once it is no
longer engaged with the other threaded part
as it may be thrown out of the accessory.
SM 1619X03291 05-08 5/28/08 1:52 PM Page 14