


3
Installing the energizer inside
The energizer must be installed inside when being
powered by the mains/line power supply.
Warning!
- Do not use a mains/line power extension lead.
- Allow 25 mm of clear space around the mains/line
power adaptor.
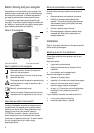
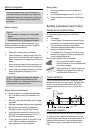
To install the energizer inside:
1 Select a suitable installation site. See
Selecting a
site for the installation
on page 2.
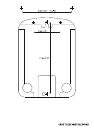
2 Mount the energizer on a wall. Use the template
printed on the back cover of this manual, if
required.
3 Connect the Fence earth terminal (green) to the
earthing system.
4 Connect the Fence output terminal (red) to the
fence.
5 Connect the energizer to the mains/line power
using the mains/line power adaptor.
Note:
If the energizer is being installed inside, it may be
powered by a battery instead of the mains/line power
supply, if required.
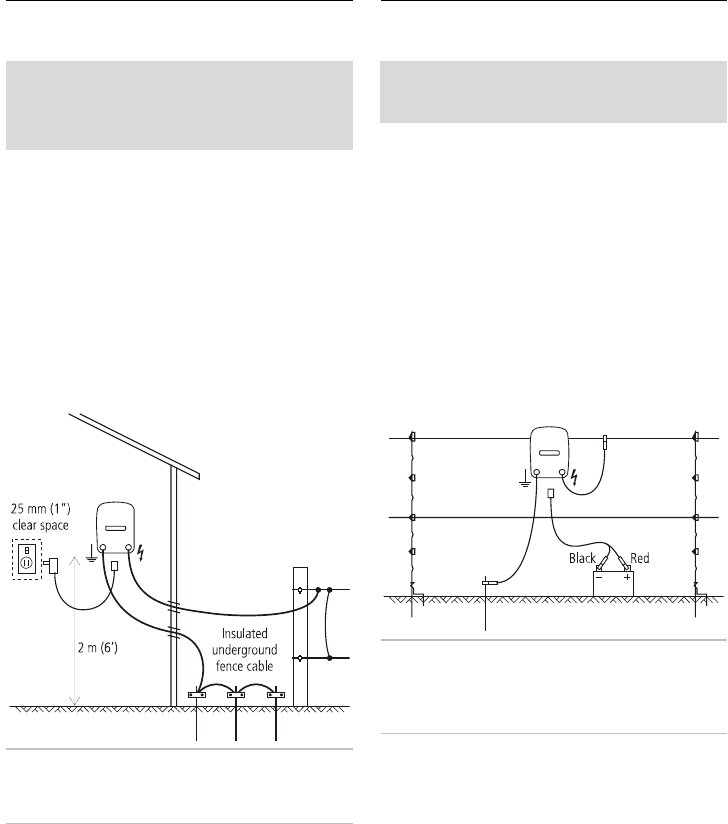
Installing the energizer outside
The energizer may be installed outside, powered by a
battery.
Warning!
Do not power the energizer with the
mains/line power supply if it is being installed outside.
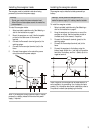
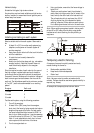
To install the energizer outside:
1 Select a suitable installation site. See
Selecting a
site for the installation
on page 2.
2 Hang the energizer on a fence wire or mount the
energizer on a post. Use the template printed on
the back cover of this manual, if required.
3 Connect the Fence earth terminal (green) to the
earthing system.
4 Connect the Fence output terminal (red) to the
fence.
5 Connect the energizer to the battery using the
battery leads. Attach the + (red) clip to the positive
terminal of the battery, and the – (black) clip to its
negative terminal.
Note:
If required, this energizer can be used as part of a
solar installation, by connecting it to a battery and solar
panel(s). For information about solar installations, refer to
the product's website (see packaging for details).