12 ProSpray 3.21
GB
Cleaning the unit (shutting down)
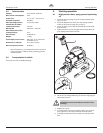
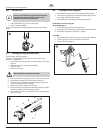
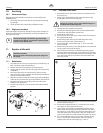
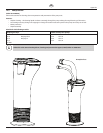
8.2 Suction lter
i
A clean suction lter always guarantees maximum
feed quantity, constant spraying pressure and
problem-free functioning of the unit.
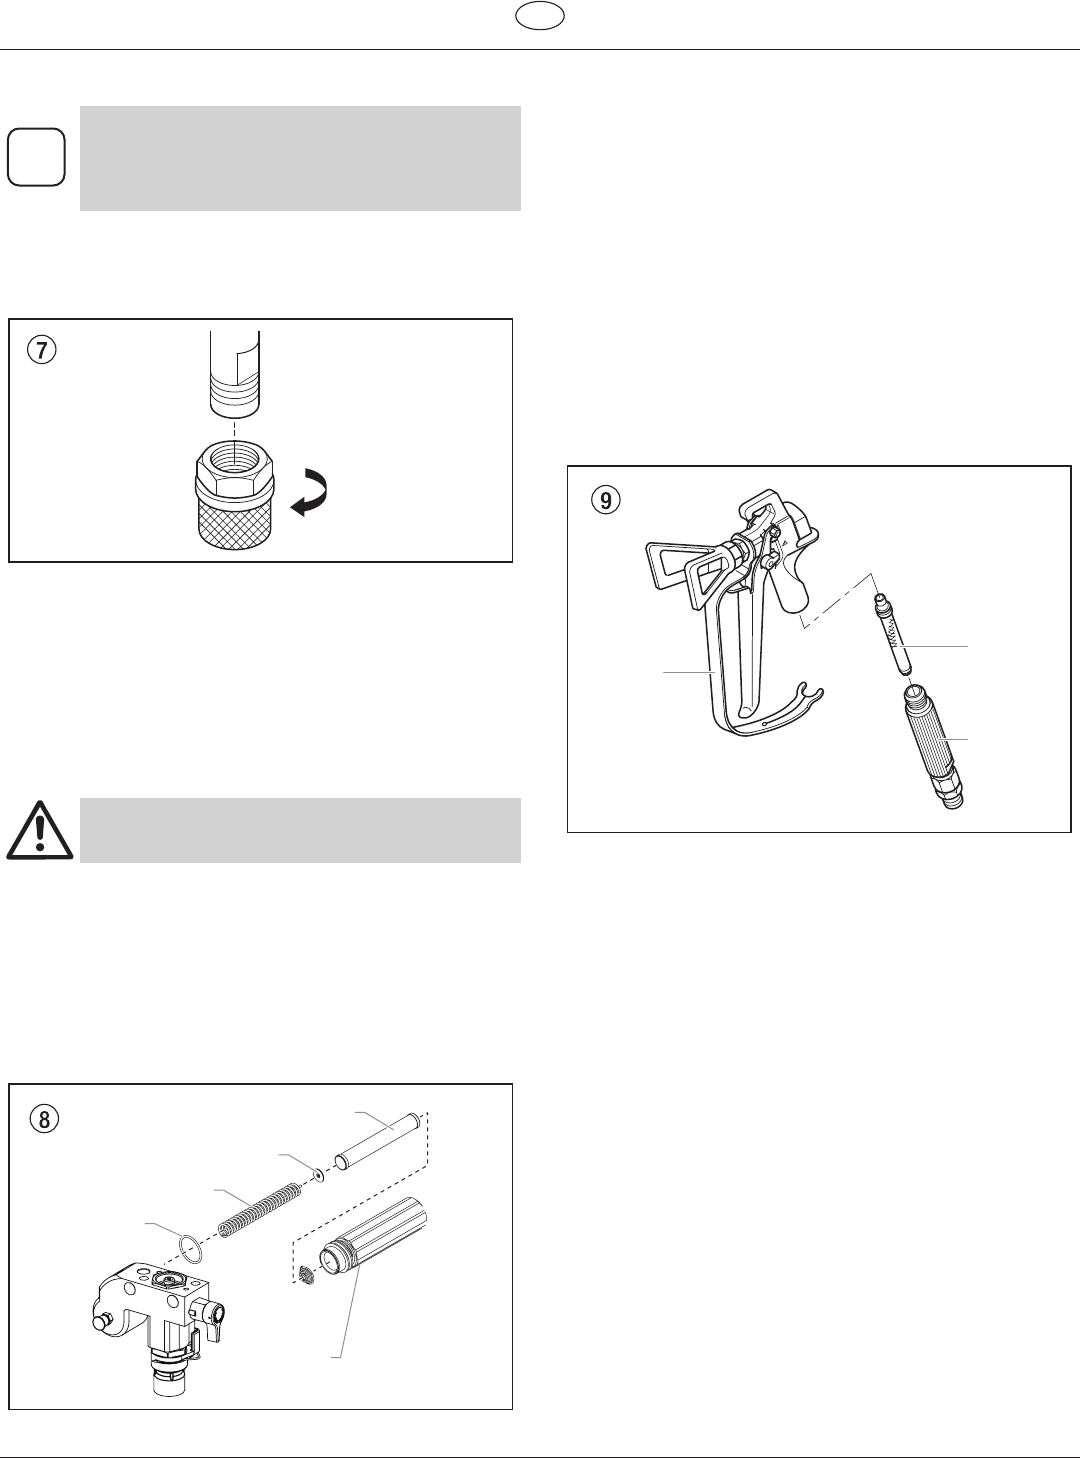
1. Screw o the lter (Fig. 7) from suction pipe.
2. Clean or replace the lter.
Carry out cleaning with a hard brush and an appropriate cleaning
agent.
8.3 Cleaning the high-pressure lter
Clean the lter cartridge regularly.
A soiled or clogged high-pressure lter can cause a poor spray
pattern or a clogged tip.
1. Turn the pressure control knob counterclockwise to minimum
pressure.
2. Open the relief valve, valve position PRIME
(k circulation).
3. Switch the unit OFF.
Unplug the power plug from the outlet.
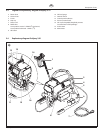
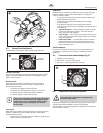
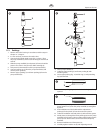
4. Unscrewthelterhousing(Fig.8,Item1).withastrapwrench.
5. Pull the lter cartridge (2) from the bearing spring (3).
6. Clean all the parts with the corresponding cleaning agent. If
necessary, replace the lter cartridge.
7. Check the O-ring (4), replace it if necessary.
8. Place the bearing ring (5) against the bearing spring (3). Slide
the lter cartridge (2) over the bearing spring.
9. Screw in lter housing (1) and tighten it as far as possible with
the strap wrench.
1
4
3
2
5
8.4 Cleaning Airless spray gun
1. Rinse Airless spray gun with an appropriate cleaning agent.
2. Clean tip thoroughly with appropriate cleaning agent so that
no coating material residue remains.
3. Thoroughly clean the outside of the Airless spray gun.
Intake lter in Airless spray gun
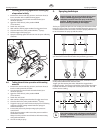
Disassembly (Fig. 9)
1. Pull protective guard (1) forward vigorously.
2. Screw grip (2) out of the gun housing. Remove intake lter (3).
3. Intake lter congested or defective – replace.
Assembly
1. Place intake lter (3) with the long cone into the gun housing.
2. Screw in grip (2) into the gun housing and tight en.
3. Slot in protective guard (1).
Warning:
keep clear
of tip
250 bar
max.3600 psi
3
2
1


