


8
English
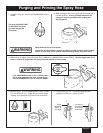
Purging and Priming the Sprayer
All new units are performance-tested at the factory and are shipped with test fluid in the fluid section to prevent
c
orrosion during shipment and storage. If you have already used your pump, some water or solvent used in cleaning
may remain in the fluid section. Whether your sprayer is new or if you have already used it, this fluid must be purged
a
nd thoroughly cleaned out of the system prior to use. Follow the steps below.
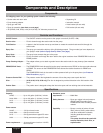
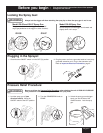
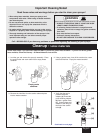
1. Remove oiler cap using a straight-
slot screwdriver. Squirt separating
oil (P/N 0516913) supplied with your
s
prayer into the oiler. Light
household oil can be substituted if
necessary. Replace cap.
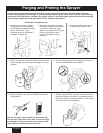
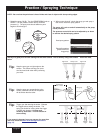
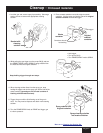
5. Turn the pressure control dial to maximum pressure (+).
Turn the PRIME/SPRAY knob to PRIME.
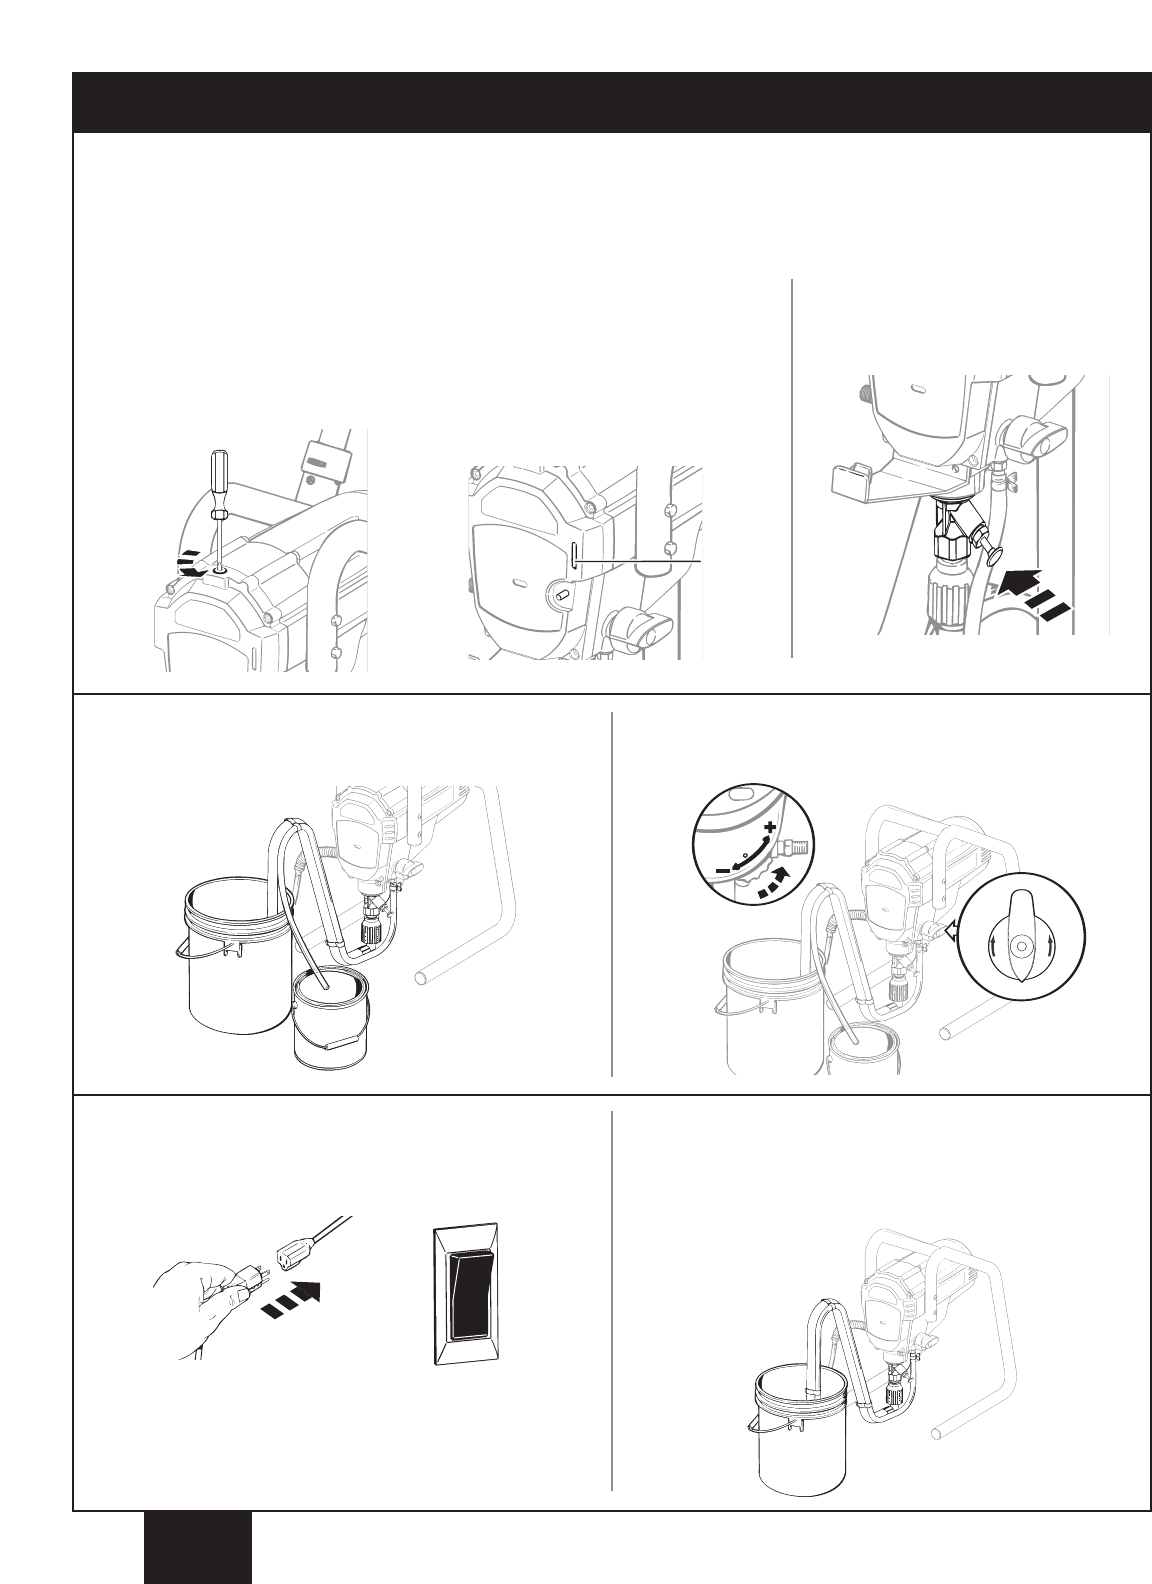
6. Plug in the sprayer and move the ON/OFF switch to the
ON (l) position.
7. Switch the pump OFF (O).
Remove the return tube from
the waste container and place it in its operating position
above the container of spraying material. Use the metal
clip to bind the two hoses together.
l
The unit will begin to draw material up the suction tube,
into the pump, and out the return tube. Let the unit cycle
long enough to remove test fluid from the pump, or until
spray material is flowing from the return tube.
(a)
(b)
SPRAY
PRIME
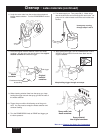
4. Place a full container of spraying material underneath the
suction tube (a). Secure the return tube (b) into a waste
container.
3. Fully depress the pusher stem to
make sure the inlet ball is free.
2. After filling, push button on front of
face plate 2-5 times to lubricate the
fluid section. Afterwards, press
o
nce
f
or every eight hours of usage.
Be sure to periodically check
reservoir level
(a) and refill as
necessary.
(a)
9146, 9150, 9170 and 9190 only.