


11
Disc table adjustments
Adjusting the table angle
WARNING: When making adjustments, make sure the motor is discon-
nected from the power source.
WARNING: To avoid trapping the work or fingers between the table
and sanding disc, the table edge should be positioned a maximum of 1/16-
inch from the sanding disc.
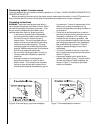
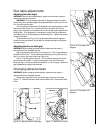
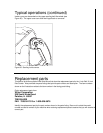
The disc table is positioned at 90 degrees to the sanding disc for most
operations (see Figure 14). To check and see if the table is at 90 de-
grees, place a square, on the table with one end of the square against the
sanding disc. If an adjustment is necessary, loosen the cap screws and
move table until it is at 90 degrees to the sanding disc. Tighten the screws
to secure the table.
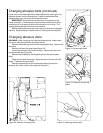
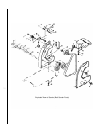
The disc table (see Figure 15) can be tilted downward 45 degrees.
Loosen the two cap screws, tilt the table to the desired angle, and tighten
the cap screws.
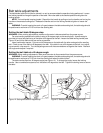
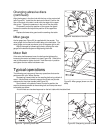
Adjusting the disc-to-table gap
WARNING: When changing abrasive belts, make sure the motor is
disconnected from the power source.
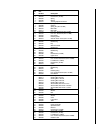
Adjust the sanding disc to leave a maximum of 1/16-inch gap between
the table and the disc. This can be accomplished by moving the sanding
disc in or out on the motor shaft (see Figure 16).
Use a T-handle type hex wrench. Put the wrench through the hole in
the top of the disc guard. Loosen the setscrew in the hub of the disc.
Move the disc in or out as needed to establish a 1/16-inch gap. When the
gap is established, tighten the setscrew.
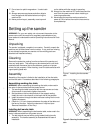
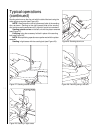
Changing abrasive belts
WARNING: When changing abrasive belts, make sure the motor is
disconnected from the power source.
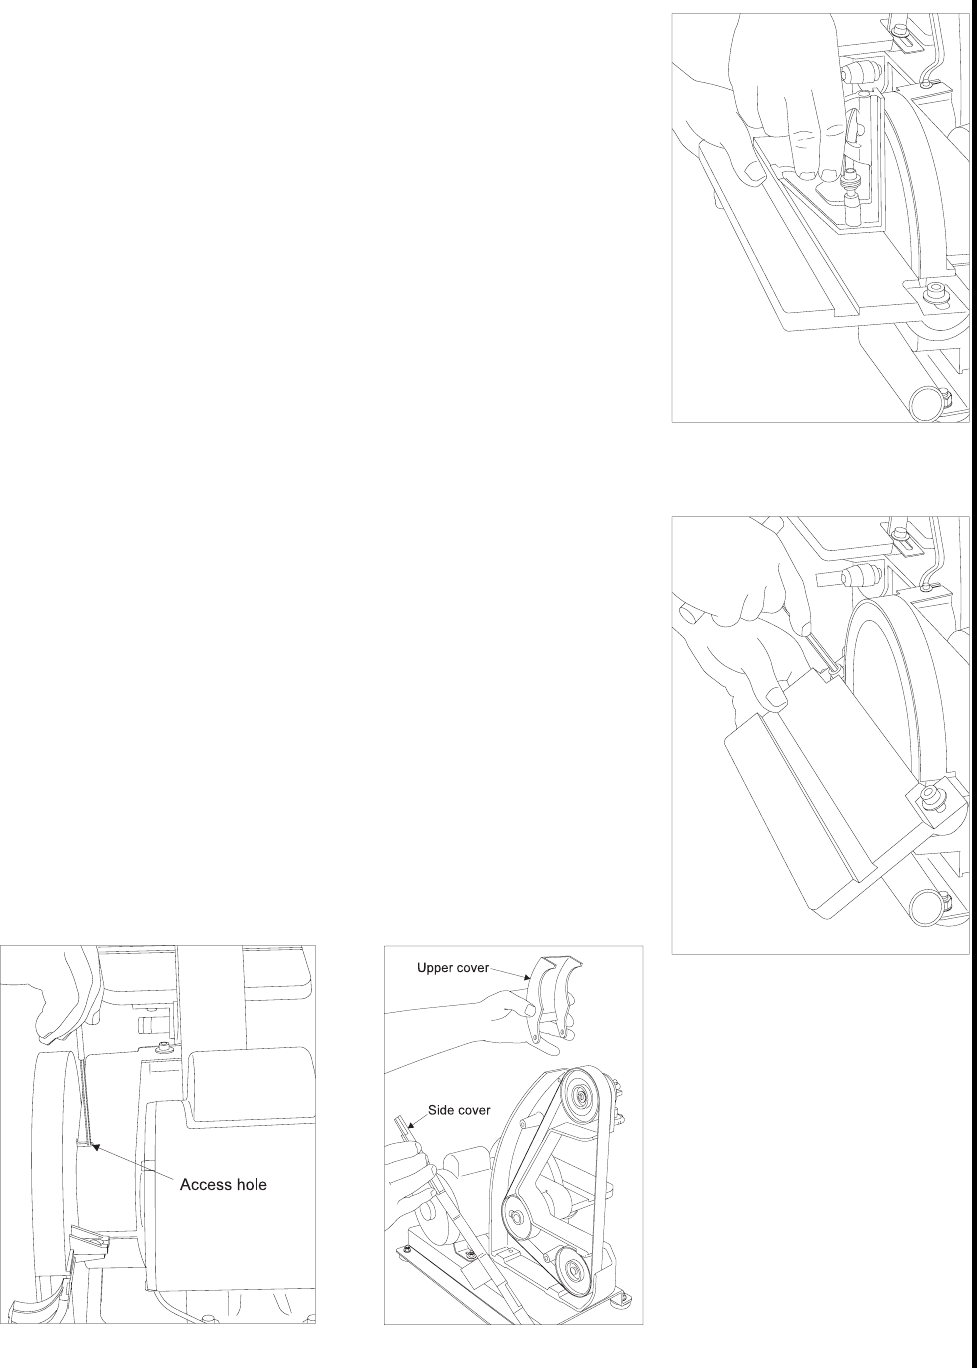
Remove the upper belt cover by removing the screw and nut (see
Figure 17). Remove the two knobs from the side cover. Remove the side
cover.
Figure 14. Disc table at 90
degrees
Figure 15. Disc table at 45
degrees
Figure 17. Removal of coversFigure 16. Adjusting disc-to-table gap