18
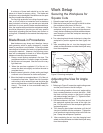
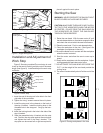
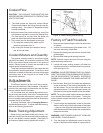
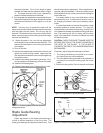
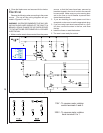
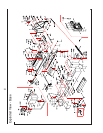
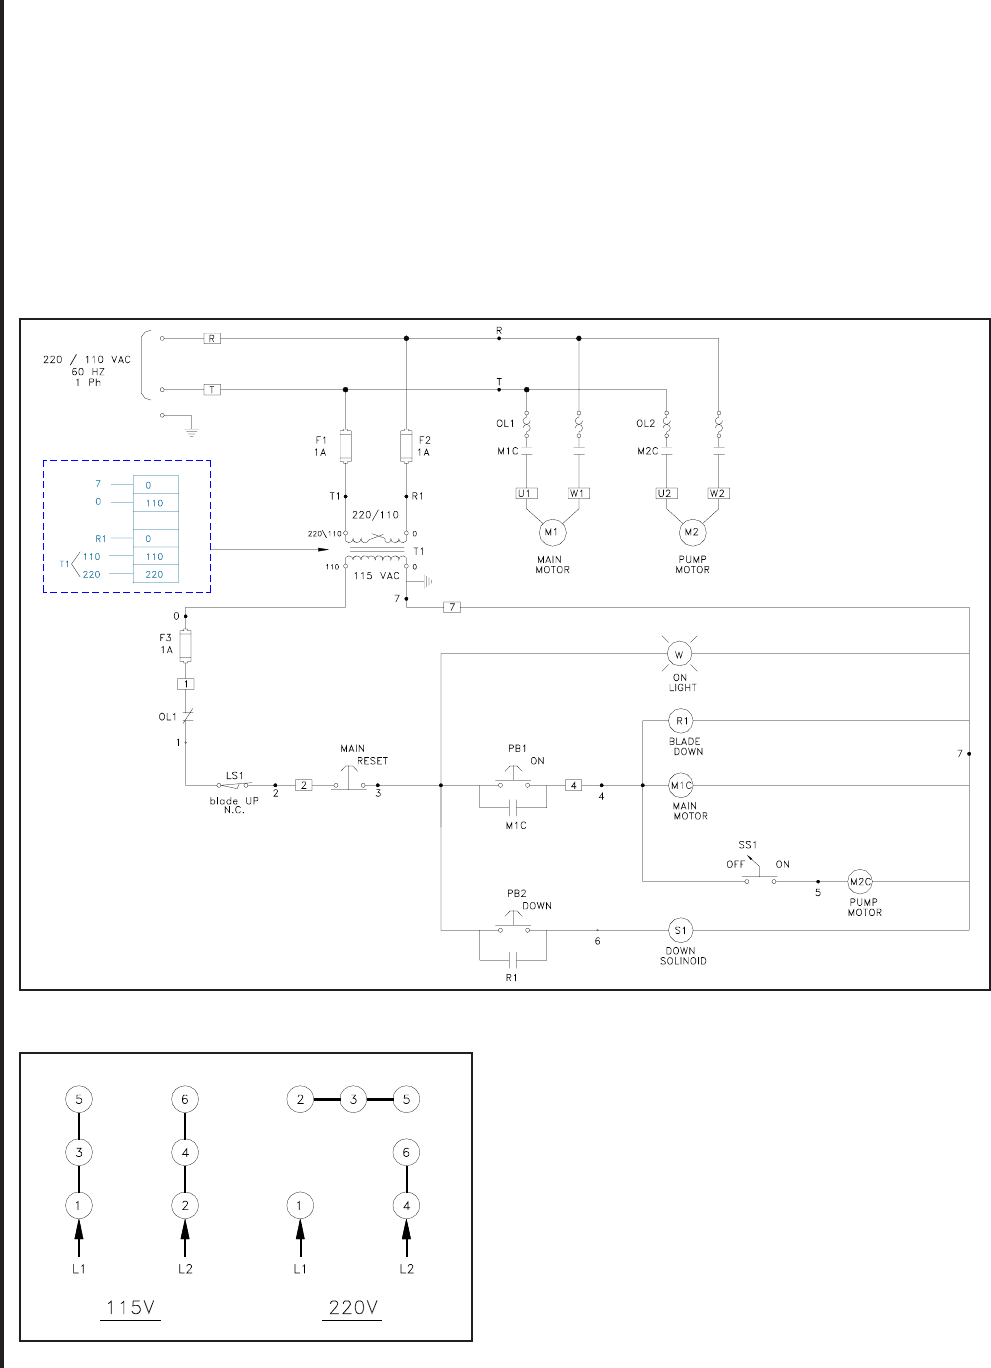
Figure 21: Model 7020 cut-off saw wiring diagram
4. Close the blade cover and secure with four knobs.
Electrical
Observe the following when connecting to the power
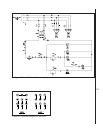
source. (The cut-off saw wiring diagrams are pro-
vided in Figures 21 and 22.)
WARNING: WILTON RECOMMENDS THAT ANY WIR-
ING INVOLVING HARD WIRING OF THE SAW TO A
BRANCH, OR ANY CHANGE OF VOLTAGE SUPPLIED
TO THE MOTOR BE PERFORMED BY A LICENSED
ELECTRICIAN.
1. Make sure the saw is disconnected from the power
source, or that the fuses have been removed or
breakers tripped in the circuit in which the saw will
be connected. Make sure you put a warning plac-
ard on the fuse or circuit breaker to prevent acci-
dental electrical shock.
2. If you are installing the motor power cord into a
receptacle, make sure to use the appropriate plug.
3. If you are using hard-wired connections to a junc-
tion box, connect the wires in the box, and close
the box.
4. Install the fuses or reset the breaker.
5. The saw is now ready for service.
Figure 22: Connection diagram for 1ph motor
115V - To reverse motor rotation
switch terminals 5 and 6.
220V - To reverse motor rotation
hook terminal 6 to 1.


