


1 ï
3
If the protection meets the requirements at extremes of temperature (-5°C
to +55°C) the marking is completed with the letter T. Additional markings
on the product refer to other standards.
FUNCTIONS
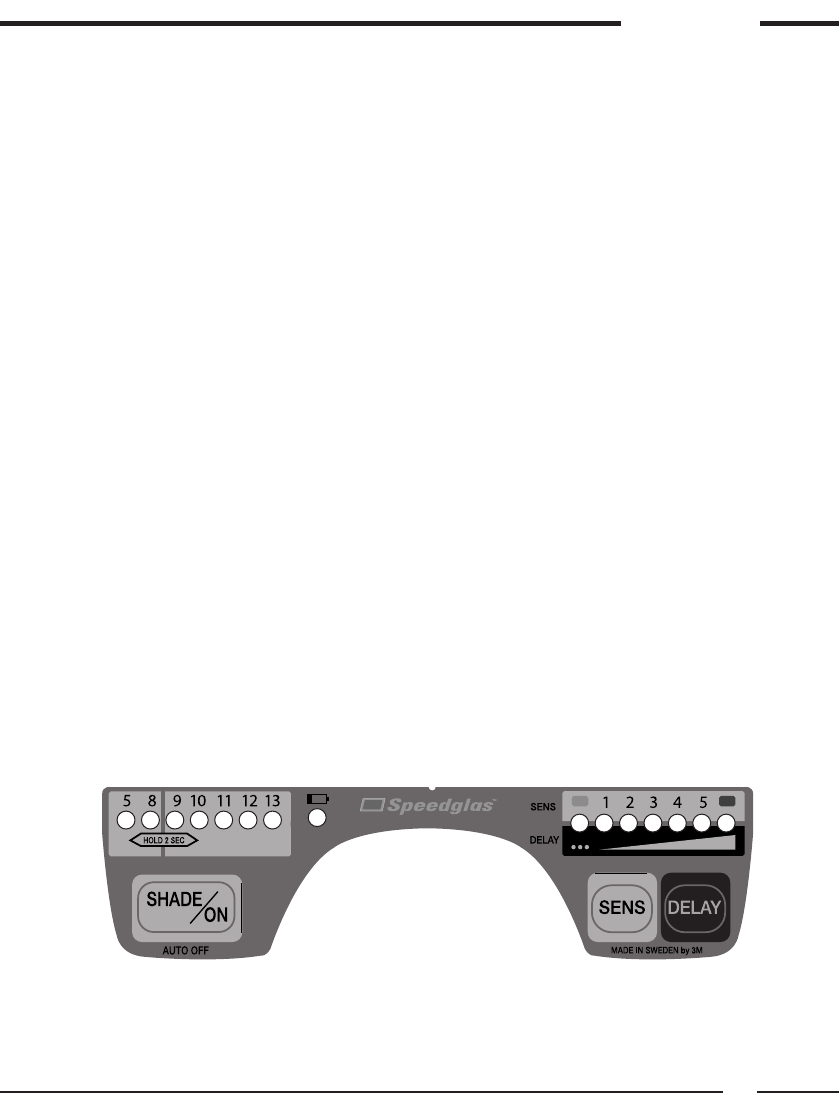
On/Off
To activate the welding fi lter, press the SHADE/ON button. The welding
fi lter automatically turns OFF after 1 hour of inactivity.
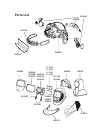
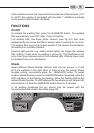
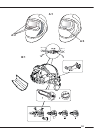
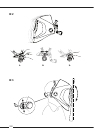
The welding fi lter has three photo sensors (see fi g A:2) that react
independently and cause the fi lter to darken when a welding arc is struck.
The welding fi lter may not go to dark position if the sensors are blocked or
the welding arc is totally shielded.
Flashing light sources (e.g. safety strobe lights) can trigger the welding
fi lter making it fl ash when no welding is occurring. This interference can
occur from long distances and/or from refl ected light. Welding areas must
be shielded from such interference.
Shade
Seven different Shade Number settings, split into two groups, 5, 8 and
9-13 are available in the dark state. In order to see the current Shade
Number setting, momentarily press the SHADE/ON button. To select
another Shade Number, press the SHADE/ON button repeatedly while the
LED indicators on the display are fl ashing. Move the fl ashing LED to the
desired Shade Number. To shift between the two shade groups (shade 5,8)
and (shade 9-13) hold the SHADE/ON button down for 2 seconds.
In all welding processes the arc should only be viewed with the
recommended dark shade. See table page 250.