Page 12For technical questions, please call 1‑800‑444‑3353.SKU 68022
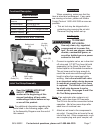
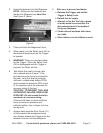
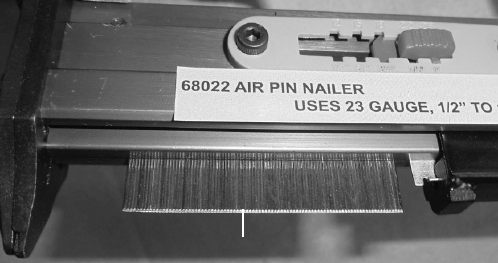
2. Insert the fasteners into the Magazine.
NOTE: Make sure the fasteners are
loaded into Magazine slot head rst.
See Figure 2, below.
3. Close and latch the Magazine Cover.
4. When ready, turn the Safety Lock (26) to
the side and press down on the Trigger
to operate.
5. WARNING! There is no contact safety
for the Trigger. When the Safety Lock
(26) is disengaged and the Trigger is
pressed, the Nailer will re.
6. Test before rst use by driving nails
into a sample piece of wood. If the
tool requires more force to accomplish
the task, verify that the tool receives
sufcient, unobstructed airow (CFM)
and increase the pressure (PSI) output
of the regulator up to the maximum air
pressure rating of this tool.
CAUTION! TO PREVENT TOOL AND
ACCESSORY FAILURE, RESULTING
IN INJURY: Do not exceed the tool’s
maximum air pressure rating.
If the tool still does not have sufcient
force at maximum pressure and
sufcient airow, then a larger tool may
be required
7. Always make sure the Drive Guide (31)
is ush against the workpiece during
use. Always release the Trigger once the
fastener is driven into the workpiece.
8. After use, to prevent accidents:
a. Release the Trigger and set the
Trigger’s Safety Lock.
b. Detach the air supply.
c. Attempt to re the Tool into a piece
of scrap wood to ensure that it is
disconnected and is incapable of
ring any fasteners.
d. Clean external surfaces with clean,
dry cloth.
e. Store indoors out of children’s reach.
Figure 2
Fasteners


