


-13-
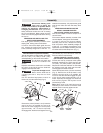
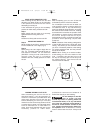
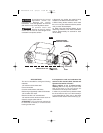
DEPTH GUIDE ADJUSTMENT
Use the depth guide to adjust the depth of
cut. Using the end of the standard wrench,
loosen (counter clockwise) the screw enough
to enable the depth guide to slide up or down
to the desired depth of cut (about 1/8"
greater than material thickness) and
retighten the locking screw (clockwise)
(Fig. 7).
1/8"
DEPTH GUIDE
LOCKING
SCREW
FIG. 7
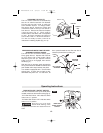
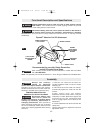
RELEASING AND INSERTING BATTERY PACK
Release battery pack from tool by pressing on
both sides of the battery release tabs and pull
downwards. Before inserting battery pack,
remove protective cap from battery pack. To
insert battery, align battery and slide battery
pack into tool until it locks into position. Do
not force.
CHARGING BATTERY PACK (30 MINUTE SINGLE BAY-BC130)
INDICATORS, SYMBOLS AND MEANING
If the indicator lights are “OFF”, the charger
is not receiving power from power supply
outlet.
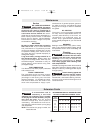
If the green indicator light is
“ON”, the charger is plugged in
but the battery pack is not
inserted, or the battery pack is fully charged
and is being trickle charged.
If the green indicator light is
“BLINKING”, the battery pack is
being fast-charged. Fast-
charging will automatically stop when the
battery pack is fully charged.
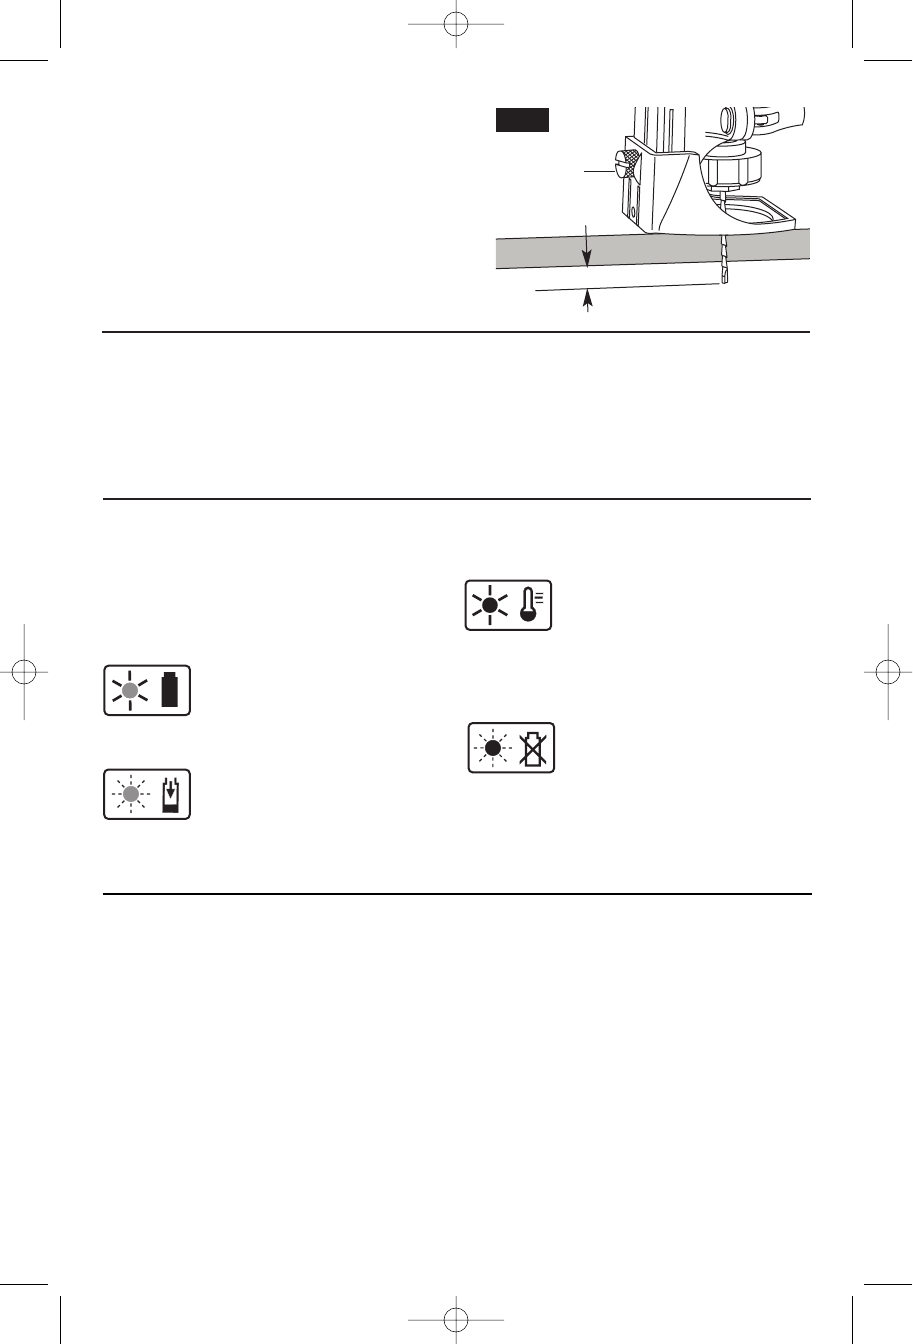
If the red indicator light is “ON”,
the battery pack is too hot or
cold for fast-charging. The
charger will switch to trickle charge, until a
suitable temperature is reached, at which
time the charger will switch automatically to
fast-charging.
If the red indicator light is
“BLINKING”, the battery pack
cannot accept a charge or the
contacts of the charger or battery pack are
contaminated. Clean the contacts of the
charger or battery pack only as directed in
these operating instructions or those supplied
with your tool or battery pack.
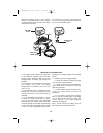
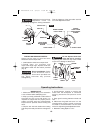
Plug charger cord into your standard power
outlet. Before inserting battery pack, remove
protective cap, then insert battery pack into
charger (Fig. 8).
The charger’s green indicator light will begin to
“BLINK”. This indicates that the battery is
receiving a fast charge. Fast-charging will
automatically stop when the battery pack is
fully charged.
When the indicator light stops “BLINKING”
(and becomes a steady green light) fast
charging is complete.
The battery pack may be used even though
the light may still be blinking. The light may
require more time to stop blinking depending
on temperature. When you begin the
charging process of the battery pack, a
steady red light could also mean the battery
pack is too hot or too cold.
The purpose of the green light is to indicate
that the battery pack is fast-charging. It does
not indicate the exact point of full charge.
The light will stop blinking in less time if the
battery pack was not completely discharged.
When charging several batteries in
sequence, the charge time may slightly
increase.
RZ 2610925600 9-05 9/1/05 11:04 AM Page 13