


11
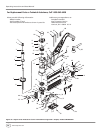
70 psi Minimum
90 psi Maximum
Chart 2
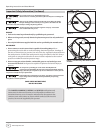
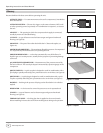
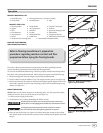
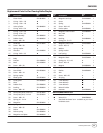
Figure 14 - Air Hose Requirements
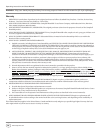
AIR HOSE REQUIREMENTS
DIAMETER LENGTH OF RUN
1/4 inch Less than 50 feet
3/8 inch Greater than or equal
to 50 feet
Chart 3
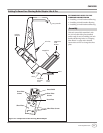
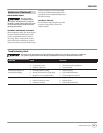
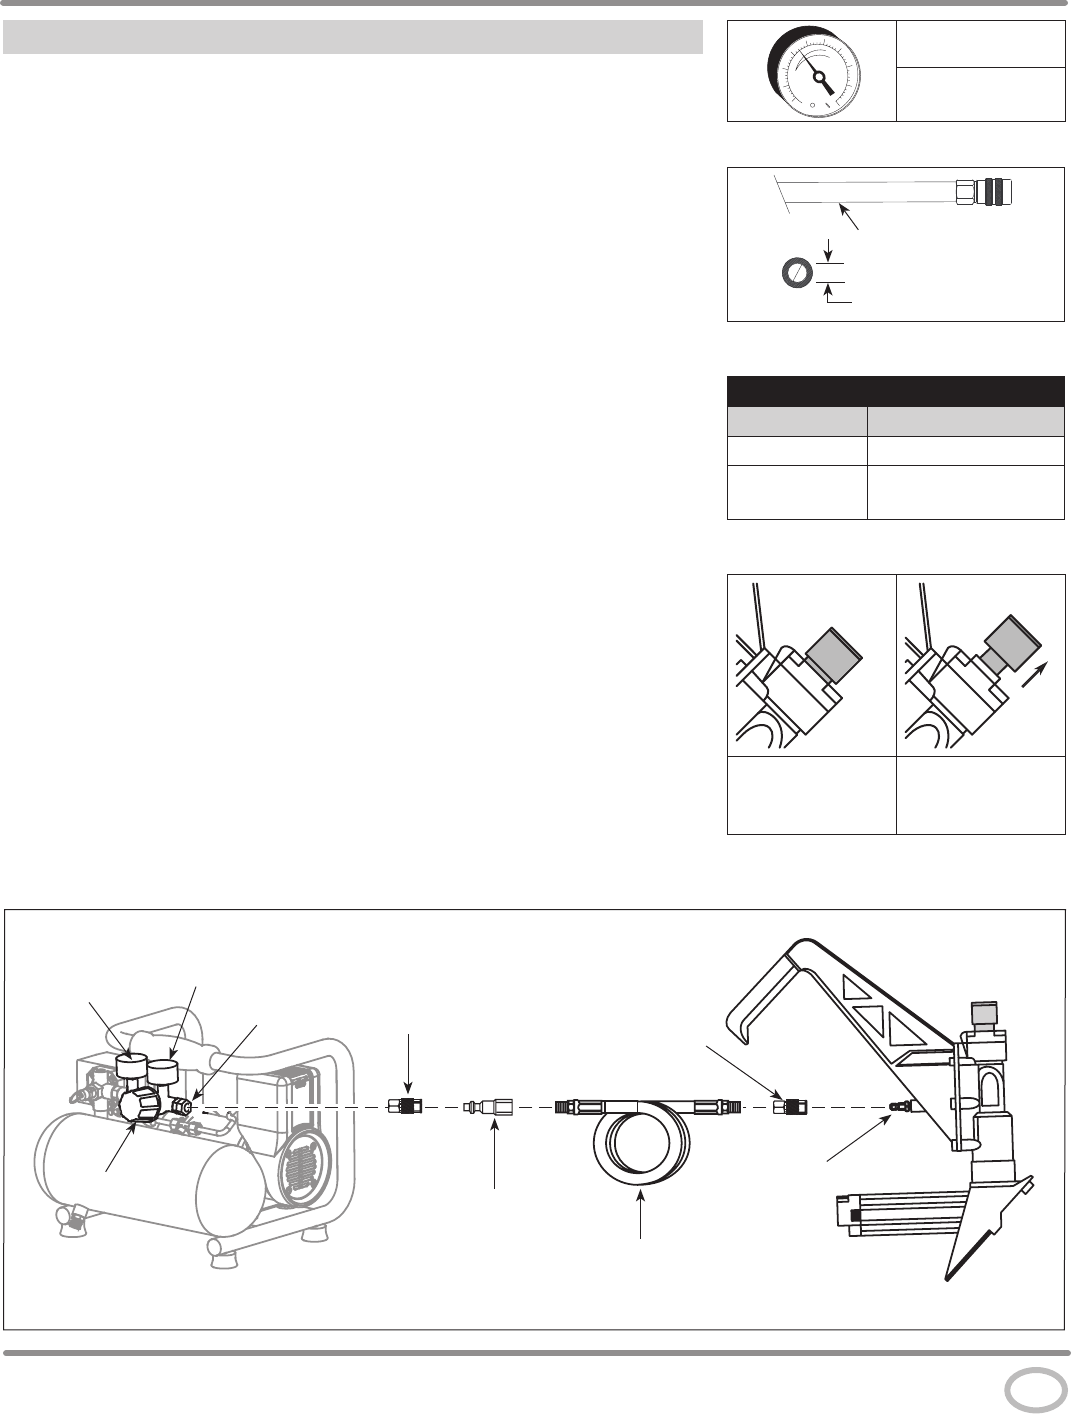
Rubber Bumper
in the DOWN
position
Rubber Bumper in
the UP position
Figure 15 - Attach air hose with Rubber
Bumper in UP position
CHN50300
www.chpower.com
MINIMUM COMPONENTS REQUIRED FOR HOOK-UP
AIR COMPRESSOR: The air compressor must be able to maintain a minimum of 70 psi
when the nailer is being used. An inadequate air supply can cause a loss of power and
inconsistent driving. See Chart 2.
PRESSURE REGULATOR: A pressure regulator is required to control the operating
pressure of the nailer between 70 psi and 90 psi.
AIR SUPPLY HOSE: ALWAYS use air supply hoses with a minimum working pressure
rating equal to or greater than the pressure from the power source, or 150 psi,
whichever is greater. Use 1/4 inch air hose for runs up to 50 feet. Use 3/8 inch air hoses
for 50 ft. run or longer (see Figure 14 and Chart 3).
HOOK-UP INSTRUCTIONS FOR NAILER TO AIR SUPPLY
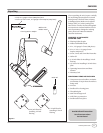
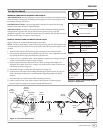
Figure 13 shows the recommended hookup for the nailer.
NOTE: For better performance, install a 3/8 inch quick plug (1/4 inch NPT threads) with
an inside diameter of .315 inch (8 mm) on the nailer and a 3/8 inch quick coupler on the
air hose.
1. With ON/OFF switch in OFF position, plug compressor into electrical outlet.
2. Close pressure regulator by turning all the way to the left. Turn compressor ON and
let it pump all the way up to automatic shut-off pressure.
3. Attach air hose to regulator outlet. Adjust pressure regulator by turning to the right
so that outlet pressure is between 70 psi to 90 psi.
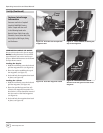
4. Nailer requires lubrication before each use. Place 4-5 drops of 30 weight non-
detergent oil in nailer at air inlet. It helps to tip nailer back in order to add oil (See
Lubrication section on page 10).
5. Pull rubber bumper on nailer into UP position (see Figure 15).
6. Load fasteners into nailer (See Loading/Unloading the Nailer section on page 12).
Follow flooring manufacturer’s recommendation regarding length and type of
fastener.
7. Point the nailer in a safe direction while attaching to air hose.
8. Nailer is ready for use. May need to adjust outlet pressure to achieve proper
fastener depth. See page 14 for Fastener Depth and Placement.
Set-Up (Continued)
Quick
Plug
Quick
Coupler
Air
Hose
Figure 13 - Recommended Hookup
Tank
Pressure
Gauge
Outlet
Pressure
Gauge
Regulator
Outlet
Regulator
Quick
Coupler
Quick
Plug
Interior Diameter
Rated 150 psi or greater