


6. Remove
nailer from
work
surface. The
Work
Contact
Element
(WCE) must
return to its
original
down position. Pull the trigger. The
nailer MUST NOT OPERATE. Do not
use the tool if it operates while
lifted from the work surface.
Personal injury may result.
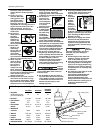
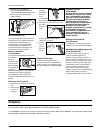
7. Pull the trigger and depress the
work contact element (WCE) against
the work surface. The nailer MUST
OPERATE.
8. Depress the Work Contact Element
(WCE) against work surface. Pull the
trigger. The nailer MUST OPERATE.
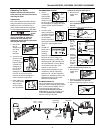
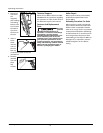
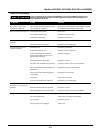
LOADING THE NAILER
1. Always connect the tool to the air
supply before loading fasteners.
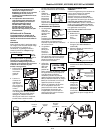
2. Pull nail
pusher
mechanism
back until
pusher
engages
with
magazine
latch.
3. Load strips
of fasteners
into the
magazine
slot. Make
sure that
the nails
are placed
into tool at the proper orientation.
4. Squeeze
the pusher
and the
latch
together to
unlatch
pusher.
Make sure
the head of the last nail is under the
head of the pusher.
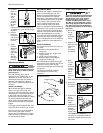
UNLOADING THE NAILER
1. Always unload all fasteners before
removing tool from service.
Unloading is the reverse of loading,
except always disconnect the air
hose before unloading.
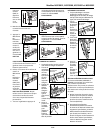
2. Pull nail
pusher
mechanism
back until
pusher
engages
with
magazine
latch.
3. Hold tool
upright so
nails will
slide
backwards
toward
magazine
slot.
4. Squeeze
the pusher
and latch
together to
unlatch the
pusher
once all
nails have
been removed.
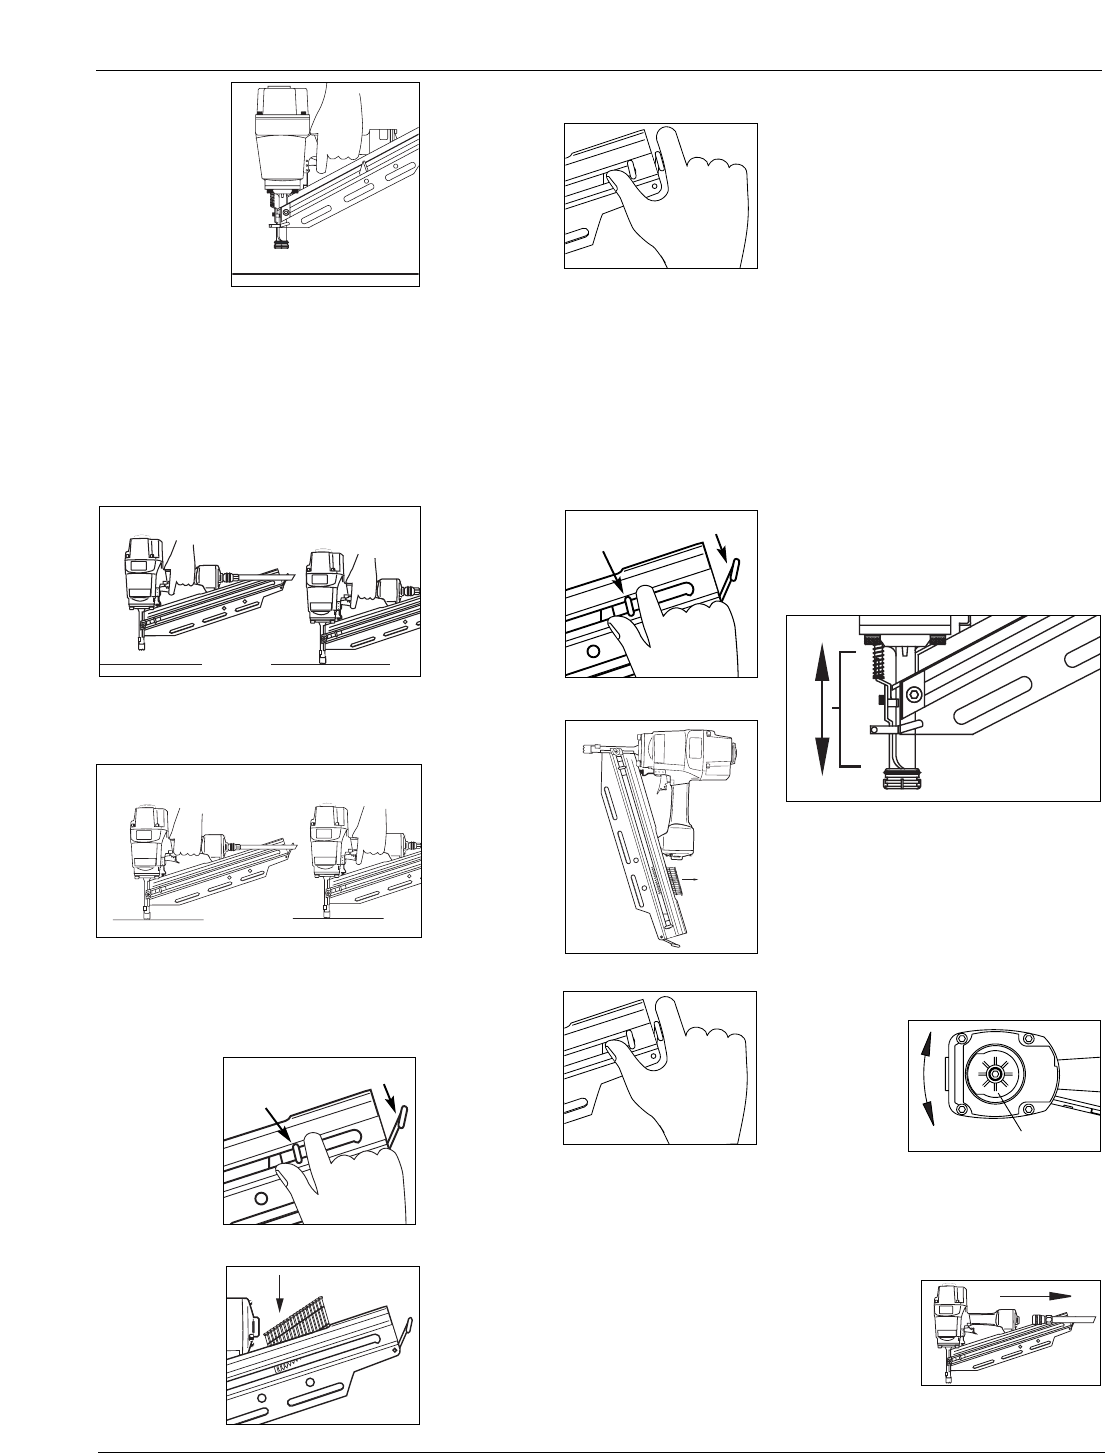
ADJUSTING THE NAIL PENETRATION
The NS219001, NS319001 and NS349001
nailers are equipped with an adjustable
depth of drive feature. This allows the user
to determine how deep a fastener will be
driven into the work surface.
1. Adjust the operating pressure to a
pressure which will consistently
drive the fasteners. Do not exceed
the maximum operating pressure of
the nailer of 120 psi.
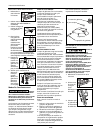
2. To adjust the depth-of-drive, loosen
the 4mm bolt on the top of nose. To
increase depth, push WCE in toward
nose as much as desired. Re-tighten
bolt. To decrease depth, pull WCE
out as much as desired. Re-tighten
bolt.
3. Make sure that the trigger and work
contact element (WCE) move freely
up and down without binding or
sticking after each adjustment.
ANTI-DRY FIRE
These tools are equipped with an Anti-Dry
Fire feature. This prevents the WCE from
being pushed in when only a few nails
remain. Simply load new nail clip behind
remaining nails to continue shooting.
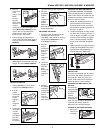
ADJUSTING THE DIRECTION OF THE
EXHAUST
The nailers are
equipped with
an adjustable
direction
exhaust
deflector. This
is intended to
allow the user to change the direction
of the exhaust. Simply twist the
deflector to any direction desired.
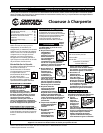
CLEARING A JAM FROM THE NAILER
1. Disconnect
nailer from
air supply.
Models NS219001, NS219500, NS319001 & NS349001
5
Rotate
Nail pusher
mechanism
Latch
Nail pusher
mechanism
Latch
1
2
1
2
www.chpower.com