


Page 8SKU 96375
For technical questions, please call 1-800-444-3353.
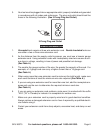
WARNING! Make sure the Power Switch (8) of the Soldering Station is in the
“OFF” position and that the tool is unplugged from an electrical outlet before making
any adjustments to the tool.
Match up holes in Soldering Cord Sleeve (28) to pins in Soldering Cord Connection
(7), plug in, and secure with Soldering Cord Retainer (29).
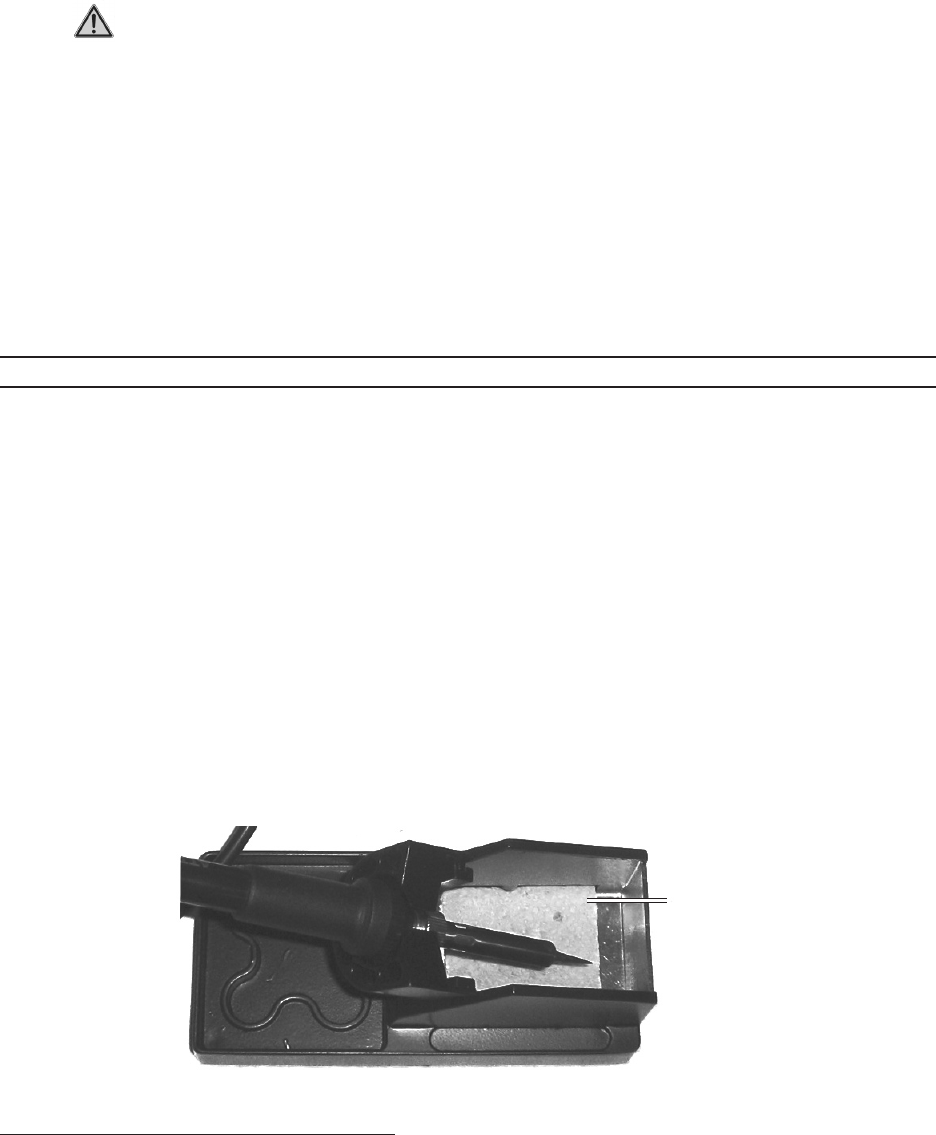
Place Sponge in the bottom of the handle rest reservoir.
Set up handle rest within easy reach of the Soldering Station.
Plug Soldering Station into any standard, 110V AC electrical outlet.
OPERATION INSTRUCTIONS
Check for breakage, worn parts, damaged power cords, or any other condition that
may affect the tool’s operation. If damaged, have the tool serviced before using.
Tighten the Tip Retainer (25) on the Soldering Tip.
Select the correct solder for the intended use. Read the directions for the solder
being used to determine the temperature level that the Soldering Station needs to
be set at. To minimize the risk of damage to surrounding components, select the
minimum heat required to melt the solder chosen for the application.
Plug Soldering Station in and turn Power Switch (8) to the “ON” position. Set the
desired temperature with the Temperature Dial (5).
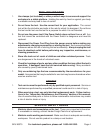
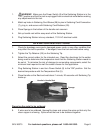
Place Handle on the Rest and wait about 1 minute, 20 seconds until Soldering Tip
heats up.
Handle in Handle Rest
Sponge
Preparing the metal to be soldered
If wires are to be soldered, thoroughly clean and scrape the wires so that only the
clean copper is showing. Splice wires that are to be soldered together.
1.
2.
3.
4.
5.
1.
2.
3.
4.
5.
6.