10
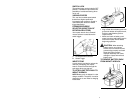
• Lock the switch trigger by placing
FORWARD/REVERSE SELECTOR
in the center position.
• Depress latch located on front of
battery pack (1) to release battery
pack.
• Pull forward on battery pack (2) to
remove from impact wrench.
WARNING: If any parts are
missing, do not operate your
impact wrench until the missing
parts are replaced. Failure to do so
could result in possible serious
personal injury.
WARNING: Always wear safety
goggles or safety glasses with side
shields when operating tools.
Failure to do so could result in
objects being thrown into your
eyes, resulting in possible serious
injury.
CHARGING BATTERY PACK
The battery pack for this tool has been
shipped in a low charge condition to
prevent possible problems. Therefore,
you should charge it until light on front
of charger changes from red to green.
NOTE:Batteries will not reach full
charge the first time they are charged.
Allow several cycles (using impact
wrench followed by recharging) for
them to become fully charged.
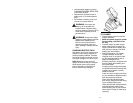
TO CHARGE
• Charge battery pack only with the
charger provided.
• Make sure power supply is normal
house voltage, 120 volts, 60 Hz,
AC only.
• Connect charger to power supply.
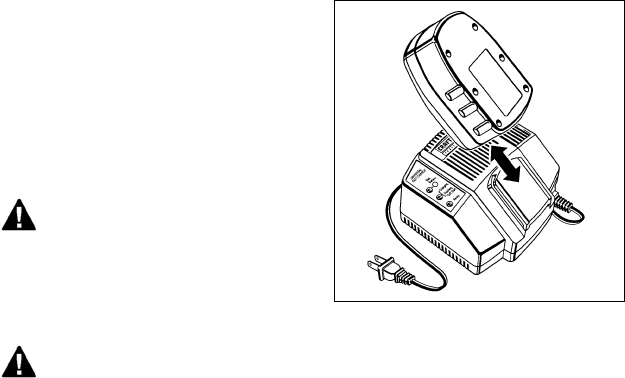
• Attach battery pack to charger by
aligning raised ribs on battery pack
with grooves in charger, then slide
battery pack onto charger.
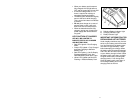
• Red light should turn on. Steady
red light indicates normal fast
charging mode. If red light is flash-
ing, this indicates battery pack is
deeply discharged or hot.
If battery pack is hot, red light should
become steady after battery pack
has cooled down.
If battery pack is deeply discharged,
red light should become steady after
voltage has increased, normally
within 60 minutes.
If after one hour red light is still flash-
ing, this indicates a defective battery
pack that should be replaced.
Green light ON indicates battery
pack is fully charged and slow charg-
ing to maintain battery pack.
Yellow light ON and red light flashing
indicates defective battery pack.
Return battery pack to your nearest
Sears Repair Center for checking or
replacing.
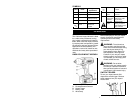
Figure 6: Battery Charger


