18
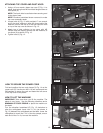
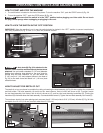
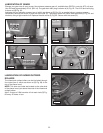
1. Make certain the knives are adjusted properly as explained under How To Check, Adjust, And Re place Knives.
gauge. Lock the head assembly.
top of the gauge block.
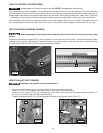
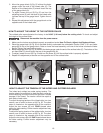
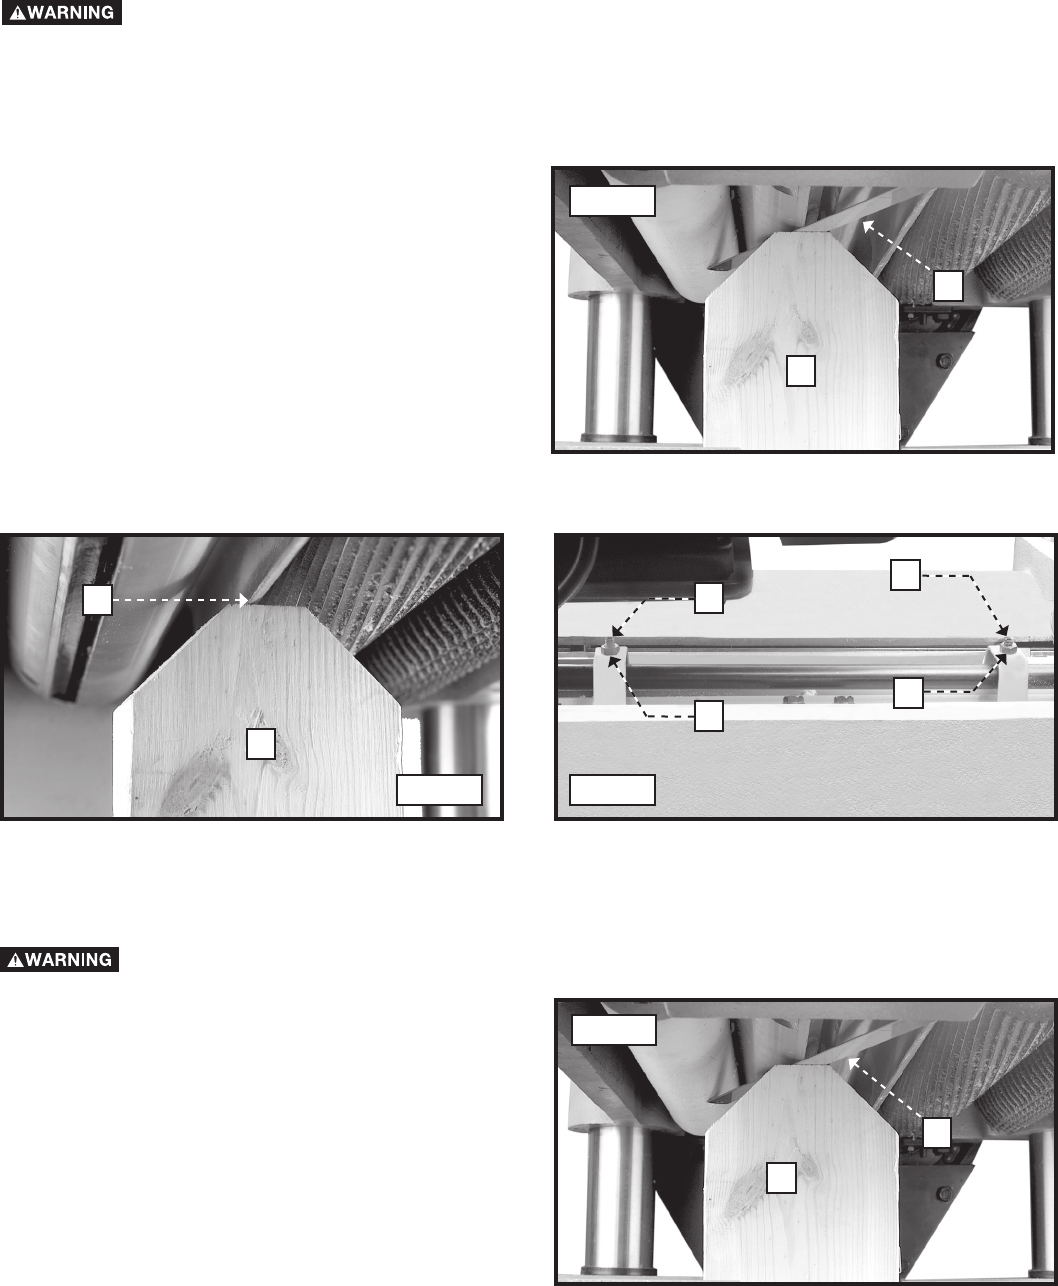
4. To adjust the height of the chipbreaker, remove
chipbreaker is properly adjusted. Tighten the nut
5. Place the gauge block on the other end of the
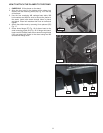
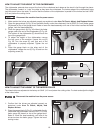
HOW TO ADJUST THE HEIGHT OF THE CHIPBREAKER
The chipbreaker extends down around the front of the cutterhead and raises as the stock is fed through the planer.
The chipbreaker “breaks" or "curls” the chips as they leave the cutterhead. The bottom edge of the chipbreaker helps
hold the stock flat on the table. To confirm that the bottom of the chipbreaker is parallel to the knives and set 0.020"
Fig. 48
Fig. 49 Fig. 50
A
A
C
D
E
G
F
Disconnect the machine from the power source.
B
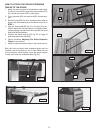
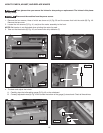
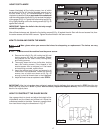
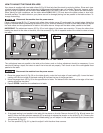
HOW TO ADJUST THE HEIGHT OF THE INFEED ROLLER
of the infeed roller:
Disconnect the machine from the power source.
1. Confirm that the knives are adjusted properly as
ex plained under How To Check, Adjust, And
Re place Knives.
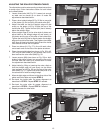
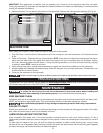
Raise or lower the head assembly until one of the
knives touches the feeler gauge. Tighten the head-
locking knobs.
Fig. 51
A
B


