13
ASSEMBLING
TABLE BOARDS
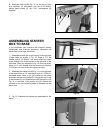
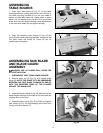
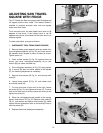
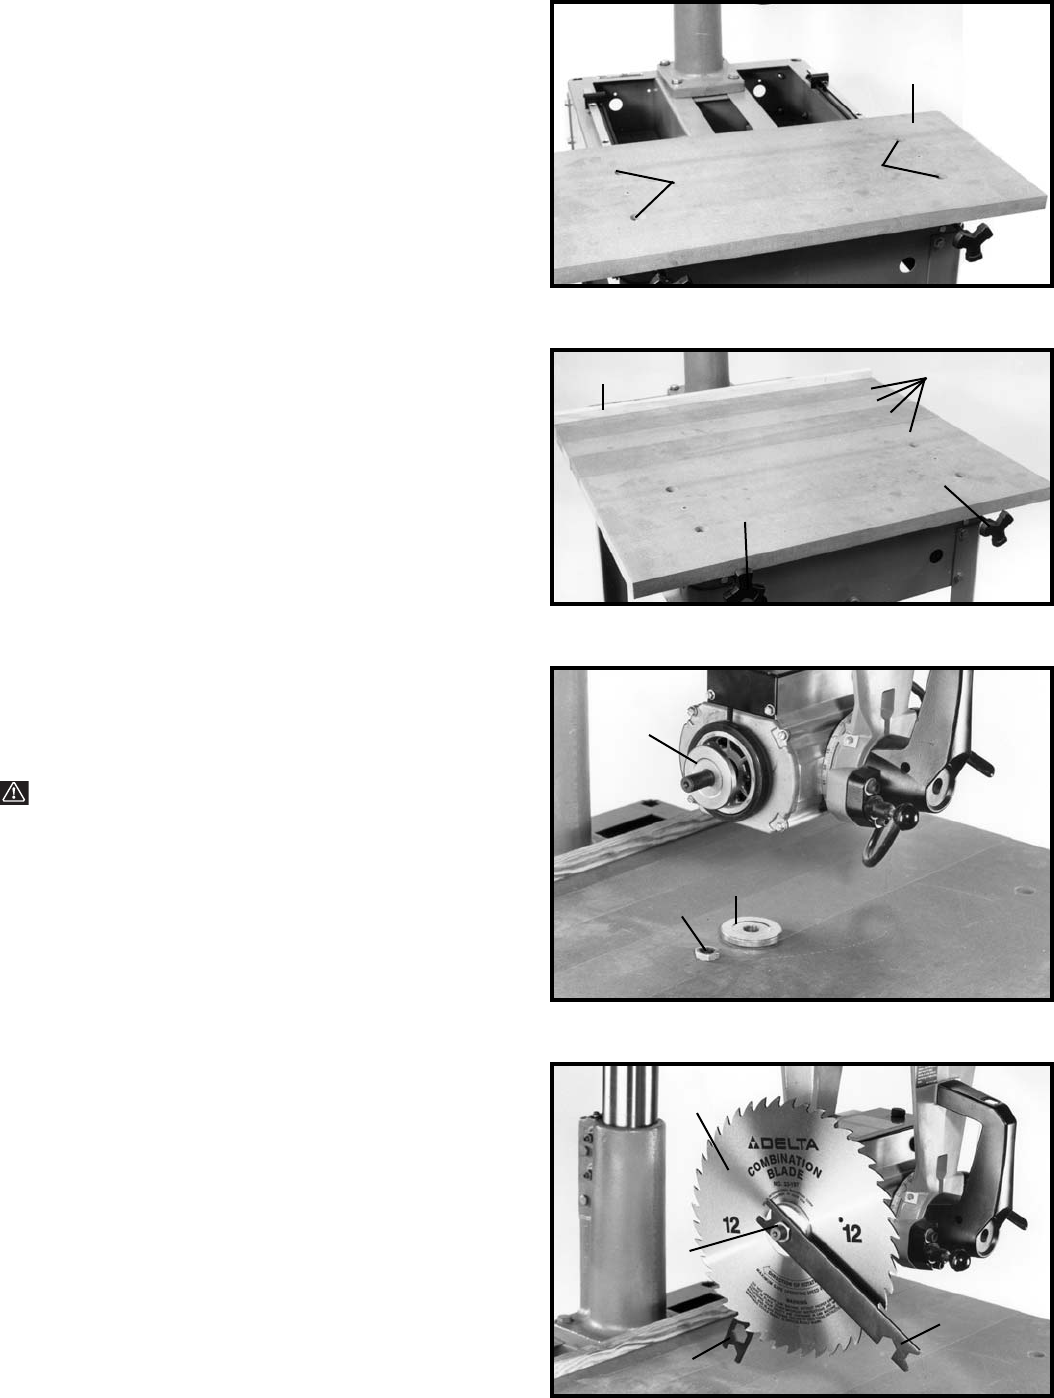
1. Place main table board (A) Fig. 27, on the table
mounting brackets making sure that the two roll pins in
the table mounting brackets fit into the two holes in
bottom of main table board (A). Fasten table in place,
place a 1/4" flat washer onto a 1/4-20x1-3/4" round head
screw and insert the screws through holes (B) predrilled
in the main table board (A) and tighten securely.
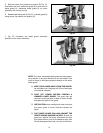
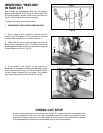
2. Place the remaining loose boards (C) Fig. 28 and
fence (D) on the table mounting brackets, and tighten the
two table clamp rod knobs (E). Fence (D) can be
repositioned as required.
Fig. 27
Fig. 28
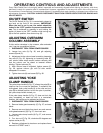
Fig. 29
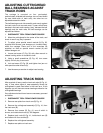
Fig. 30
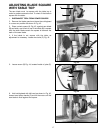
ASSEMBLING SAW BLADE
AND BLADE GUARD
ASSEMBLY
WARNING: USE 12” BLADES ONLY, RATED FOR
AT LEAST 3450 RPM.
1. DISCONNECT TOOL FROM POWER SOURCE.
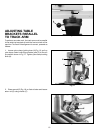
2. Remove arbor nut (A) Fig. 29, and outside blade
flange (B). NOTE: THE BLADE IS TO BE ASSEMBLED
BETWEEN THE TWO BLADE FLANGES (B) AND (C)
WITH THE RECESSED SIDES OF THE FLANGES
AGAINST THE SAW BLADE.
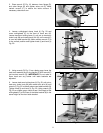
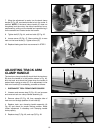
3. Assemble the saw blade (D) Fig. 30, between the two
blade flanges making sure the teeth of the saw blade are
pointing down at the front.
4. Assemble arbor nut (A) Fig. 30 to shaft and tighten
with wrench (E) Fig. 30, while keeping arbor shaft from
turning with other wrench (F).
B
B
A
D
C
E
C
B
A
D
A
F
E
E


