7
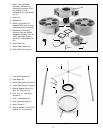
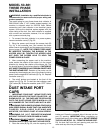
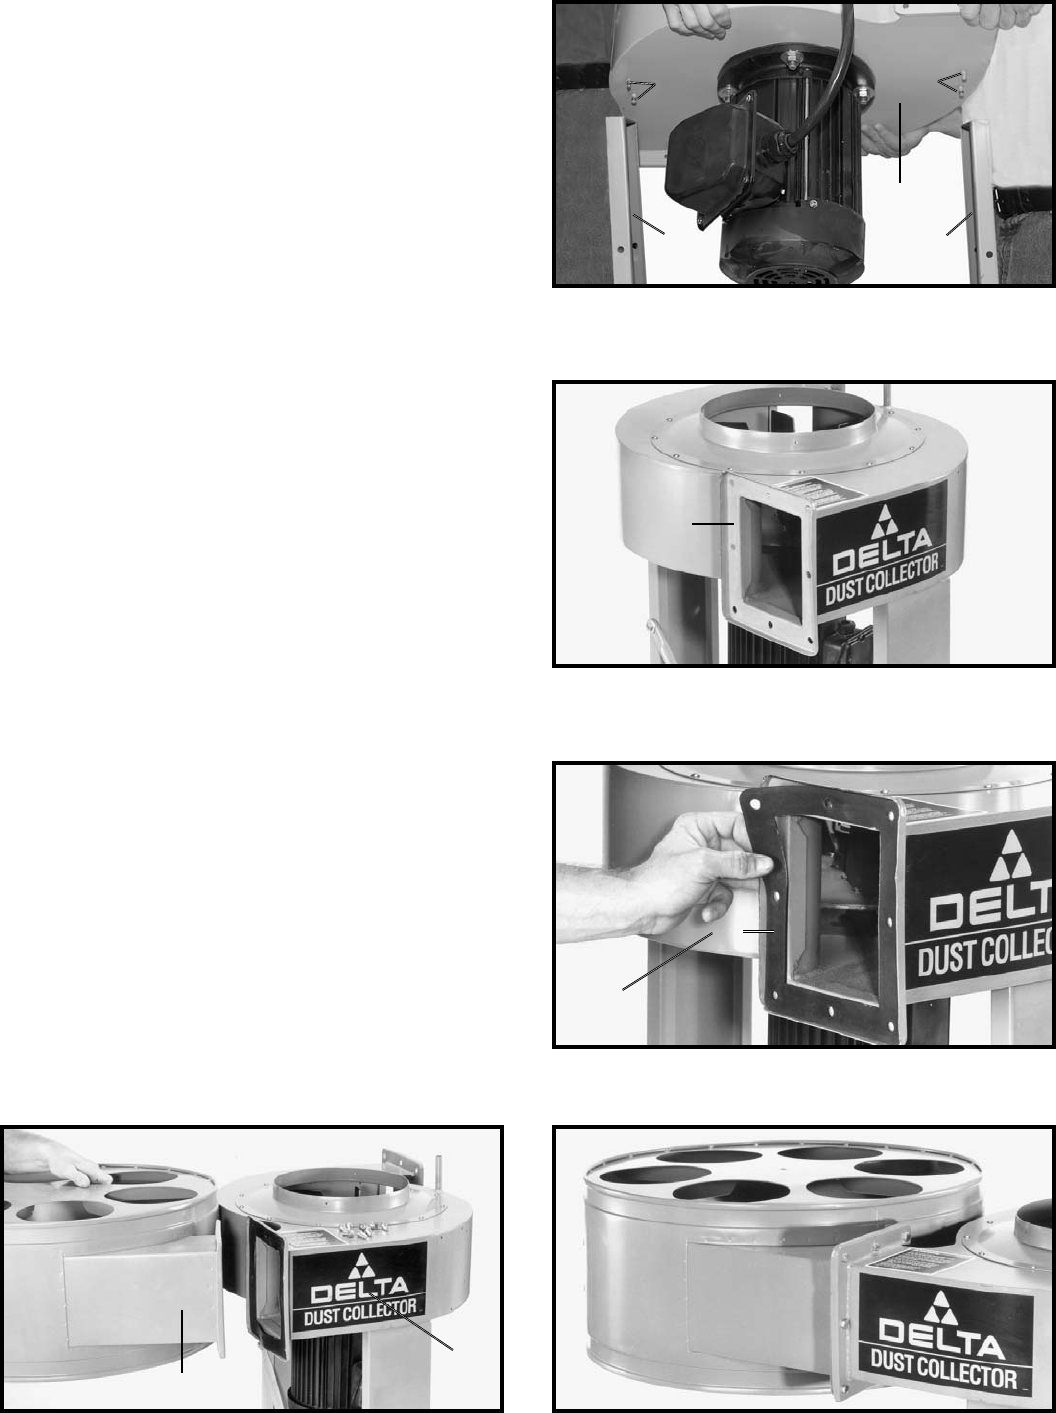
Fig. 10
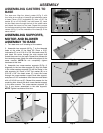
Fig. 11
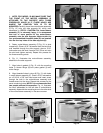
Fig. 12
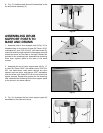
Fig. 14Fig. 13
4. NOTE: FOR MODEL 50-866 MAKE SURE THAT
THE FRONT OF THE MOTOR ASSEMBLY IS
ATTACHED TO THE SUPPORT WITH THREE
PREDRILLED HOLES IN IT, (THESE HOLES ARE
WHERE THE CONTROL BOX IS TO BE
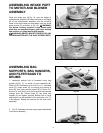
MOUNTED).Carefully place the motor/blower assembly
(F) Fig. 10, onto two side supports (A), which were
assembled in STEP 2. CAUTION: The motor/blower
assembly (F) is extremely heavy. It is recommend
that two or more people lift the motor/blower
assembly onto the side supports. Make certain the
four pre-assembled threaded studs (G) are inserted
into the four top holes of the side supports (A).
5. Fasten motor/blower assembly (F) Fig. 10, to side
supports (A). Place a 5/16" flat washer onto the stud that
was inserted through the side support, place a 5/16"
lockwasher onto the stud, thread a 5/16-18 hex nut onto
the stud and tighten securely. Repeat this process for
the three remaining studs.
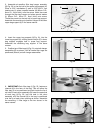
6. Fig. 11, illustrates the motor/blower assembly
attached to the side supports.
7. Align holes in gasket (J) Fig. 12, with the mounting
holes in blower flange (H) and press gasket (J) onto
motor flange.
8. Align threaded holes in drum (K) Fig. 13, with holes
in motor/blower assembly (F). Place a 5/16" lockwasher
on a 5/16-18 x 5/8" hex head screw and insert screw
through the hole in the motor/blower assembly and
thread screw into the drum. Repeat this process for the
seven remaining holes. NOTE: It is recommended that
two people perform this operation. Fig. 14, illustrates
the drum assembled to the left side of motor/blower
assembly. Assemble the remaining drum to the other side
of the motor/blower assembly in the same manner.
H
J
K
F
F
A
A
G
G
H


