


32
English
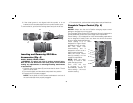
K
J
O
H
C
N
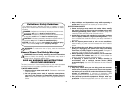
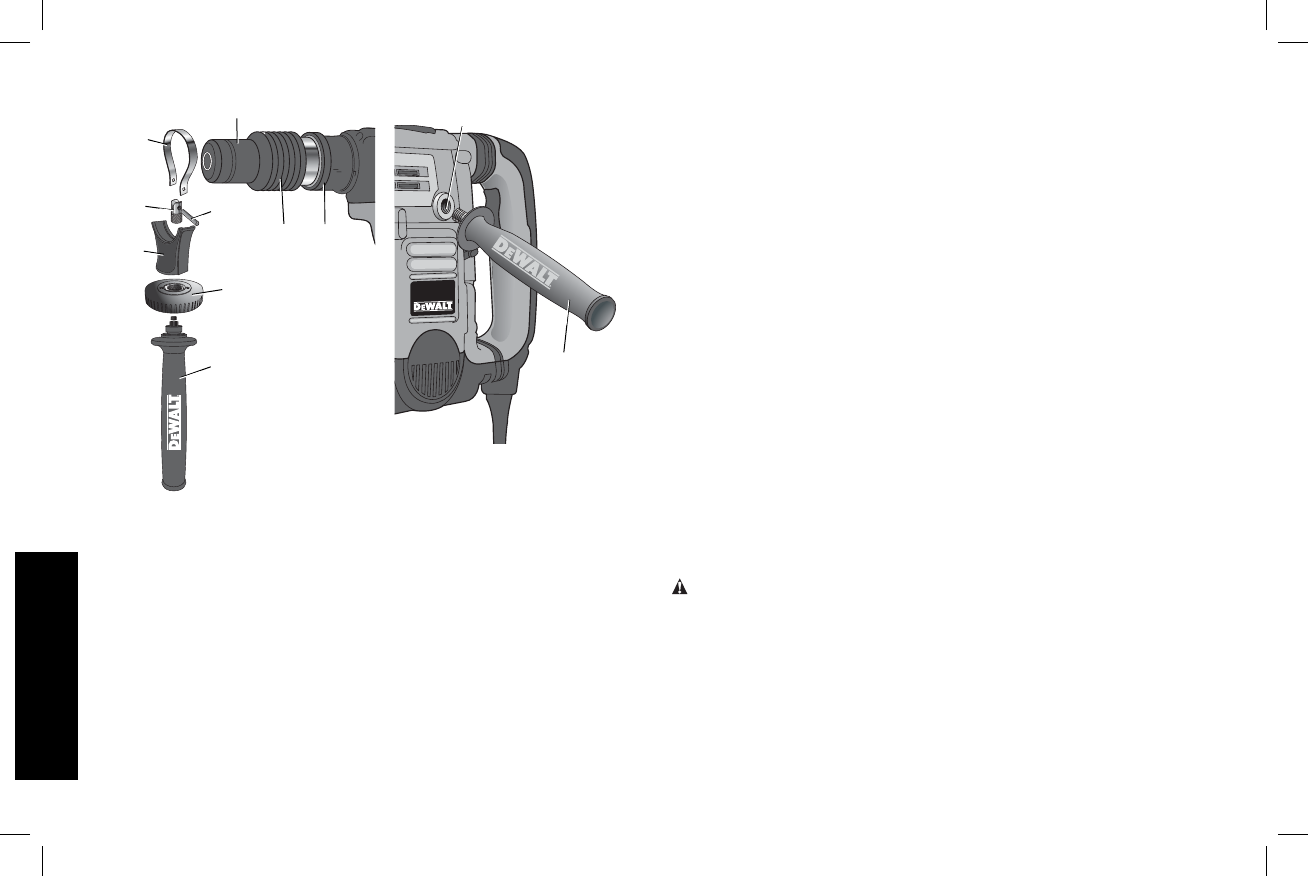
FIG. 2
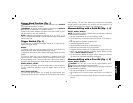
L
P
M
FIG. 3
C
I
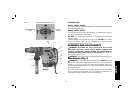
TO MOUNT IN FRONT POSITION (FIG. 2)
1. Unscrew the side handle (C) and disassemble the side handle
clamp (J).
2. Snap the steel ring (K) over the collar (L) behind the tool holder
(M). Squeeze both ends of the steel ring together. Mount the
bushing (N) and insert the pin (O).
3. Slide the side handle clamp (J) over the bushing and screw on the
clamp knob (H) –do not tighten.
4. Screw the side handle (C) into the clamp knob (H) and tighten.
5. Rotate the side handle mounting assembly to the desired position.
For hammerdrilling horizontally with a heavy drill bit, place the side
handle assembly at an angle of approximately 20° to the tool for
optimum control.
6. Lock the side handle mounting assembly in place by tightening
the clamp knob (H).
TO MOUNT IN REAR POSITION (FIG. 3)
1. Unscrew the side handle (C) and remove it from the side handle
mounting assembly. Leave the side handle mounting assembly in
the front position.
2. Screw the side handle directly into one of the rear side handle
positions (I) on either side of the tool.
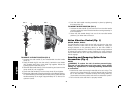
Active Vibration Control (Fig. 1)
D25602, D25831, D25851
For best vibration control, hold the tool with one hand on the main
handle (D) and the other hand on the side handle (C). Apply just
enough pressure so the damping device on the main handle is
approximately midstroke. The hammer only needs enough pressure
to engage the active vibraton control. Applying too much pressure
will not make the tool drill or chip faster and active vibration control
will not engage.
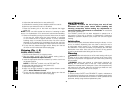
Inserting and Removing Spline Drive
Accessories (Fig. 4)
D25851
WARNING: To reduce the risk of serious personal injury,
turn tool off and disconnect tool from power source before
making any adjustments or removing/installing attachments
or accessories.
1. Insert the bit shank into the tool holder (M) as far as it will go. The
groove on the chisel shank (Q) must be aligned with the symbol
(R) on the toolholder. If inserted correctly, the locking sleeve (P)
moves back to the end position and shows a closed lock symbol.
2. Pull on the bit to be sure that it is properly locked.