


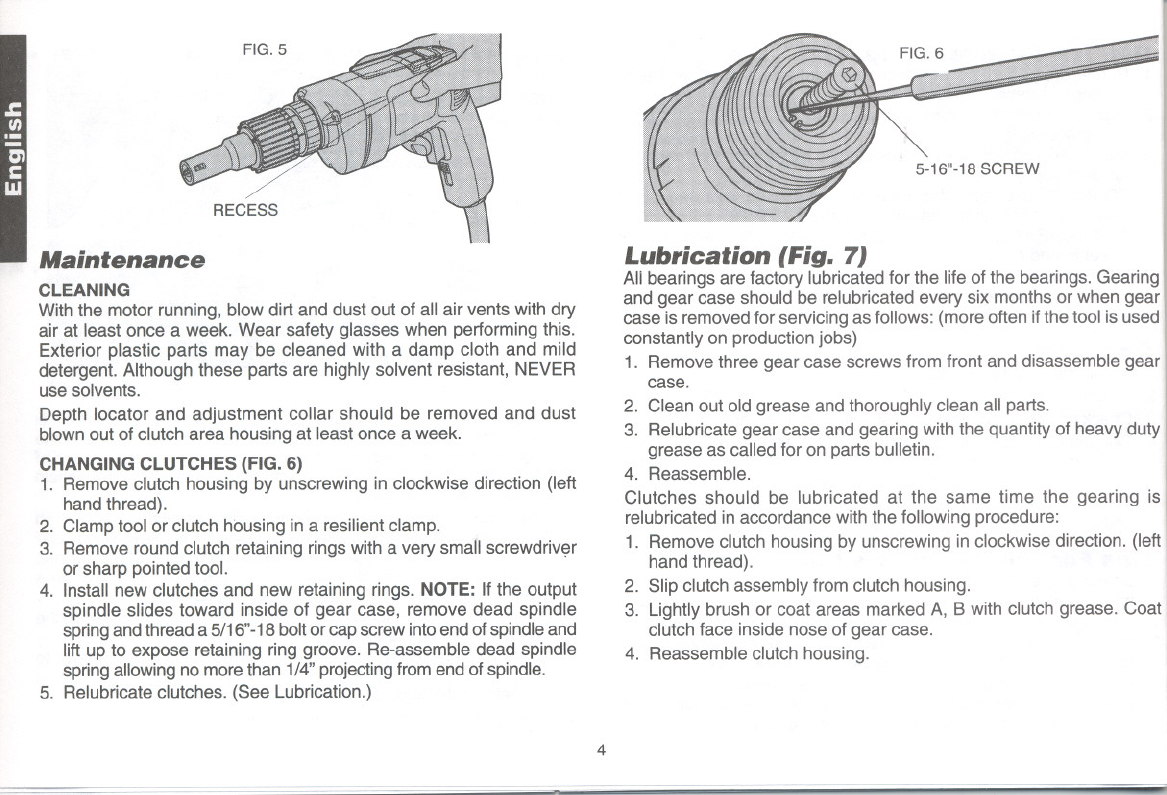
FIG. 5
Maintenance
CLEANING
With the motor running, blow dirt and dust out of all air vents with dry
air at least once a week. Wear safety glasses when performing this.
Exterior plastic parts may be cleaned with a damp cloth and mild
detergent. Although these parts are highly solvent resistant, NEVER
use solvents.
Depth locator and adjustment collar should be removed and dust
blown out of clutch area housing at least once a week.
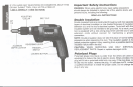
CHANGING CLUTCHES (FIG. 6)
1. Remove clutch housing by unscrewing in clockwise direction (left
hand thread).
2. Clamp tool or clutch housing in a resilient clamp.
3. Remove round clutch retaining rings with a very small screwdriver
or sharp pointed tool.
4. Install new clutches and new retaining rings. NOTE: If the output
spindle slides toward inside of gear case, remove dead spindle
spring and thread a 5/16"-18 bolt or cap screw into end of spindle and
lift up to expose retaining ring groove. Re-assemble dead spindle
spring allowing no more than 1/4" projecting from end of spindle.
5. Relubricate clutches. (See Lubrication.)
r
I
I
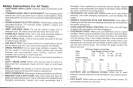
Lubrication (Fig. 7J
All bearings are factory lubricated for the life of the bearings. Gearing
I
and gear case should be relubricated every six months or when gear
case is removed for servicing as follows: (more often if the tool is used
constantly on production jobs) I
1. Remove three gear case screws from front and disassemble gear
~e. I
2. Clean out old grease and thoroughly clean all parts. I
3. Relubricate gear case and gearing with the quantity of heavy duty I
grease as called for on parts bulletin.
4. Reassemble.
Clutches should be lubricated at the same time the gearing is
relubricated in accordance with the following procedure:
1. Remove clutch housing by unscrewing in clockwise direction. (left I
hand thread).
2. Slip clutch assembly from clutch housing. I
3. Lightly brush or coat areas marked A, B with clutch grease. Coat
clutch face inside nose of gear case.
4. Reassemble clutch housing.
4