7
FUNCTIONAL DESCRIPTION
NOTICE: THE PHOTO ON THE MANUAL COVER ILLUSTRATES THE
CURRENT PRODUCTION MODEL. ALL OTHER ILLUSTRATIONS CONTAINED
IN THE MANUAL ARE REPRESENTATIVE ONLY AND MAY NOT DEPICT THE
ACTUAL COLOR, LABELING OR ACCESSORIES AND ARE INTENDED TO
ILLUSTRATE TECHNIQUE ONLY.
FOREWORD
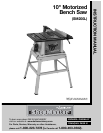
ShopMaster Model SM200L is a 10" Table Saw designed to give high quality performance with depth of cut capacity up
to 3" (76mm) at 90° and 2" (51mm) at 45° for clean cutting of standard stock sizes. Delta ShopMaster Model TS200LS
includes the saw with a 13 amp 120V motor, a metal stand, rip fence, miter gage, see-through blade guard with splitter
and anti-kickback fingers, a 10” carbide-tipped saw blade, table insert and blade wrenches. The TS200 is the same saw
without the stand.
EXTENSION CORDS
Use proper extension cords. Make sure
your extension cord is in good condition and is a 3-wire
extension cord which has a 3-prong grounding type plug
and matching receptacle which will accept the machine’s
plug. When using an extension cord, be sure to use one
heavy enough to carry the current of the machine. An
undersized cord will cause a drop in line voltage,
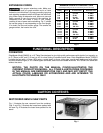
resulting in loss of power and overheating. Fig. C shows
the correct gauge to use depending on the cord length.
If in doubt, use the next heavier gauge. The smaller the
gauge number, the heavier the cord.
Fig. C
MINIMUM GAUGE EXTENSION CORD
RECOMMENDED SIZES FOR USE WITH STATIONARY ELECTRIC MACHINES
Ampere Total Length Gauge of
Rating Volts of Cord in Feet Extension Cord
0-6 120
up to
25 18 AWG
0-6 120 25-50 16 AWG
0-6 120 50-100 16 AWG
0-6 120 100-150 14 AWG
6-10 120
up to
25 18 AWG
6-10 120 25-50 16 AWG
6-10 120 50-100 14 AWG
6-10 120 100-150 12 AWG
10-12 120
up to
25 16 AWG
10-12 120 25-50 16 AWG
10-12 120 50-100 14 AWG
10-12 120 100-150 12 AWG
12-16 120
up to
25 14 AWG
12-16 120 25-50 12 AWG
12-16 120
GREATER THAN 50 FEET NOT RECOMMENDED
MOTORIZED BENCH SAW PARTS
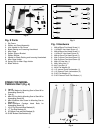
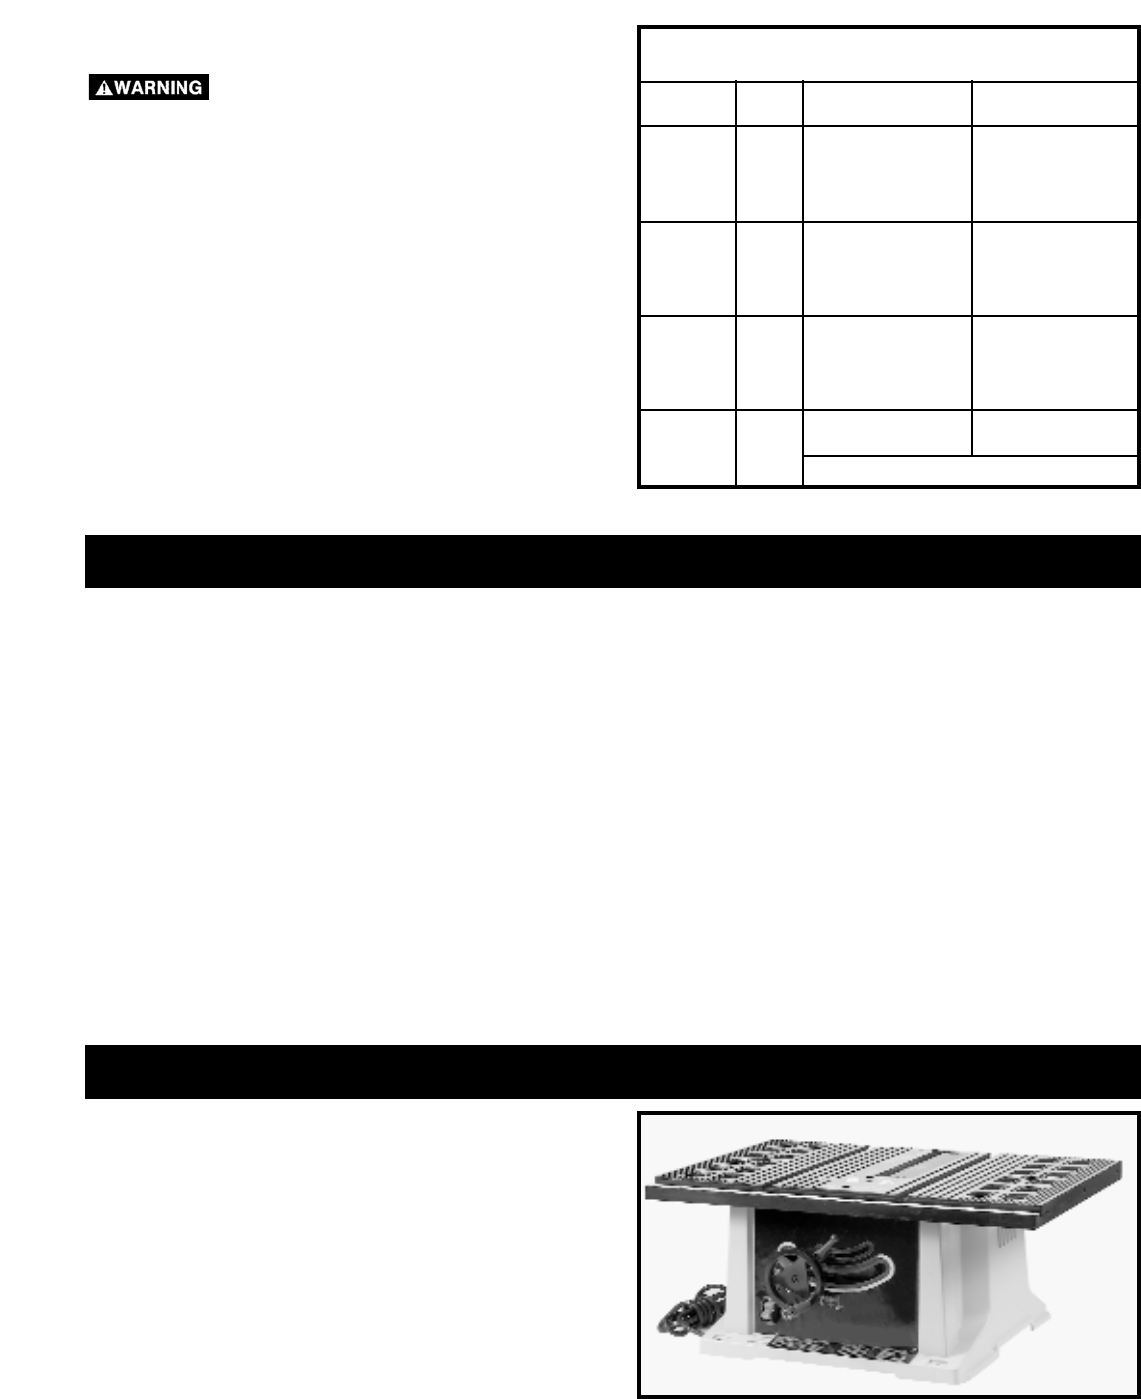
Fig. 1 illustrates the saw removed from the container.
Figs. 2 and Fig. 3 illustrate the loose items packed with
the saw. Fig. 4 illustrates the loose items packed for the
stand.
Fig. 1
CARTON CONTENTS


