19
4.1 Switch/Overload Protection
The switch is equipped with a no-volt release solenoid (magnetic switch), to
prevent start-up after a power failure. If the saw is not connected to the power
mains the switch does not engage. In the event of a power failure the machine
has to be restarted. In case of an overload of the main motor the build-in motor
protection relay trips and cuts the power to the motor. If the motor is shut off
repeatedly by the overload relay, check machine (motor brake action, dull blade,
low voltage etc.). A cooling down period of 30 min. is recommended.
A light humming from the solenoid inside the switch is normal and does not
indicate a fault.
- Block rotary switch knob with a padlock to prevent unauthorized use.
5 Controls/Settings
5.1 Sawblade Vertical Setting
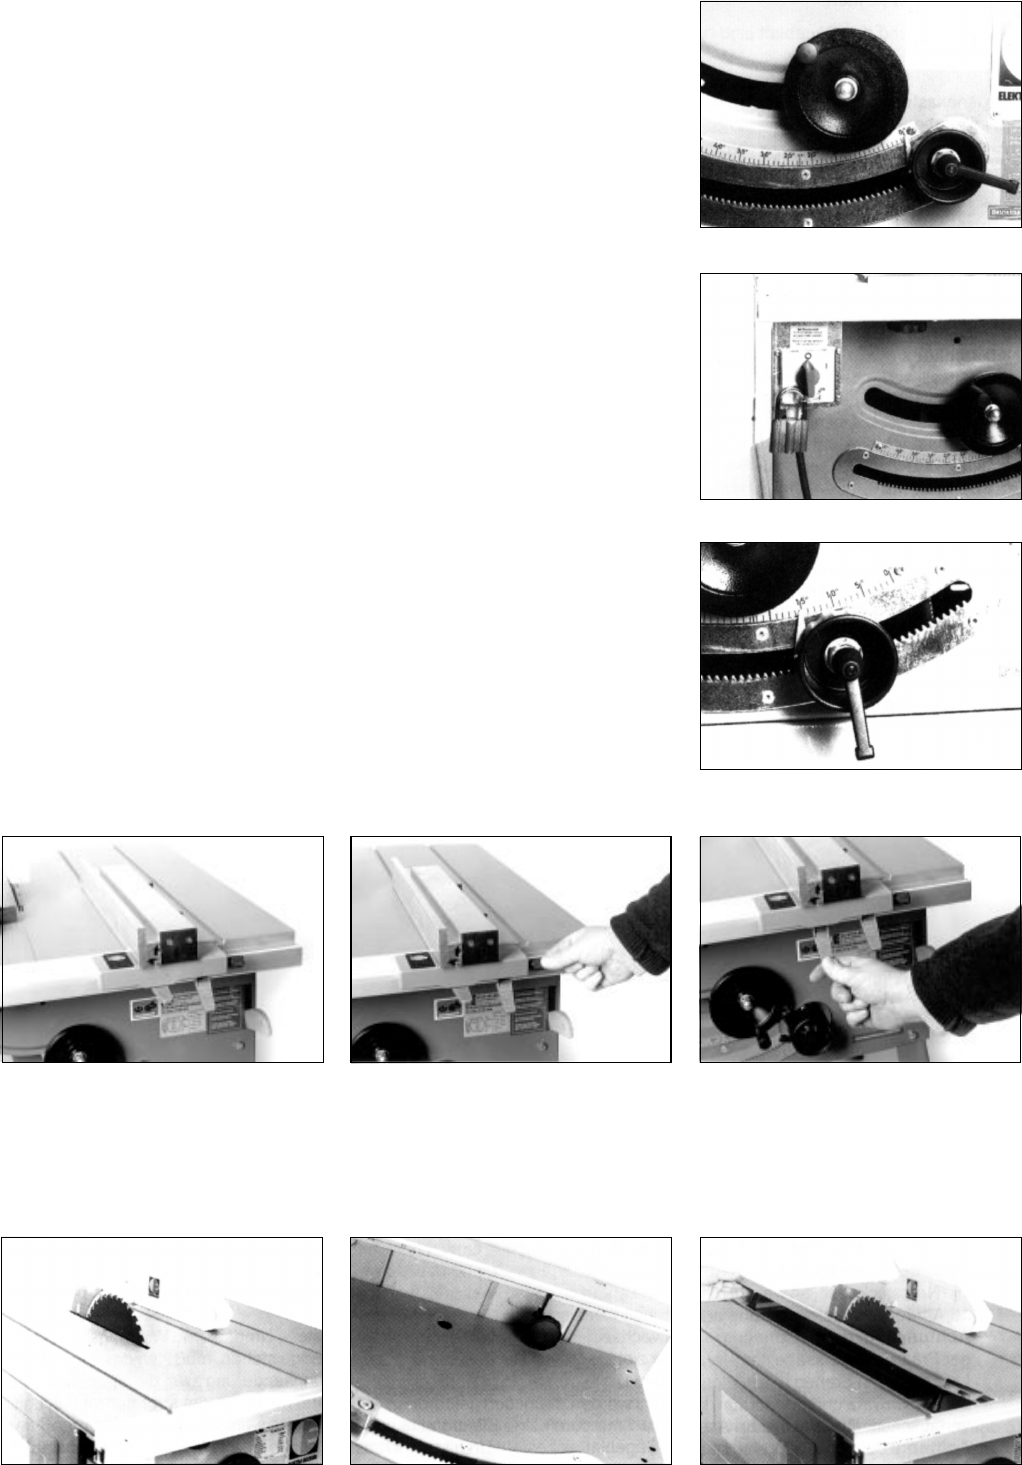
The depth of cut of the main blade is set by turning the cranked handwheel.
Turn clockwise to raise blade
Turn counter-clockwise to lower blade
To compensate for possible play always raise blade into desired position.
5.2 Blade Tilt
After release of the ratchet lock lever inside the handwheel the blade can be tilted
steplessly to any position between 90° and 45° by turning the handwheel.
Reference point is the graduation mark to the right of the pointer.
- Tighten ratched lock lever after setting.
Caution! Carry out setting only with the blade at complete standstill.
5.4 Opening the Chipcase
Disconnect from power before servicing!
Loosen wingnut of saw blade guard a few
turns. Pull forward and up to remove blade
guard from riving knife.
Loosen starknobs located below the table
at front and rear of removable table sec-
tion and push against the workstand panel.
Remove the removable table section.
5.3 Rip Fence Setting
Place rip tence onto the saw table. Set to
required width of cut, then push the right
hand side lock lever down.
Turn micro-adjuster screw to set fence to
exact dimension.
After micro-adjustment is made push down
the left hand side lock lever to lock the rip
fence in position.


