


6
TO REDUCE THE RISK OF
INJURY, USER MUST READ AND UNDER-
STAND INSTRUCTION MANUAL.
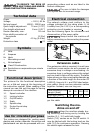
Technical data
Power 12 A
Voltage ~ 120 V, 60 Hz
No load speed 10000 - 22500 rpm
Quick height adjustment 70 mm (2.76“)
Fine height adjustment 8 mm (0.31“)
Router diameter, max. 63 mm
Drive shaft connection of
the spindle M 22x1
Weight 4.5 kg (9.9 lbs)
Protection class
/ II
Symbols
V Volts
A Amperes
Hz Hertz
~ Alternating current
n
0
No load speed
Class II Construction
rpm Revolutions or reciprocation per minute
Ø Diameter
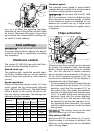
Functional description
The pictures for the functional description
are on a fold-out page at the beginning of
the instruction manual. When reading of the
manual you can fold out this page for having
always an overview of the machine.
1.1 Speed controller
1.2 Locking button
1.3 On/Off switch
1.4 Scale
1.5 Spindle stop
1.6 Pivoted turret stop
1.7 Collet nut
Use for intended purpose
The routers are designed for routing wood,
plastics and similar materials. Aluminium and
plasterboard can also be processed with cor-
responding cutters such as are listed in the
Festool catalogues.
The user is liable for damages
and injuries due to incorrect usage.
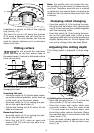
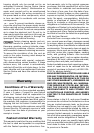
Electrical connection
The network voltage must conform to the
voltage indicated on the rating plate. A 16
A safety fuse (for 120 V) or a corresponding
protective circuit-breaker is required.
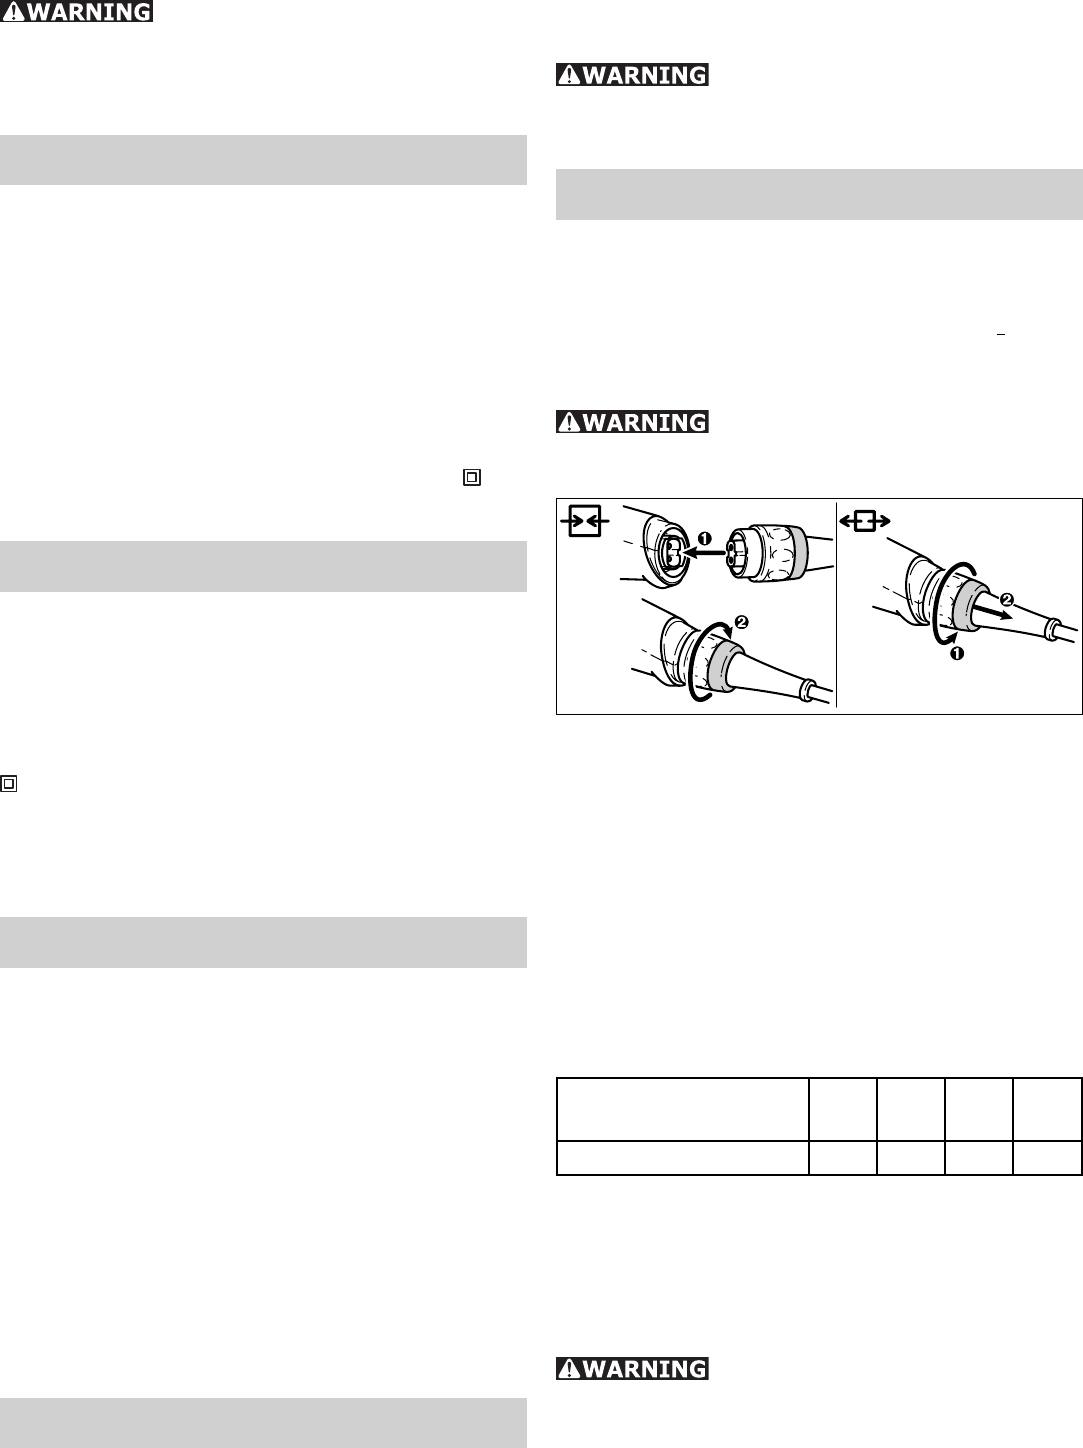
See the following fi gure for connection and
disconnection of the power cable.
Always switch the machine off
before connecting or disconnecting the power
cable!
2
Extension cable
If an extension cable is required, it must have
a suffi cient cross-section so as to prevent an
excessive drop in voltage or overheating. An
excessive drop in voltage reduces the output
and can lead to failure of the motor. The table
below shows you the correct cable diameter as
a function of the cable length for the router OF
1400 EQ. Use only U.L. and CSA listed exten-
sion cables. Never use two extension cables
together. Instead, use one long one.
Total Extension Cord
Lenght (feed)
25 50 100 150
Cord size (AWG) 16 14 12 10
Note: The lower the AWG number, the stron-
ger the cable.
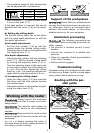
Switching the ma-
chine on and off
Keep the machine steady dur-
ing switching and during use by holding the
handles (3.1, 3.4) with both hands.
Switch (3.3) serves as an On/Off switch. It
may be latched with the locking knob on the
side (3.2) for continuous operation. Pressing
the switch again releases the lock.