


8
A
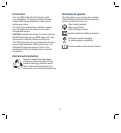
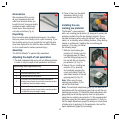
Accessories
We recommend that you buy
all your accessories such as
nails from the store where you
bought the tool. Use good quality
accessories with a well-known
brand name. Store personnel
can help and advise (Fig. A).
Unpacking
Due to modern mass production techniques, it is unlikely
that your power tool is faulty or that a part is missing. If you
find anything wrong, do not operate the tool until the parts
have been replaced or the fault has been rectified. Failure
to do so could result in serious personal injury.
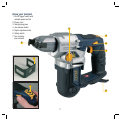
Assembly
The ACALN Allnailer
®
is packed fully assembled.
Adjusting the depth of nail penetration
1. The depth adjustment dial can be set to 4 different positions
in order to vary the depth of nail penetration as follows:
Depth setting values (approximate only)
Position Depth
1 Nail head underflush by 1mm
2 Nail head level with the surface
3
Nail head 5mm proud from surface and suitable for
hanging heavy objects (ensure that the mounting surface
is capable of taking the weight loading)
4
Nail head 10mm proud from surface and suitable for
hanging lighter objects (ensure that the mounting surface
is capable of taking the weight loading)
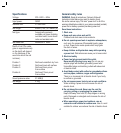
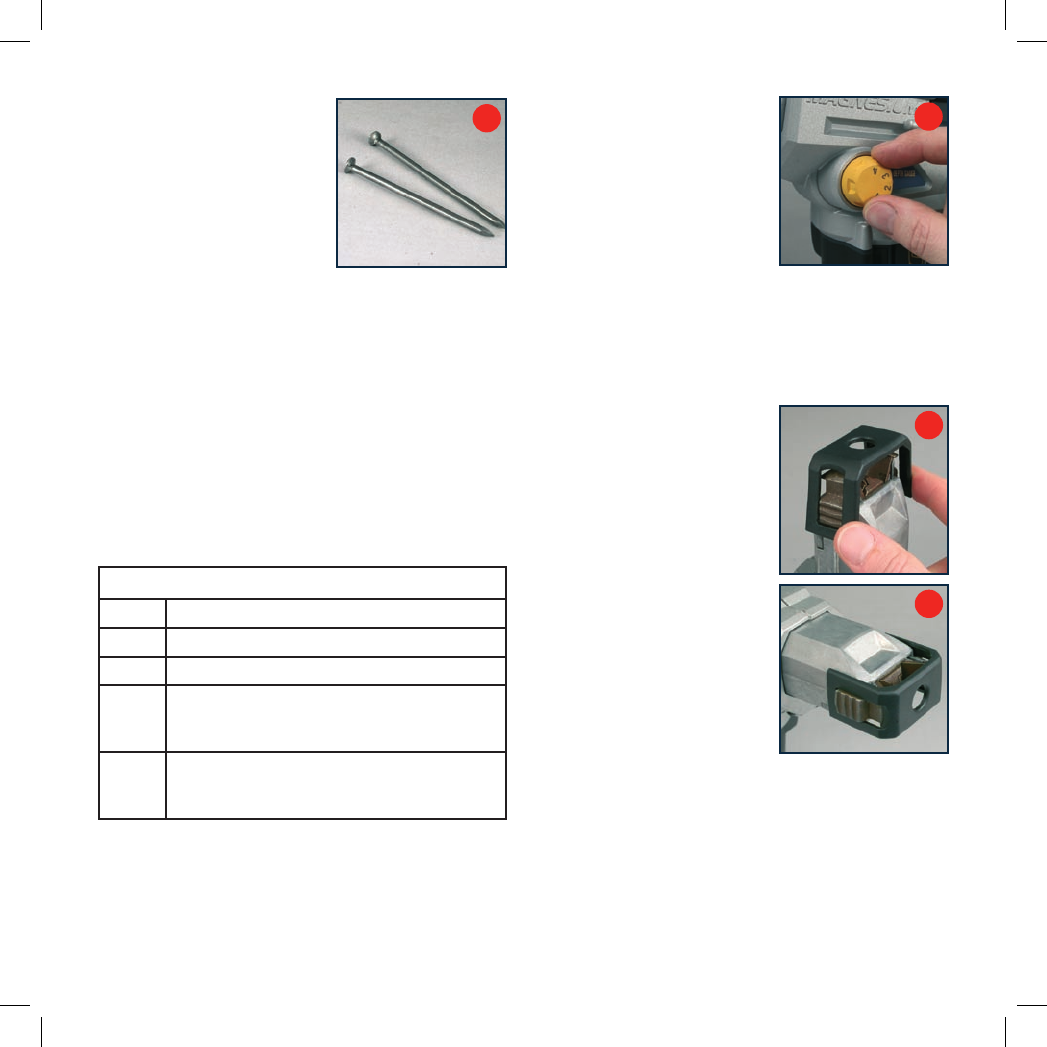
2. Press in then turn the depth
adjustment dial (5) to the
appropriate level (Fig. B).
Installing the non-
marking jaw protector
The Allnailer
®
comes supplied
with a non marking jaw protector (7) designed to protect the
workpiece surface from the jaw hammer impacts. This is
the ideal accessory when using the Allnailer
®
as a finisher
nailer (i.e. on decking, when building furniture, fitting skirting
boards or architraves). Installing the non marking jaw
protector (7) is easy, just follow
the following steps;
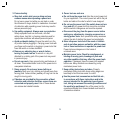
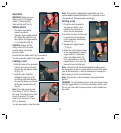
1. Slide the non marking jaw
protector (7) directly over the
nail gripping jaws (3). Make
sure that the gripping jaws (3)
line up with the non marking
jaw protector (7) (Fig. C).
2. Secure the non marking jaw
protector (7) by pressing
and positively engaging the
cover and locking it over the
side ribbed section of the nail
gripping jaws (3) (Fig. D).
Note. When using the non
marking jaw protector (7) the
nail will not finish flush.
Note. The nail depth adjustment gauge (5) has been set in
accordance with the nail gripping jaws and not with the non
marking jaw protector (7). Hence the depth adjustment dial
gauge and pre set driving capacity does not apply when
using the non marking jaw protector (7). We recommended
that when using the non marking jaw protector (7) that you
trial the depth adjustment gauge (5) settings on a test piece
of timber prior to applying it to the workpiece, then set the
depth adjustment gauge (5) accordingly.
B
C
D