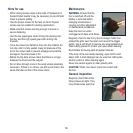
10
To obtain the best
life for the battery
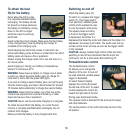
Never allow the drill to come
to a complete standstill before
recharging. The battery should
be placed on charge whenever
the battery is noticeably running
down or the drill no longer
performs a task it previously
performed.
Avoid conducting short charges. Make sure that the battery
is fully charged every time by allowing the charger to
complete its full charging cycle.
Avoid allowing lose items like screws or nails etc to be
stored with battery packs as these or similar items can short
battery packs and cause a fire or explosion.
Always unplug the charger when not in use and store in a
dry secure place.
Avoid charging or storing your battery in temperatures
below 0°C and above 40°C.
WARNING. Never leave a battery on charge once it starts
to warm up. Never leave the battery pack on charge for
more than 3 hours after the green LED lights.
If you wish to charge a second battery pack, pull out the plug
from the mains supply and keep it disconnected for at least
15 minutes before attempting to charge the second battery.
WARNING. Never store the battery out of the tool as the
contacts are exposed and could be shorted by a metal
object and cause a fire or explosion!
CAUTION. Never use the tool while charging is in progress.
To obtain the best life for the battery, do not let the tool
come to a complete standstill before recharging. Do not
conduct short charges.
Make sure that the battery is fully charged each time.
Switching on and off
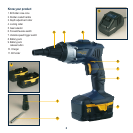
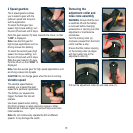
Attach the battery pack (8).
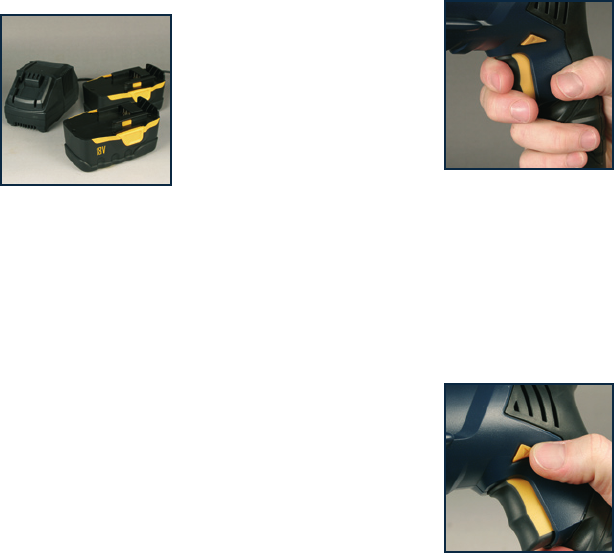
To switch on, squeeze the trigger
switch (7). This trigger switch
is an electronic variable speed
control which enables the user
to vary the speed continuously.
The speed varies according
to how far the trigger switch
is depressed, the further it is
depressed the faster the motor will rotate and the lighter it is
depressed, the slower it will rotate. The switch also acts as
a brake as the motor will stop as soon as the trigger switch
is fully released.
CAUTION. Always maintain tight control of the tool when
switching on and off and remember that the motor will
continue to turn for a short while after switching off.
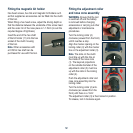
Forward/reverse control
The forward/reverse control
(6) allows you to change the
direction of the tool. It must not
be used while the variable speed
trigger is depressed.
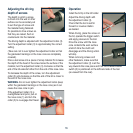
To select forward rotation,
depress the control (6) toward
the left side of the tool. To select
reverse depress the control (6)
toward the right side of the tool.
Driving uses the forward mode.
The reverse mode is intended for the removal of screws
and other fasteners.
The centre position of the control (6) locks the tool in the
off position.


