


12
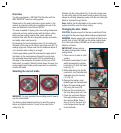
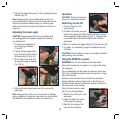
8. Mount the new saw blade onto
the spindle and against the
inner flange (Fig. H).
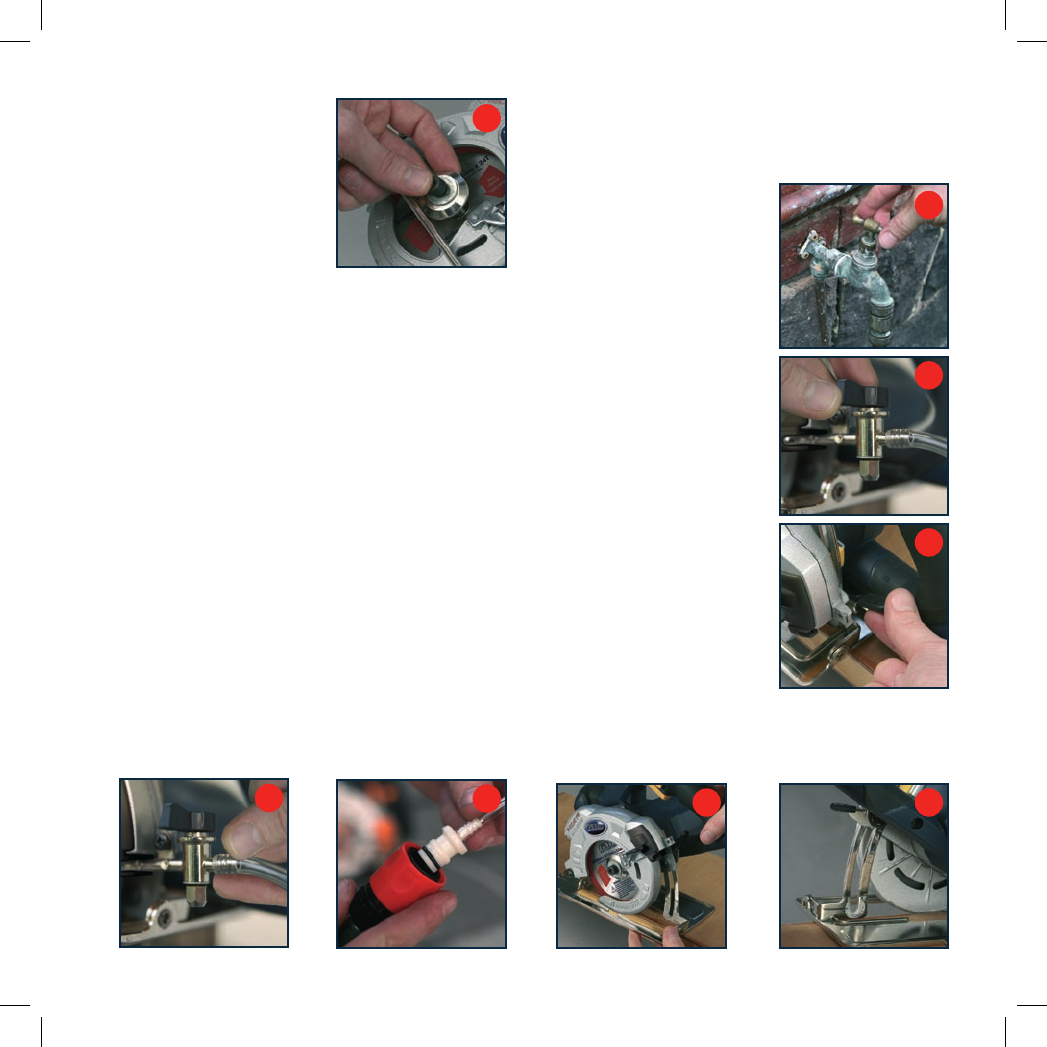
9. Replace the outer flange and
washer and tighten the blade
bolt by turning in an anti-
clockwise direction (Fig. I).
10. Ensure that the spindle lock
button (15) is released.
11. Before using the saw again, check that the
safety devices ie. Lower blade guard, are in good
working order.
IMPORTANT. After replacing the saw blade, make sure
that the saw blade runs freely by turning the blade by hand.
Check that the directional arrow on the saw blade points
clockwise when viewed from the mounting side.
12. Plug the machine into a power socket and run the saw
under no load to check that it runs smoothly before
using it to cut any material.
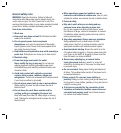
Using the water system
CAUTION. Always ensure that the tool is switched off
and unplugged from the power supply before making
any adjustments.
WARNING. Be sure to always use a tile cutting blade
designed specifically for wet tile cutting. When used properly
with the water system, wet cutting tile blade will give a
consistently smoother cut.
IMPORTANT. NEVER use the water cooling system when
cutting timber. It must be removed before use.
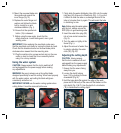
1. Firmly slide the water distribution tube (26) onto the water
inlet tube (24). Ensure it is fitted firmly (Fig. J). If you find
it difficult to slide the tube on, submerge the end of the
tube in hot water then try again. This will assist the tube
in stretching to size.
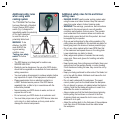
Note. Before using the water system
with the tool, always ensure the
RCD (29) is in good working order.
2. Insert the water tube plug (28)
into a hose socket connection
(Fig. K).
3. Turn the water on lightly at the
faucet (Fig. L).
4. Adjust the amount of water flow
by simply adjusting the water
cock (25) (Fig. M).
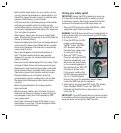
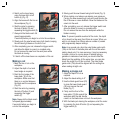
Adjusting the cutting depth
CAUTION. Always ensure
that the tool is switched off and
unplugged from the power supply
before making any adjustments.
1. Ensure that the saw is facing
away from you.
2. Loosen the depth locking
lever (13) by pushing the lever
downwards (Fig. N).
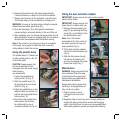
3. Hold the base plate flat against the edge of the work
piece and lift the body of the saw until the blade is at the
right depth (Fig. O & P). Use the depth of cut indicator
(14) to determine the cutting depth.
N
O P
I
K
M
L
J