


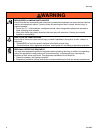
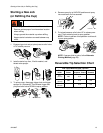
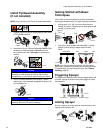
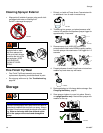
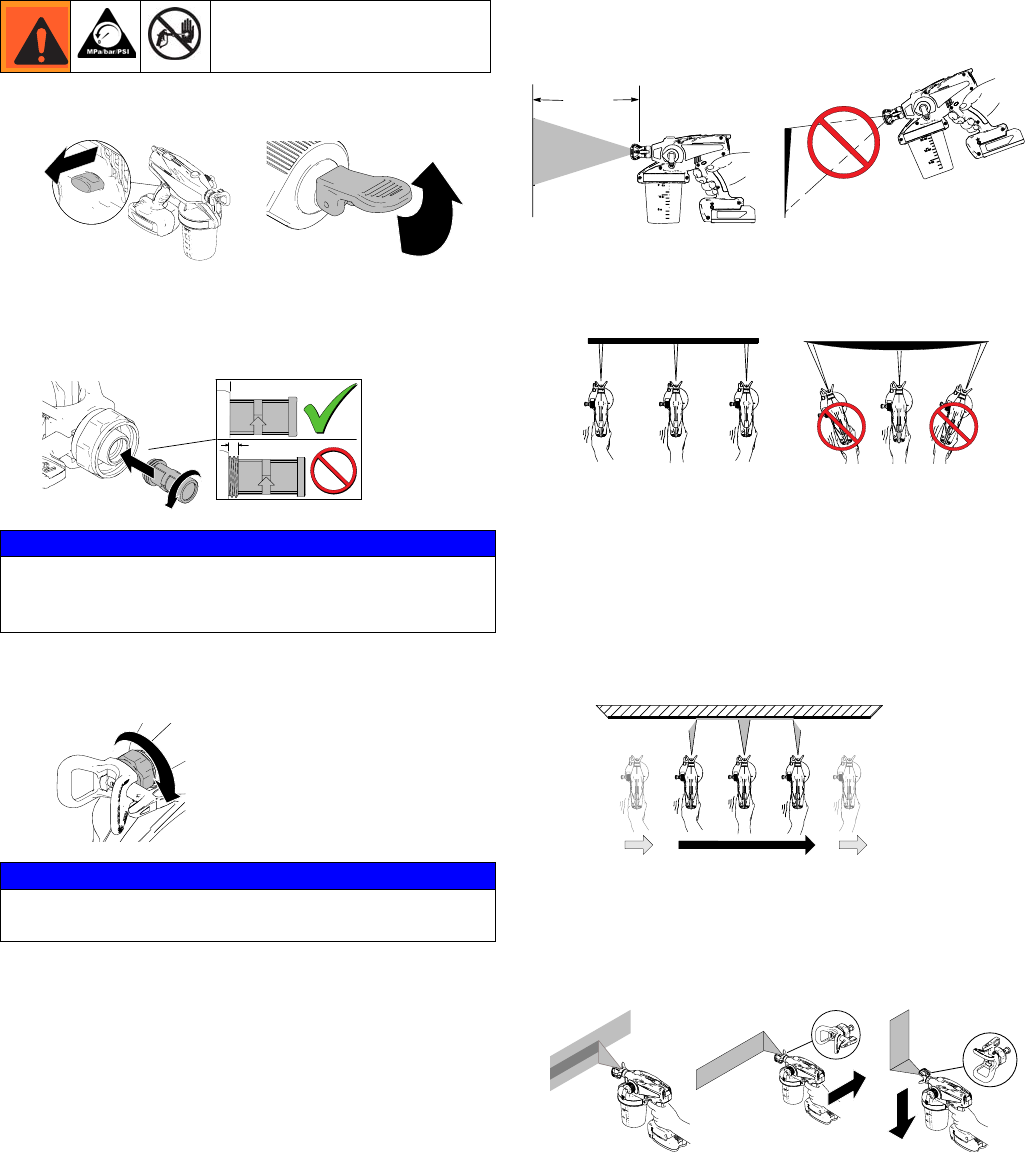
Install Tip/Guard Assembly (if not installed)
14 3A1698F
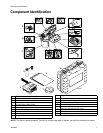
Install Tip/Guard Assembly
(if not installed)
NOTE: Only use Graco Fine Finish Tip/Guard assemblies.
1. Engage trigger lock and put prime/pressure relief valve
UP to release pressure.
2. Install filter to Spray Tip/Guard Assembly. NOTE: Filter
assembly is reverse-threaded. Turn left (or coun-
ter-clockwise) to install. Turn right (or clockwise) to
remove.
3.
Screw Tip/Guard Assembly onto sprayer. Tighten
retaining nut until completely engaged with sprayer. Do
not overtighten nut.
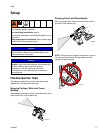
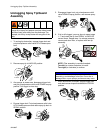
Getting Started with Basic
Techniques
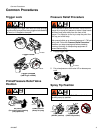
Use a piece of scrap cardboard to practice these basic
spraying techniques before you begin spraying the surface.
• Hold sprayer 10 in. (25 cm) from surface and aim
straight at surface. Tilting sprayer to direct spray angle
causes an uneven finish.
• Flex wrist to keep sprayer pointed straight. Fanning
sprayer to direct spray at angle causes uneven
finish.
NOTE: How fast you move the sprayer will affect spray
application. If material is pulsating, you are moving too fast.
If material drips, you are moving too slow. See Trouble-
shooting, page 26.
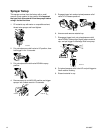
Triggering Sprayer
Pull trigger after starting stroke. Release trigger before end
of stroke. Sprayer must be moving when trigger is pulled
and released.
Aiming Sprayer
Aim tip of sprayer at bottom edge of previous stroke, over-
lapping each stroke by half.
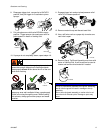
NOTICE
Make sure filter is completely screwed into the Tip/Guard
Assembly to avoid damage to the filter. Do not use a
damaged filter or poor sprayer performance may result.
NOTICE
The tip is a permanently attached to the Tip/Guard
Assembly. Removal will result in damage.
ti14999a
ti14994a
ti16699a
ti16700a
ti14775a
ti14775a
ti14997a
ti16717a
10 in.
(25 cm)
even
finish
thick
thin
uneven
finish
ti14780a
ti16712a
even finish thin thick thin
ti16720a
ti16718a
ti14988a
Start Moving
Pull Trigger
Release Trigger
ti16719a
ti14782a
ti16949a
ti16950a
ti16722a