Setup
12 3A0159E
Materials
• When spraying water-based materials, flush the
sprayer thoroughly with water.
• When spraying non-water-based materials, flush
the sprayer thoroughly with mineral spirits or com-
patible, oil-based flushing fluid.
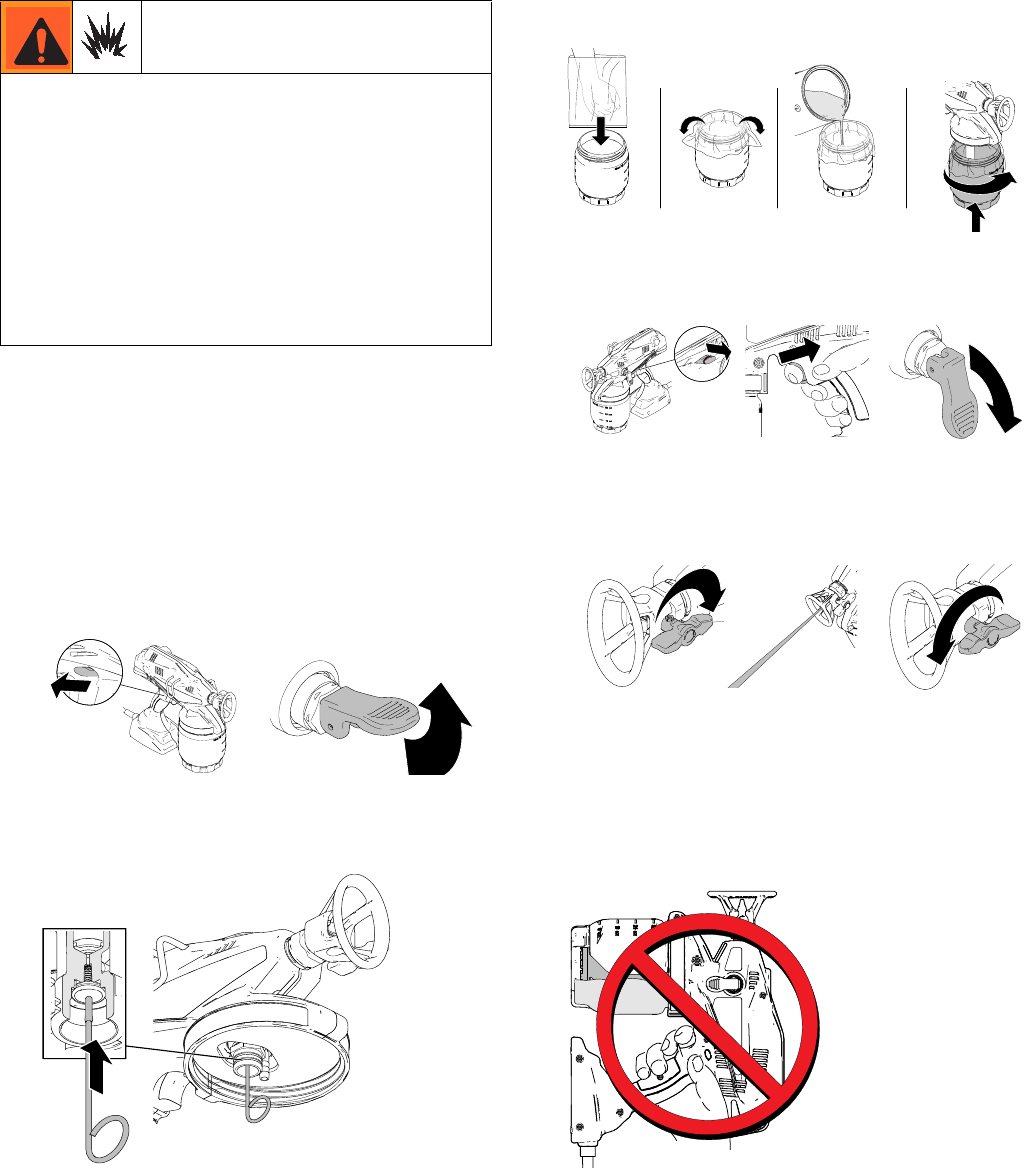
Starting a New Job (or Refilling the Cup)
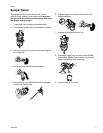
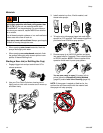
1. Engage trigger lock and put control lever UP to
release pressure.
2. Use your Fine-Finish Optimizer cleaning tool to
lightly push on inlet valve to make sure it moves up
and down freely.
3. Install material cup liner, fill with material, and
thread onto sprayer.
4. To begin using, disengage trigger lock and trigger
sprayer for 5-10 seconds. Then release trigger and
put control lever DOWN to spray position.
5. Reverse spray tip to UNCLOG position and spray
into waste area for 5 seconds. Then rotate tip back
to SPRAY position. NOTE: Failure to perform this
operation could result in poor spray pattern.
You are now ready to spray! If sprayer fails to
prime, follow the Alternative Priming Method
(page 23) and/or Inlet Valve Cleaning (page 24).
NOTE: If the sprayer is angled or tilted too far, the
suction tube will lose contact with the material and
the sprayer will stop spraying.
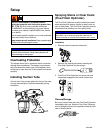
Use only water-based or oil-based (mineral
spirit-type) materials with flash point greater than
100° F (38° C). Do not use materials which state
“FLAMMABLE” on the packaging. For more informa-
tion about your material, request MSDS from distribu-
tor or retailer.
Use oil-based material outdoors or in a well-ventilated
indoor area with a flow of fresh air.
Keep spray area well-ventilated. Keep a good supply
of fresh air moving through the area.
ti14999a
ti14994a
ti15474a
ti15418a
ti15425a
ti14995a
ti14991a
ti14985a
ti15491a
ti15511a


