Troubleshooting
22 3A1456D
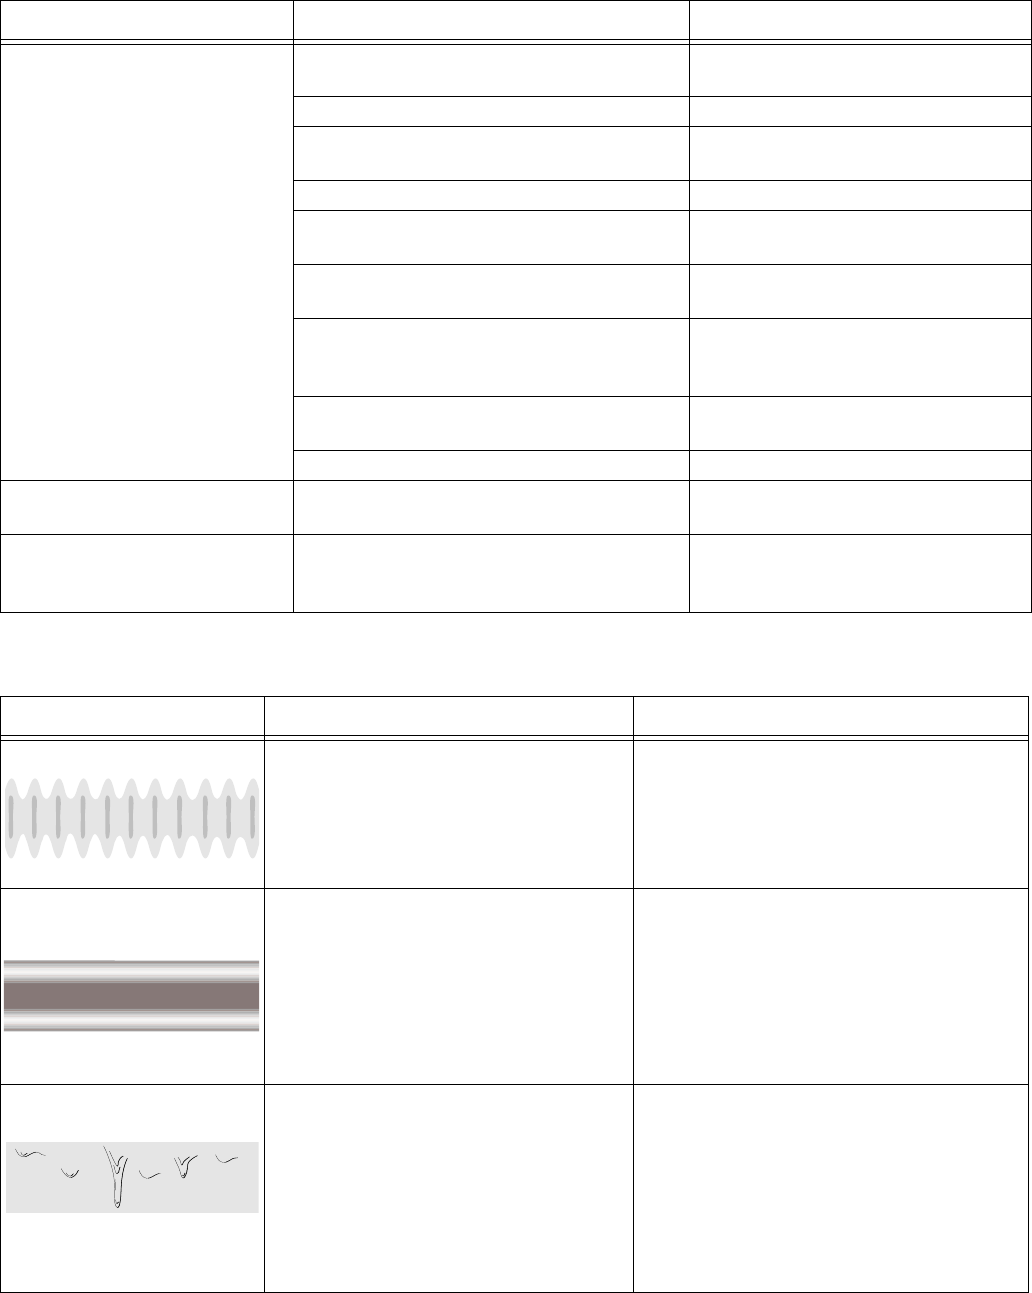
Spray Pattern Diagnostics
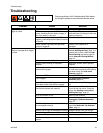
Sprays with poor results Tip is partially clogged See Unclogging Tip/Guard
Assembly, page 13.
Tip is not in correct position Rotate tip to SPRAY position.
Incorrect tip for application of
material.
See Reversible Tip Selection
Chart, page 11.
Tip filter is partially clogged Clean or replace filter. See page 13.
Suction Tube screen is partially clogged. Clean or replace Suction Tube. See
page 14.
Fine Finish Optimizer is partially clogged. Clean or replace Fine Finish Opti-
mizer. See page 9.
Fine Finish Optimizer is installed while
using an incompatible material.
Make sure compatible material is
being used. See Reversible Tip
Selection Chart, page 11.
Tip is worn or damaged Replace tip. See Install Tip/Guard
Assembly, page 11.
Inlet or Outlet Valves are worn. See Repair Kit, page 18.
Paint leaks from sprayer trigger
area.
Sprayer has reached its maximum life. Replace sprayer.
Battery is discharged but char-
ger still displays green light
when battery is inserted.
Damaged battery. Replace battery.
Problem Cause Solution
Problem Cause Solution
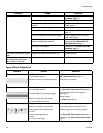
Spray pattern is pulsating:
Fine Finish Optimizer is installed while using
an incompatible material.
Operator is moving too fast while spraying.
Make sure material is compatible. See Revers-
ible Tip Selection Chart, page 11.
Slow speed of movement.
Spray pattern has tails:
Fine Finish Optimizer is installed while using
an incompatible material.
Fine Finish Optimizer is partially clogged.
Material not compatible with sprayer.
Inlet or Outlet Valves are worn.
Make sure compatible material is being used.
See Reversible Tip Selection Chart, page 11.
Clean or replace Fine Finish Optimizer.
See page 9.
Switch material.
See Repair Kit, page 18.
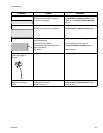
Spray pattern has dripping:
Sprayer is moving too slow for material.
Sprayer is too close to target surface.
Holding trigger while changing spray
direction.
Incorrect tip for application of
material.
Tip is worn or damaged.
Move sprayer faster while spraying.
Move sprayer away from surface (10 in).
Release trigger when changing directions.
See Reversible Tip Selection Chart, page 11.
Replace tip. See Install Tip/Guard Assembly,
page 11.
ti1552
4
ti1552
6
ti1552
2


