Maintenance
313255K 17
Maintenance
Preventive Maintenance
Schedule
The operating conditions of your particular system
determine how often maintenance is required. Establish
a preventive maintenance schedule by recording when
and what kind of maintenance is needed, and then
determine a regular schedule for checking your system.
Replace lens covers on regulator gauge lenses when
dirt makes gauges difficult to read.
Tighten Threaded Connections
Before each use, check all hoses for wear or damage.
Replace as necessary. Check that all threaded connec-
tions are tight and leak-free.
Flush the Pump
Flush the pump:
• Before first use
• When changing colors or fluids
• Before repairing equipment
• Before fluid dries or settles out in a dormant pump
(check the pot life of catalyzed fluids)
• At the end of the day
• Before storing the pump.
Flush at the lowest pressure possible. Flush with a fluid
that is compatible with the fluid you are pumping and
with the wetted parts in your system. Check with your
fluid manufacturer or supplier for recommended flushing
fluids and flushing frequency.
1. Follow Pressure Relief Procedure, page 13.
2. Remove tip guard and spray tip from gun. Refer to
separate gun manual.
3. Place siphon tube in grounded metal pail containing
cleaning fluid.
4. Set pump to lowest possible fluid pressure, and start
pump.
5. Hold a metal part of the gun firmly to a grounded
metal pail.
6. Units with runaway protection only: enable the
prime/flush function by pushing the prime/flush but-
ton on the DataTrak.
7. Trigger gun. Flush system until clear solvent flows
from gun.
8. Units with runaway protection only: disable the
prime/flush function by pushing the prime/flush but-
ton on the DataTrak.
9. Follow Pressure Relief Procedure, page 13.
10. Clean the tip guard, spray tip, and fluid filter element
separately, then reinstall them.
11. Clean inside and outside of suction tube.
Wet Cup
Fill the wet cup one-half full with Graco Throat Seal Liq-
uid (TSL). Maintain level daily.
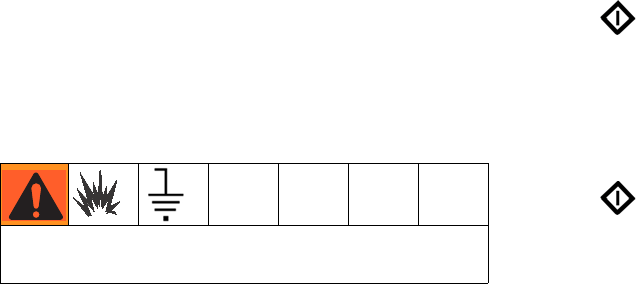
Read all Warnings. Follow all Grounding instruc-
tions. See page 11.


