


Repair
309295 31
Fluid Needle Replacement
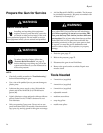
1. Prepare the gun for service, page 26.
2. Remove the air cap assembly and seat housing,
page 27.
3. Remove the barrel (16), page 32.
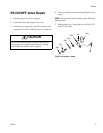
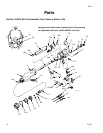
4. Remove the trigger screws (8) and trigger (30).
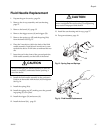
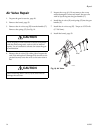
5. Remove the spring cap (45) and the spring (26a)
from the barrel. See Fig. 13.
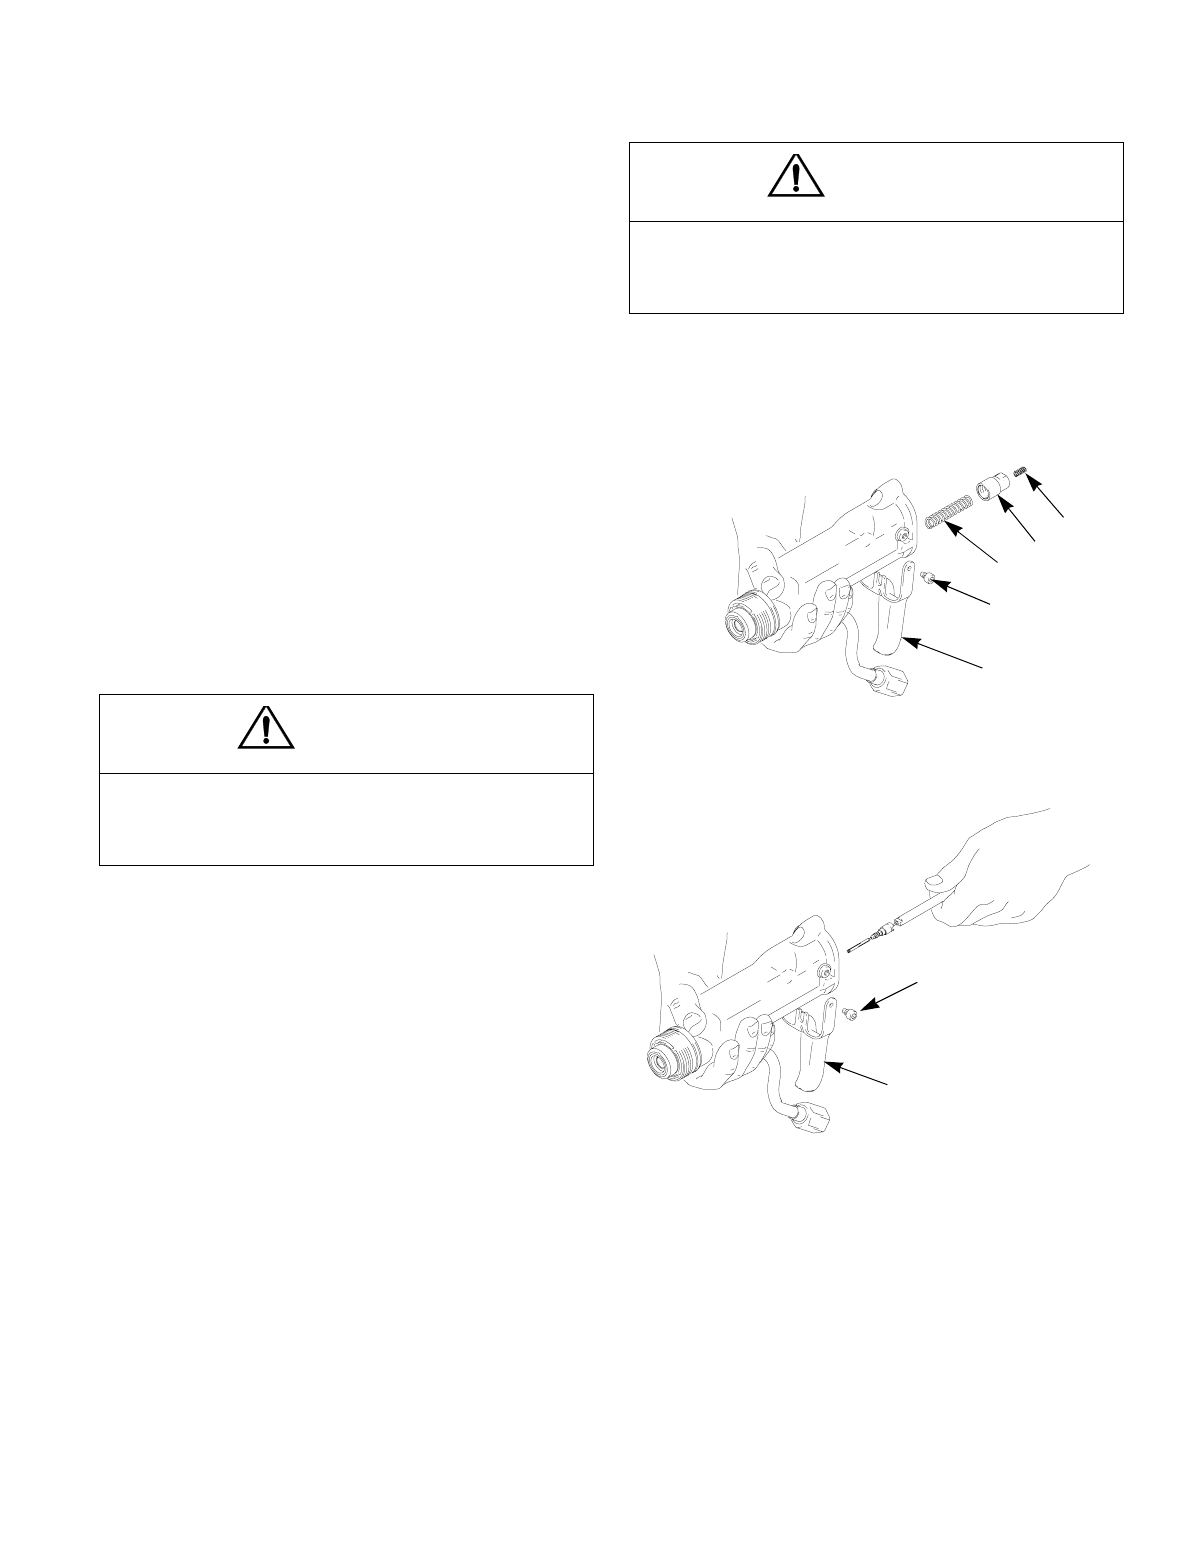
6. Place the 2 mm driver (44) in the back of the fluid
needle assembly. Push the tool in and turn it coun-
terclockwise about 12 full turns to unthread the nee-
dle.
7. Insert the tool in the front of the gun and push the
fluid needle assembly out the back of the barrel.
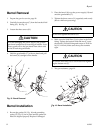
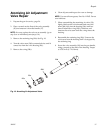
8. Install the fluid needle assembly in the gun barrel.
Push in on the needle with the tool (44) and tighten.
See Fig. 14.
9. Install the spring (26a).
10. Install the spring cap (45), making sure the ground-
ing spring (55) is in place.
11. Install the trigger (30) and screws (8).
12. Install the barrel (16), page 32.
13. Install the seat housing and air cap, page 27.
14. Test gun resistance, page 19.
Fig
.
1
.
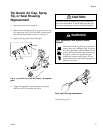
Fig. 13. Spring Cap and Springs
Fig
.
1
.
Fig. 14. Fluid Needle Replacement
CAUTION
To avoid damaging the needle assembly, be sure the
needle is completely unthreaded before pushing it
out of the barrel.
CAUTION
To avoid damaging the seat housing and gun barrel,
never overtighten the seat housing. Overtightening
may result in improper fluid shutoff.
TI1618A
30
8
26a
45
55
TI1526B
30
8