


-14-
G0538 Oscillating Spindle Sander
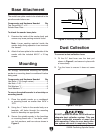
Figure 8. Loosening the spindle hex nut.
3. Remove the hex nut, upper spindle washer,
sanding sleeve, sanding drum, and throat
plate.
4. Clean the throat plate and lower spindle
washer areas as necessary.
5. Replace the lower spindle washer.
6. Install the throat plate that will provide the
smallest possible clearance between the
sanding sleeve and the throat plate open
-
ing.
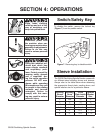
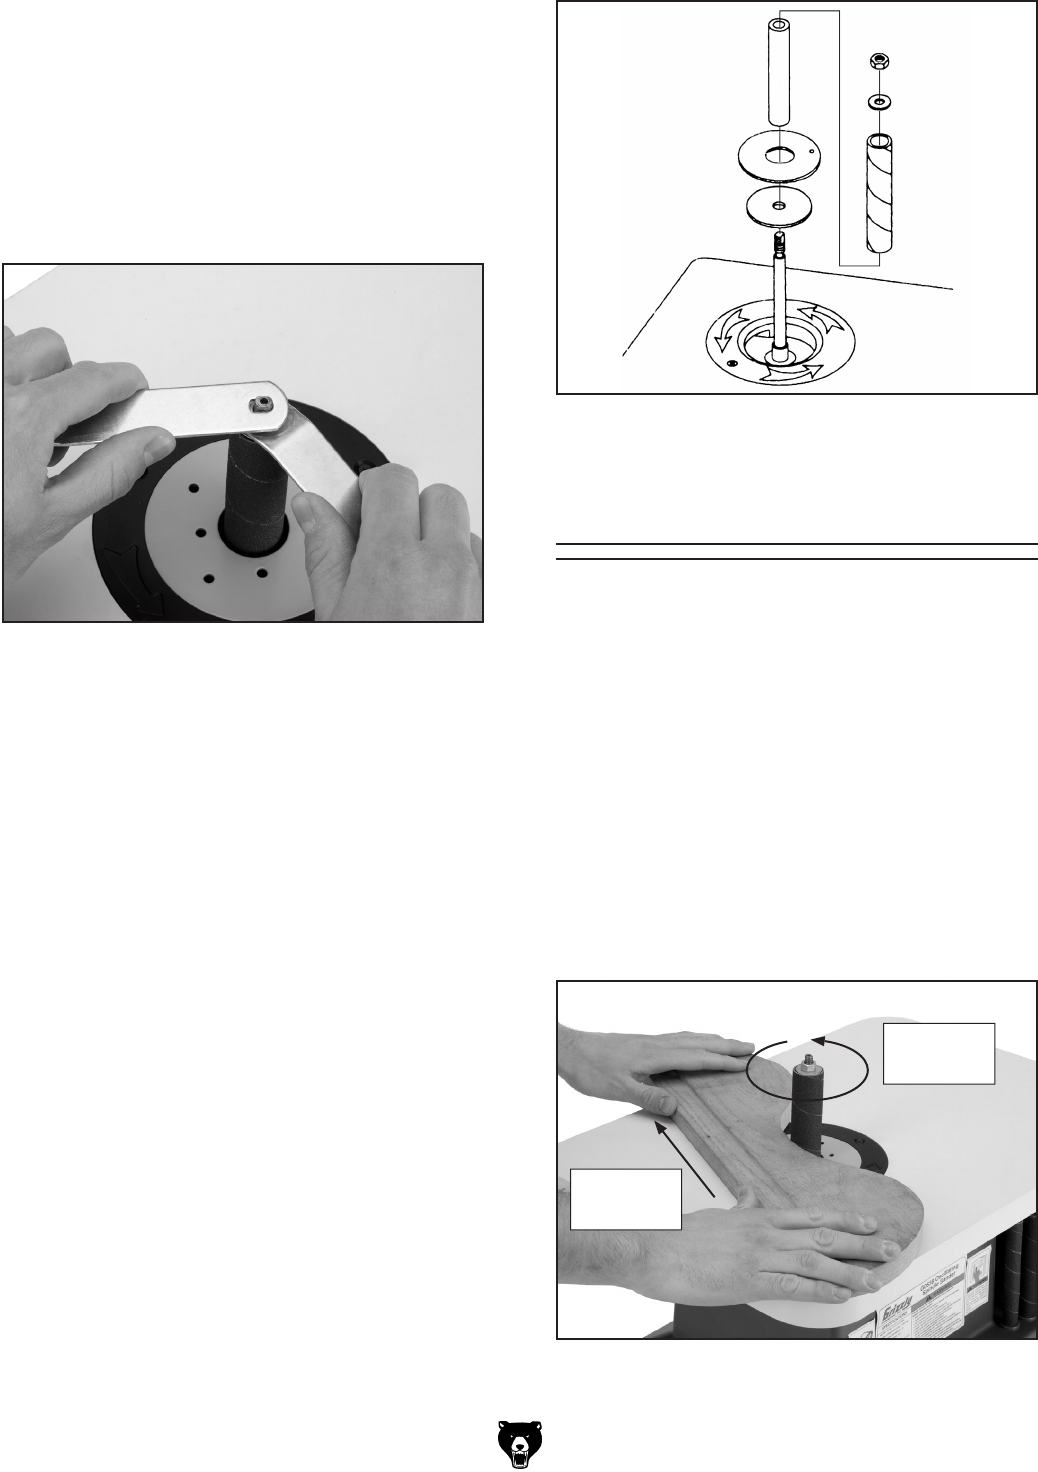
7. Install the desired rubber sanding drum on
the spindle shaft, and install the matching
sanding sleeve on the drum as shown in
Figure 9.
8. Hand-fasten the sanding drum with the
appropriate spindle washer and the hex hut.
9. Tighten the hex nut further as outlined in
Step 1 until the rubber sanding drum places
slight pressure on the sanding sleeve. DO
NOT overtighten the hex nut.
Figure 9. Sleeve installation order.
To install or replace a sanding sleeve:
1. Hold the spindle hex nut with one of the
included
9
⁄16" wrenches.
2. Hold the flats of the spindle using the small
slot in the second
9
⁄16" wrench, as shown in
Figure 8, and loosen the hex nut so that it
can be removed by hand.
Sanding
To sand a workpiece:
1. Ensure that the spindle hex nut is secured
tightly and that the work area is free of
obstructions and obstacles.
2. Turn on the spindle sander and allow it to
reach full speed.
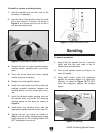
3. Using both hands, guide the workpiece
against the sanding sleeve in a right-to-left
direction, as shown in
Figure 10. DO NOT
force the workpiece against the sanding
sleeve.
Figure 10. Sanding.
Sanding
Direction
Spindle
Rotation