-12-
G0565 Adjustable Sponge Sander
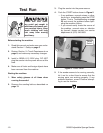
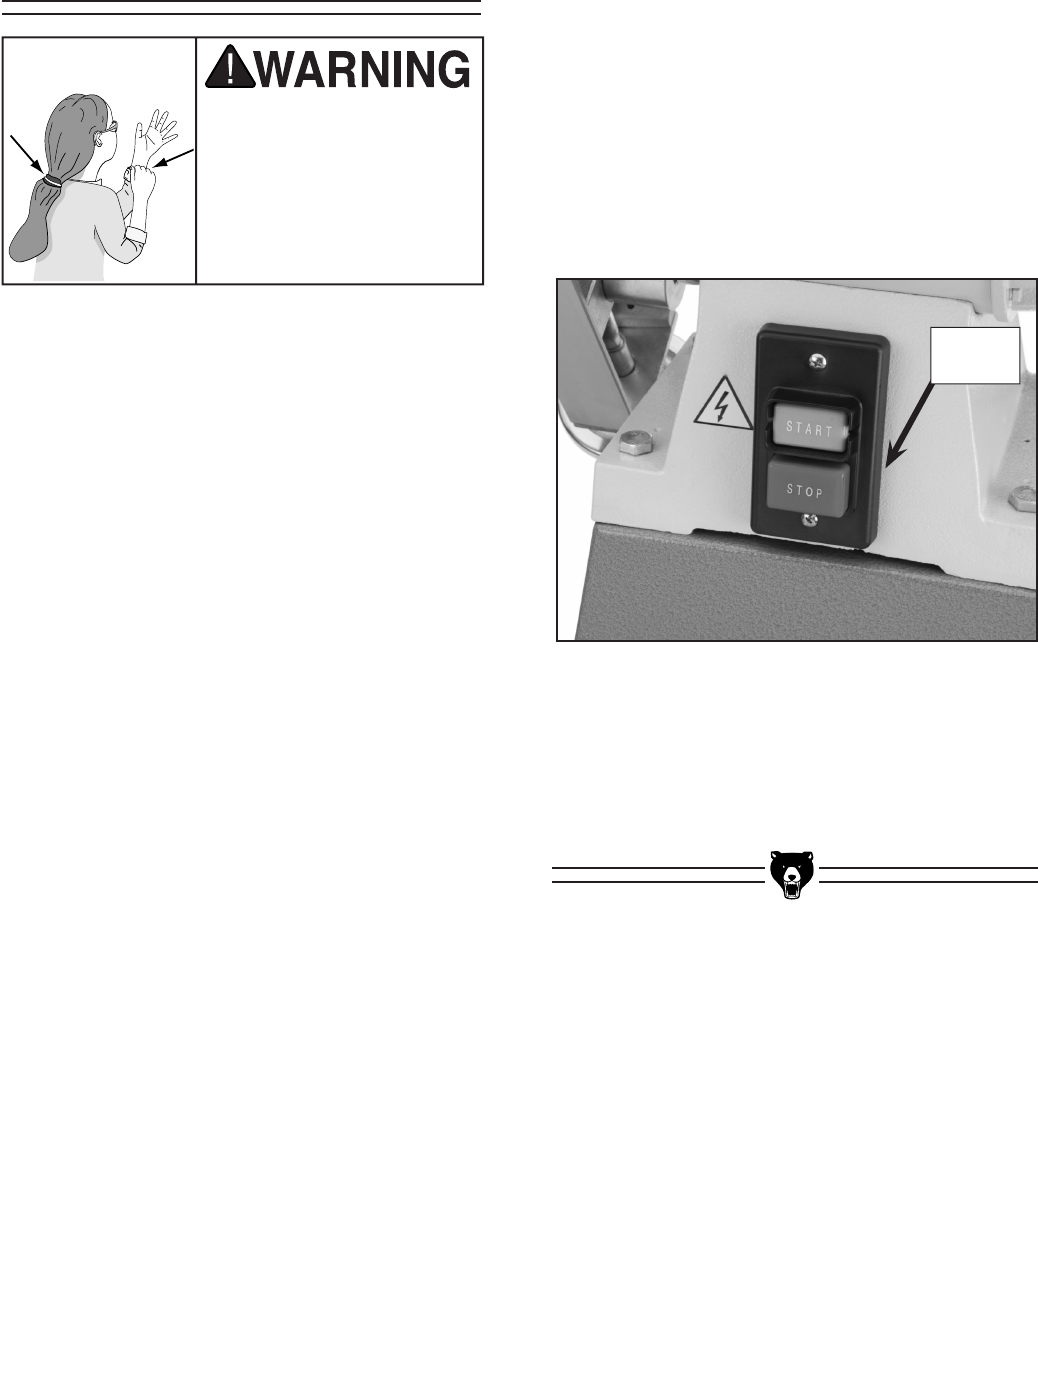
Figure 5. Power switch.
3. Plug the sander into the power source.
4. Push the START button shown in Figure 5.
— If any problems, unusual noises, or vibra
-
tions occur, immediately press the STOP
button. Turn to
Troubleshooting on page
25 and correct the problem before oper-
ating the machine further.
— If you cannot easily locate the source of
the problem, unusual noise or vibration
by yourself, please contact our service
department at (570) 546-9663.
5. If the sander seems to be running correctly,
let it run for a short time to ensure that the
moving parts are working properly. If any
problem develops, correct it before attempt
-
ing to use the machine.
Before starting the machine:
1. Read this manual and make sure you under-
stand Section 1: Safety on page 5.
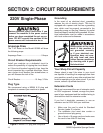
2. Review Section 3: Circuit Requirements on
page 8, and make any necessary changes.
3. Install a NEMA 6-15 220V plug. DO NOT
plug the sander into the power source at this
time.
4. Make sure all tools and foreign objects have
been removed from the machine.
Starting the machine:
1. Wear safety glasses at all times when
running the sander!
2. Remove the sanding belts as described on
page 13.
Test Run
Loose hair and cloth-
ing could get caught in
machinery and cause seri
-
ous personal injury. Keep
loose clothing and long
hair away from moving
machinery.
Power
Switch


