-10- G8793 12" Double Disc Sander
SECTION 4: ASSEMBLY
Mounting To Stand
The sanding motor body must be mounted to the
stand before the machine can be used. Remove
the stand and sanding unit from the packaging. If
you will be using a mobile base to allow moving
the disc sander around, now is a good time to
place the stand on a properly adjusted mobile
base. This will eliminate the need to lift the com-
bined machine and stand unit later on.
Lift the sanding unit and place it on top of the
stand so that the ON/OFF switch is on the same
side of the machine as the door of the cabinet.
Use an assistant to lift the unit and to aid in get-
ting the holes aligned. Use four (4) hex bolts, nuts
and washers to secure the unit to the stand.
DO NOT attempt to operate this machine
before completing the assembly and adjust-
ment instructions. Be sure that the switch is
off and the cord is disconnected from the
power source at all times until assembly
and adjustment are complete and you have
reviewed all safety guidelines. Serious
injury could occur.
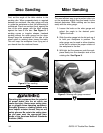
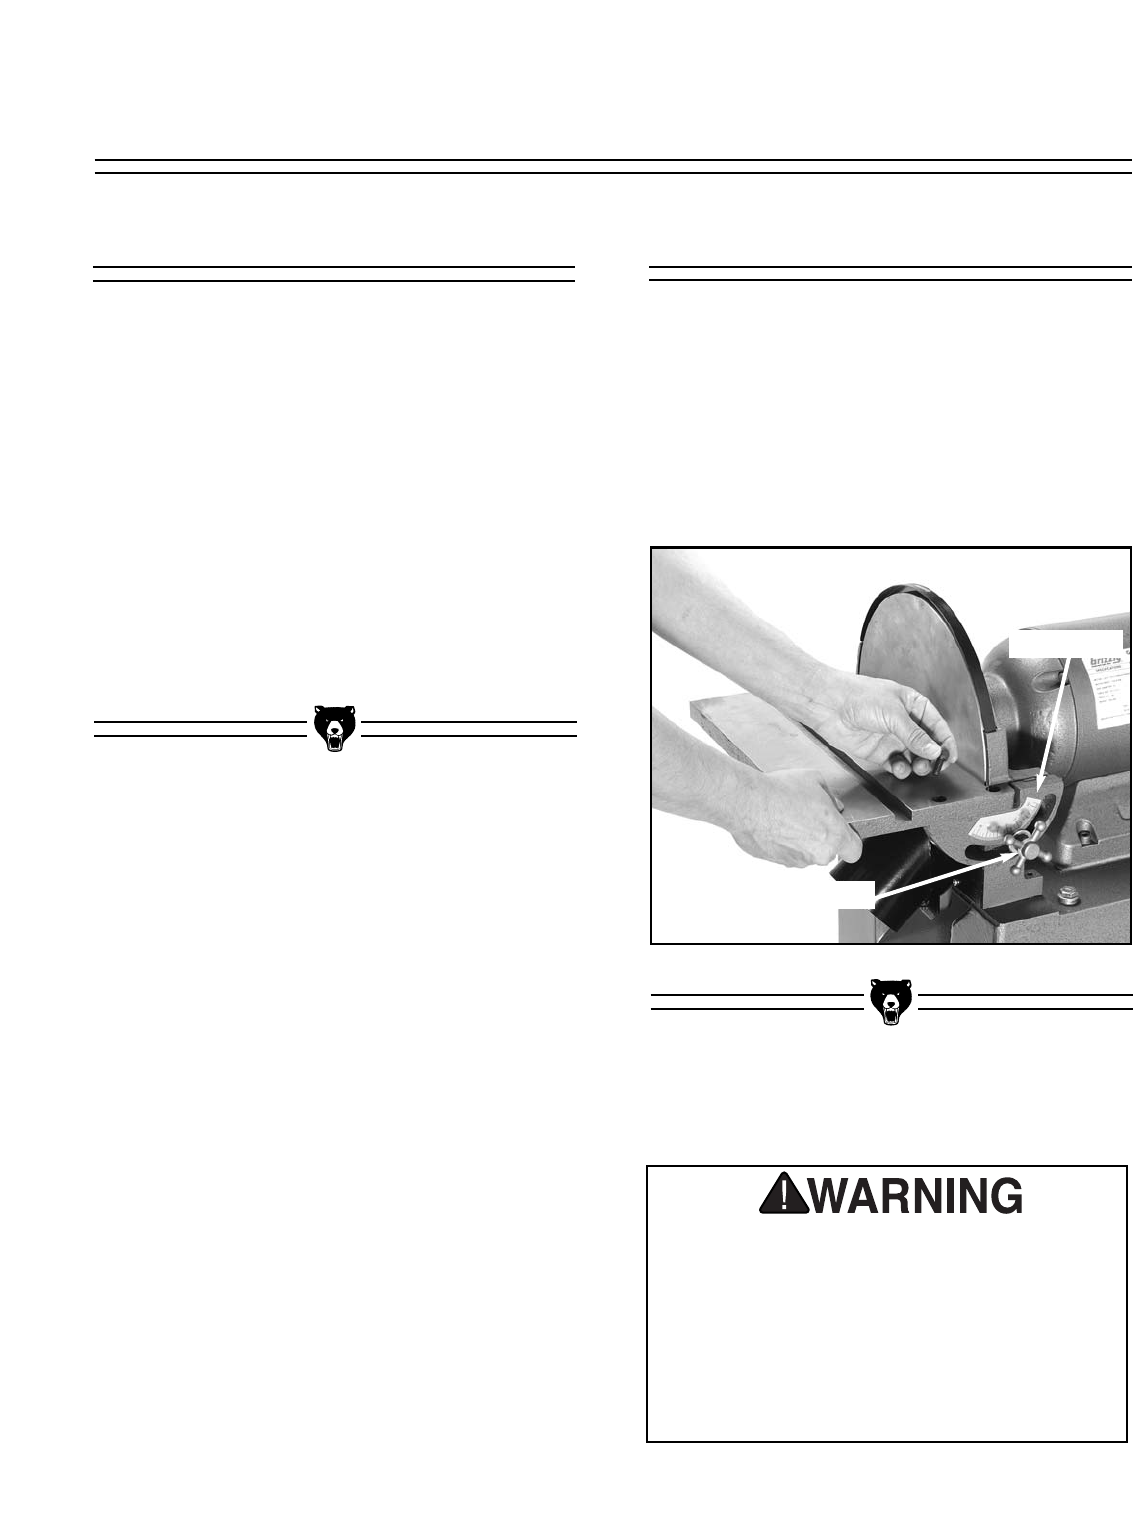
Disc Table
The two disc tables must be mounted to the sand-
ing unit’s table tile trunnions. Loosen the star
knob and move the two trunnions until they are
approximately perpendicular to the face of the
disc. Position the table over the four threaded
holes, and install four (4) socket head cap
screws. Repeat this procedure for the other disc
table.
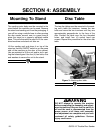
Figure 3. Attaching disc table.
Trunnion
Star Knob


