


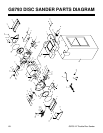
-14- G8793 12" Double Disc Sander
Operating this equipment has the potential
to propel debris into the air which can
cause eye injury. Always wear safety glass-
es or goggles when operating equipment.
Everyday glasses or reading glasses only
have impact resistant lenses, they are not
safety glasses. Be certain the safety glass-
es you wear meet the appropriate stan-
dards of the American National Standards
Institute (ANSI).
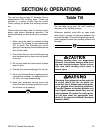
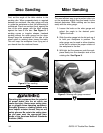
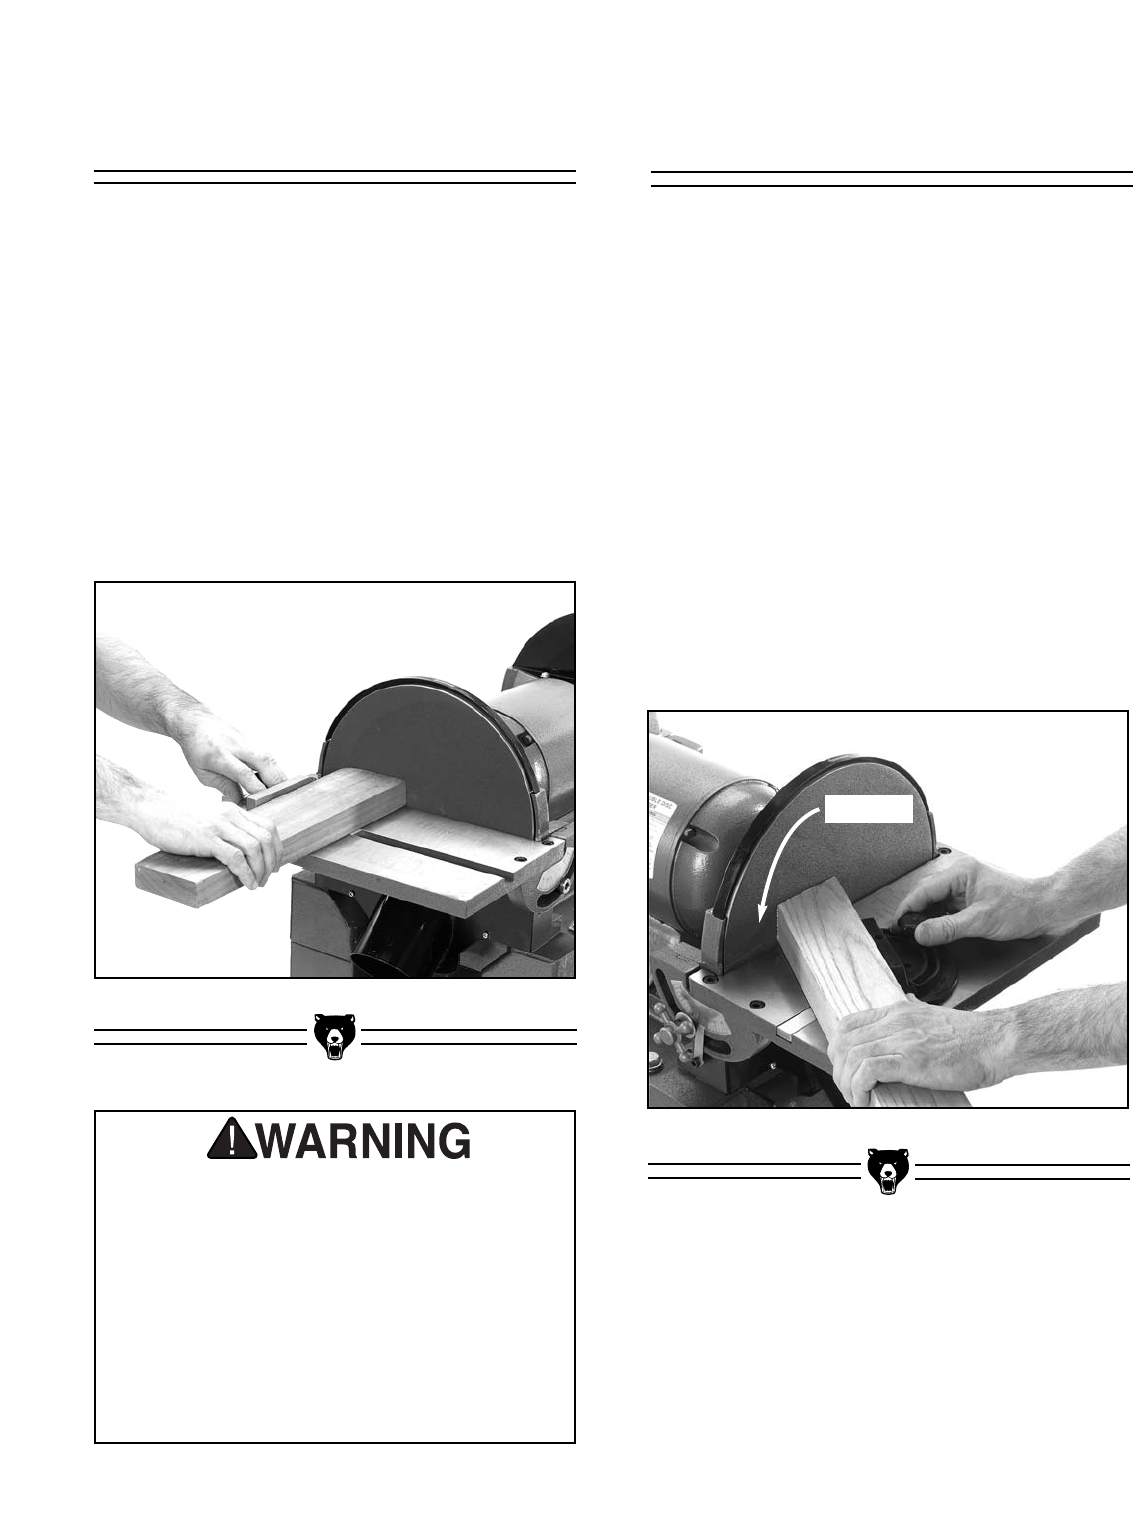
Disc Sanding
First, set the angle of the table relative to the
sanding disc. When perpendicularity is required
between two surfaces, the miter gauge will help
to guide the workpiece so that the relationship is
maintained. Place one surface firmly against the
face of the miter gauge, with the other surface
against the face of the disc. See Figure 8. If
sanding curves or irregular shapes, freehand
sanding without the miter gauge can be done.
Always keep the workpiece on the side of the
wheel which is rotating down toward the table.
This will keep the workpiece from flying out of
your hands from the rotational forces.
Figure 8. Disc sanding.
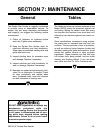
Miter Sanding
The most efficient way to get a perfect miter is to
cut the workpiece slightly long and sand it to the
desired dimension. Miter sanding can be done
easily with the miter gauge:
1. Loosen the knob on the miter gauge and
adjust the angle to the desired point.
Tighten the knob.
2. Slide the miter gauge into its slot and use it
to hold your workpiece in position. The
miter gauge can be used in either direction
in the slot to achieve the proper relation of
the workpiece to the disc.
3. With light, but firm pressure, push the work-
piece slowly into the downspin side of the
rotating disc. See Figure 9.
Figure 9. Mitering with gauge reversed.
Rotation