


-6- Shop Fox
®
Classic Fence
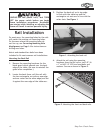
Figure 2. Mounting the front and back rails.
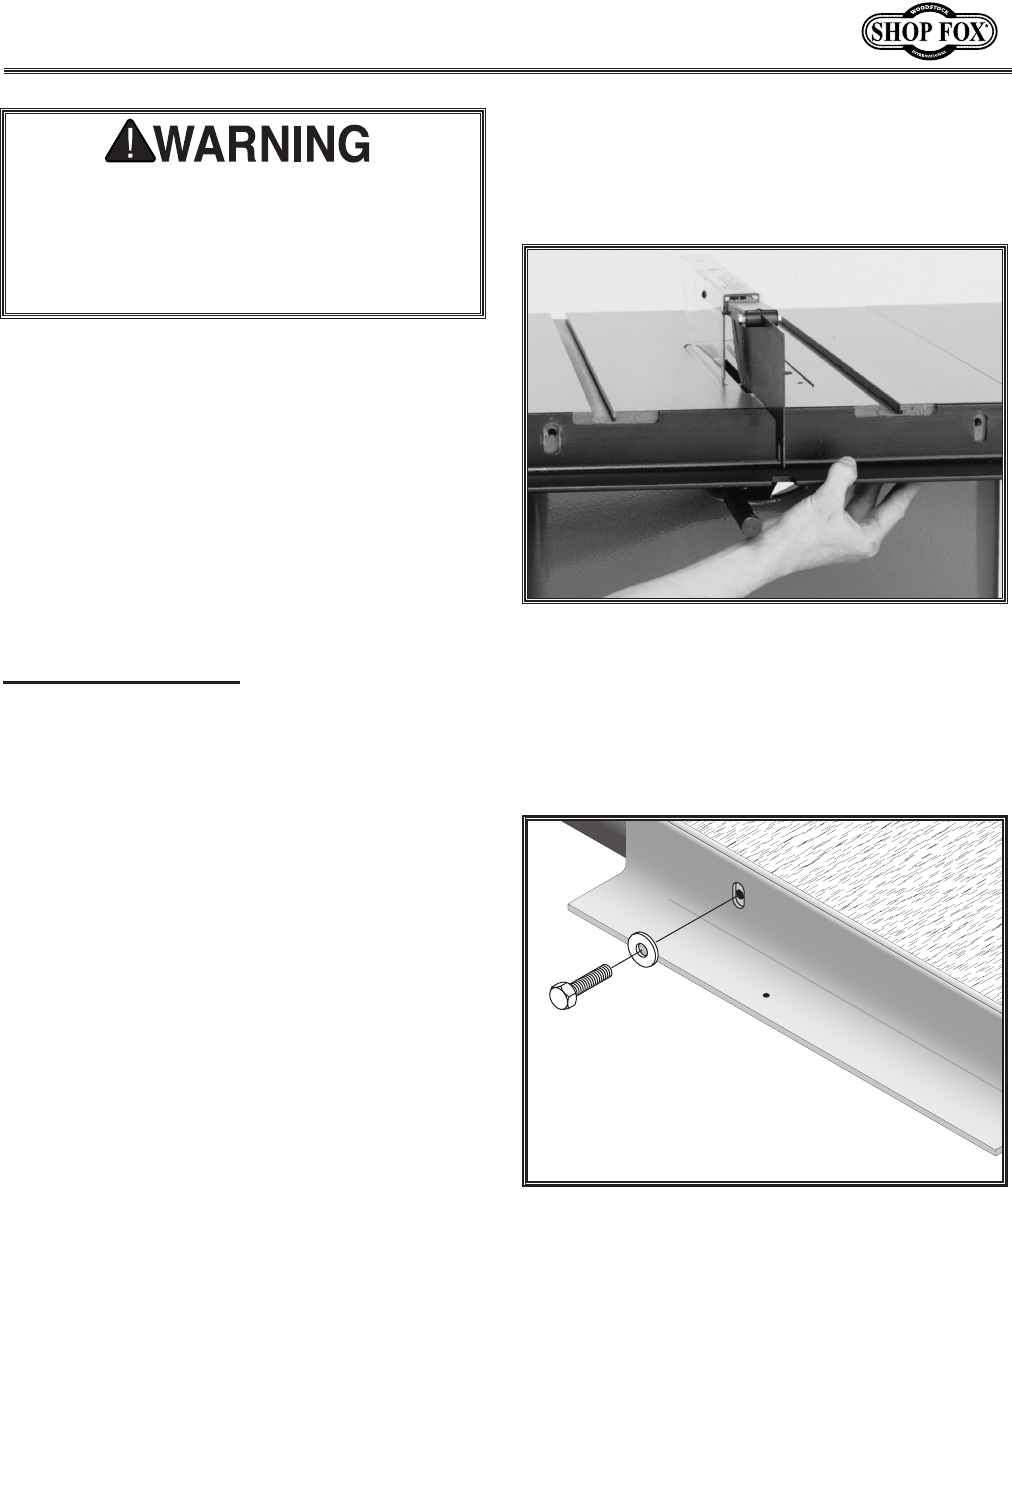
3. Position the back rail so its top edge
is flush with the table top and the
rectangular cut-outs are in line with the
miter slots. See Figure 1.
UNPLUG the saw power cord, and TURN
OFF the power switch before you begin
fence installation procedures. Accidental
saw startup while installing or adjusting the
fence will result in serious personal injury.
Rail Installation
On most saws, the mounting holes for the rails
will match the existing rail mounting holes.
On the saws where the mounting holes do
not line up, s
ee Correcting Mounting Hole
Misalignment on Page 14 for instructions on
drilling new holes.
Metric and standard hex bolts have been
included to fit most common rail installations.
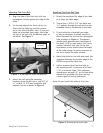
Mounting the Back Rail
1. Remove the mounting hardware for the
blade guard which extends over the back
edge of the table. (Be sure to reinstall the
guard after completion.)
2. Locate the back fence rail (the rail with
the two rectangular cut-outs on one edge
and one cutout on the other edge) and set
it against the rear edge of the table saw.
Figure 1. Attaching the back rail.
4. Attach the rail using the mounting
hardware from the old rail or two 3⁄8"-16
x 1"
or M10-1.5 X 25 hex head bolts and
washers. Secure as shown in Figure 2
.