


-4-
H8370 Power Feed for Mill/Drills
Electrocution or fire could
result if machine is not
grounded and installed in
compliance with electrical
codes. Compliance MUST
be verified by a qualified
electrician!
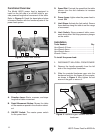
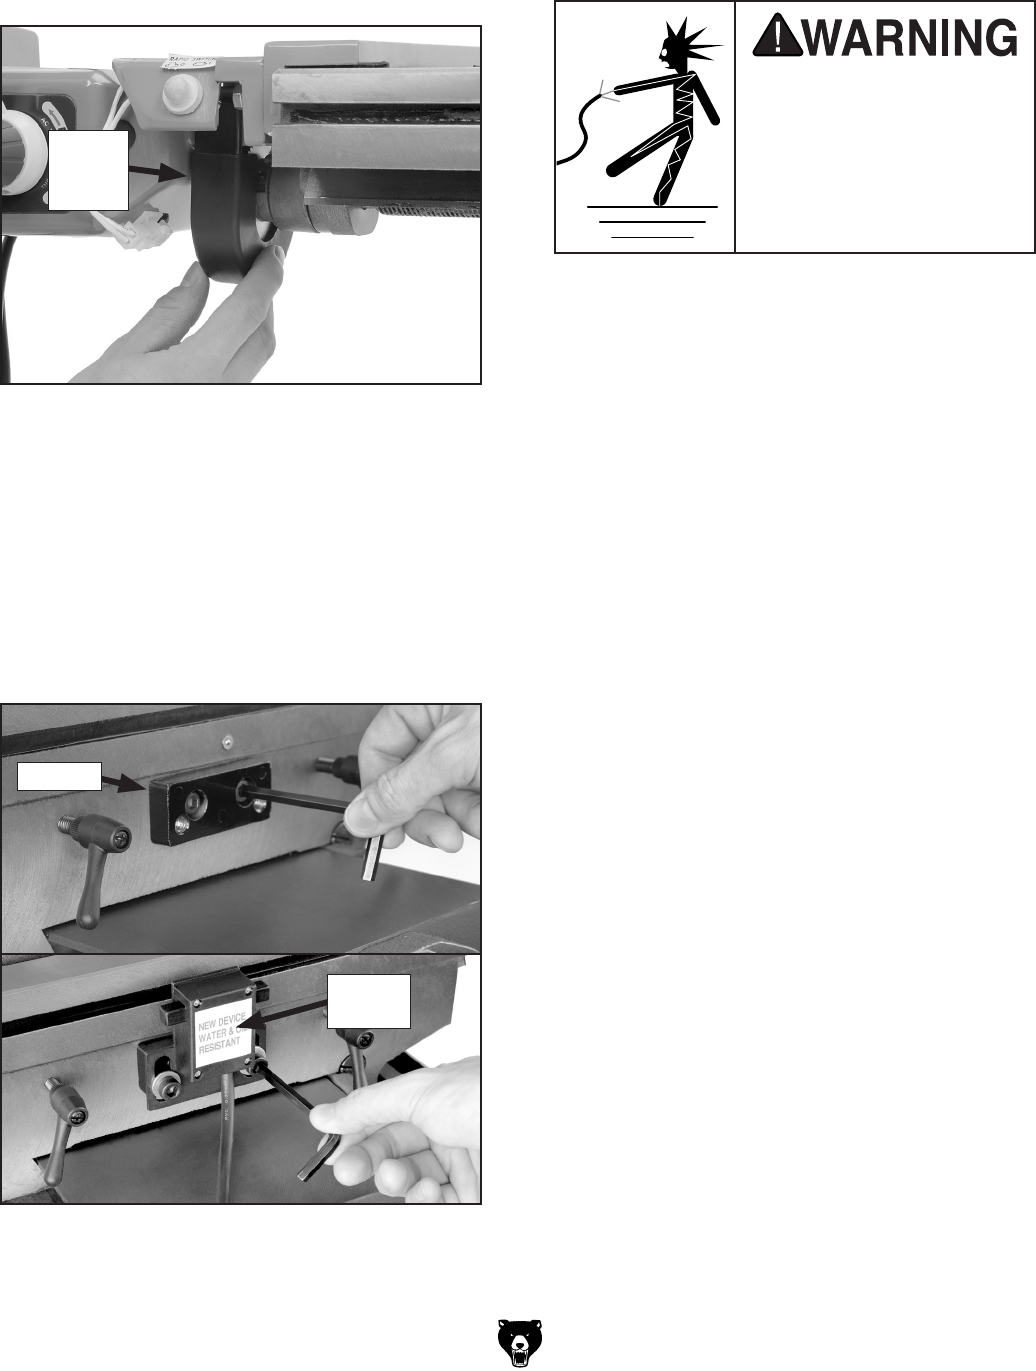
11. Remove the backing from the adhesive tape
on the gear safety cover flanges, then mount
the cover on the assembly, as shown in
Figure 9.
Figure 9. Installing the gear safety cover.
Gear
Safety
Cover
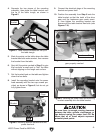
12. Slide the T-nuts of the limit stops into the
front slot of the table, and position them near
the ends of the slots, then tighten the cap
screws to secure them in place.
13. Install the bracket and limit switch in the cen-
ter of the saddle, as shown in
Figure 10, so
that the plungers on the sides of the switch
align with the limit stops.
Figure 10. Installing the bracket and limit switch.
Limit
Switch
Bracket
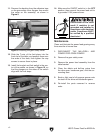
14. Make sure the ON/OFF switch is in the OFF
position, then connect the power feed unit to
a grounded 110V power source.
Maintenance
Clean and lubricate the power feed gearing every
three months of normal use.
1. DISCONNECT THE MILL/DRILL AND
POWER FEED FROM POWER!
2. Remove the gear safety cover.
3. Remove the power feed assembly from the
table bracket.
4. Clean the debris and built-up grime from
the drive gear, leadscrew gear, and the sur
-
rounding area.
5. Brush a light coat of all-purpose grease onto
the teeth of the drive and leadscrew gears.
6. Re-install the parts removed in reverse
order.