SKU 43753 For technical questions, please call 1-800-444-3353. Page 5
The Safety Block (#19) will keep the claws from springing open and causing
injury.
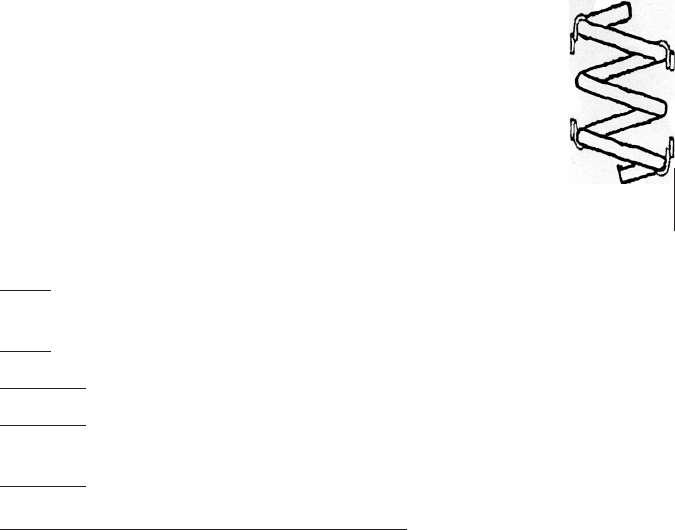
Position the top hooks over the strut springs and tighten the 6. Adjustment Screw
(#6) so that the lower hooks will t over the spring. See Figure 2.
Make sure the same number of coils are between the hooks on each of the spring. 7.
Make sure the hooks are securely fastened and sit in line with the center axis of
the spring (see Figure1).
8. Turn the Adjustment Screw (#6) by using a wrench on the Hex Nut (see assem-
bly diagram on page 8) clockwise to compress the strut spring. Also hold the
Screw Adjustment Nuts (#15) with another wrench while
adjusting.
Remove the strut rod nut, mounting plate, and spring seat.9.
Carefully remove the spring with the strut spring compressor still 10.
attached.
Repair or replace the strut (See service manual).11.
Set the spring over the repaired or new strut and re-install the rod 12.
nut, mounting plate, and spring seat.
Loosen the strut spring compressor and remove it.13.
Remove the strut from the strut vise.14.
Note: Remember, if the spring doesn’t compress evenly, loosen and reposi-
tion.
Note: Only compress the spring enough to remove the drive nut.
Warning! Do not allow contact between spring coils.
Warning! Make sure the arms of the Strut Spring Compressor do not contact
each other.
Warning! Do not overtighten.
Replacing a MacPherson Cartridge on a Vehicle
Open the Spring Compressor approximately 8 inches. 1. Position it with the Hex
Nut facing down. As discussed on page 5, before clamping the spring, slip the
Safety Block (#19) over the Hook (#5) and Hook (#7) as a safety precaution
should the strut break loose. The Safety Block (#19) will keep the claws from
springing open and causing injury.
First, position the top hooks over the strut spring. 2.
Use the 3. Adjustment Screw (#6) to tighten the unit so the lower hooks t over the
spring.
Figure 2
Low Hook


