


SKU 47274 For technical questions, please call 1-800-444-3353. Page 6
Operation (continued)
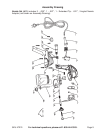
6. Attach the appropriate Nozzle Tip (11). The Spray Gun comes with:
(2) @ .032” - For latex stain and oil based paints, heavy bodies
(1) @ .021” - For light bodies, stains, sealers, and water-proofers
(1) @ .021” - (Extended Tip) For lighter bodies, stains, sealers, and water-proofers
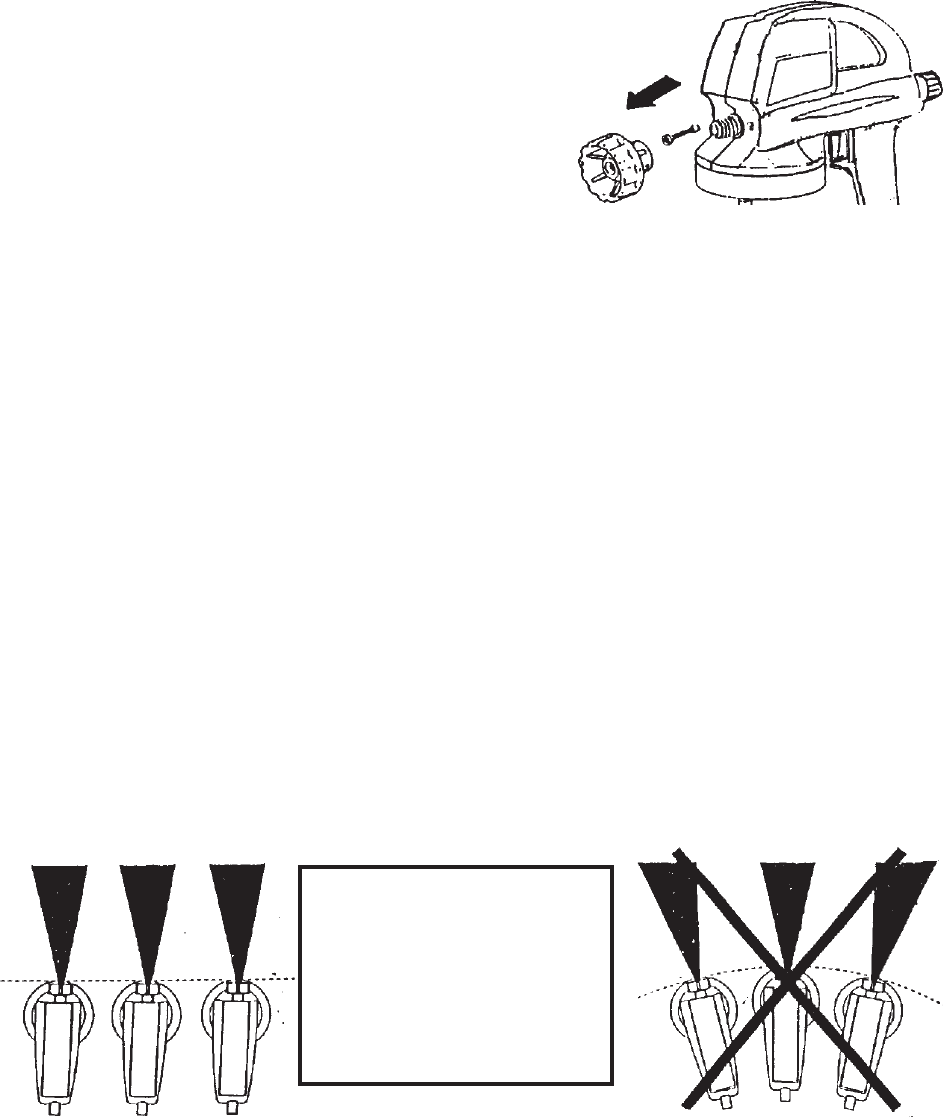
7. To attach a new Nozzle Tip (11), remove the Locknut (12) and pull
out the existing Nozzle Tip (11). Replace with the appropriate tip
and reinsert the Locknut (12).
Note: When inserting a Nozzle Tip (11), if you turn it in a
clockwise position, the spray pattern will be wide
with fine atomization. If you turn it in a
counterclockwise direction, the pattern will narrow
and result in less atomization.
Note: With thin sealers or stains, fogging or dripping may
occur when the tip is adjusted clockwise. To prevent fogging or dripping, slightly rotate
the nozzle counterclockwise. Small adjustments make a huge difference in spray patterns.
Note: Adjusting the nozzle combined with the Regulator (25) knob, will give you the proper
pattern for all of your applications.
8. Unscrew the Container (17) counterclockwise to remove.
9. Pour the appropriate material (33 ounce maximum) in.
10. Make sure the Suction Tube (16) with the Filter (28) on the end of the tube, is firmly
inserted all the way into the Lid / Pump Housing (18) before installing the Container
(17).
11. Screw the Container (17) on clockwise.
12. Rotating the Regulator (25) knob clockwise reduces the output. Rotating the Regulator
(25) knob counterclockwise increases the output. Rotate the knob to its maximum setting
(counterclockwise) to start spraying. Test on a piece of scrap, or newspaper taped to the
wall. Adjust the Regulator (25) knob as needed. If you do not achieve desired results,
you may have to return to step 7 and the notes above to readjust the Nozzle Tip (11).
Warning!! Makes sure the Spray Gun is unplugged from the power source and your finger is
off of the Trigger (#19) when adjusting or changing Nozzle Tips (#11).
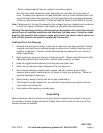
Proper Spraying Technique
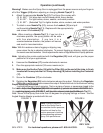
For best results, keep the sprayer parallel to the painting surface as shown in FIGURE 3.
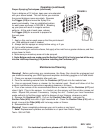
Un-parallel spraying, as in FIGURE 4, will result in uneven paint application.
FIGURE 3
FIGURE 4
Note: Never tilt the Spray Gun more than 45 degrees for spraying ceilings or floors. Use the
Angled Nozzle Adapter provided with this set.
REV 10/02
Note: It takes a period of
time for the Spray Gun to
accumulate suction pressure;
allow the unit time for the
suction pressure to build up
before expecting optimum
Spray Gun performance.
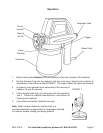
FIGURE 2