SKU 47274 For technical questions, please call 1-800-444-3353. Page 7
Operation (continued)
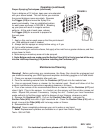
FIGURE 5
Proper Spraying Techniques (continued).
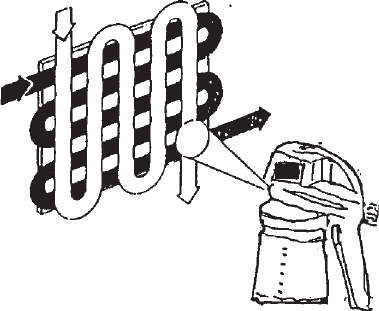
From a distance of 12 inches, keep your arm extended
with your elbow locked. This will insure you maintain
the correct distance more accurately. Squeeze
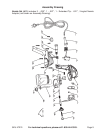
the Trigger (#19) and move the Spray Gun
evenly and steadily. Use an established pattern
for each pass as shown in FIGURE 5. Breaking
up your pass will result in irregular surface
patterns. At the end of each pass, release
the Trigger (#19) for a second to prepare for
the next pass.
Tips
1. Apply a thin coat on each pass so that the paint doesn’t
run. Add additional coats if needed.
2. Always test the sprayer on scrap before using, or if you
let it sit a while between coats.
3. When working on vertical surfaces, first apply a fine mist from a greater distance, and then
move closer to finish.
4. Make sure you mask any area not to be sprayed.
5. Note: Before each use, make sure the Suction Tube (#16) is firmly inserted all the way
into the Lid/Pump Housing (#18) before installing the Container (#17).
Maintenance/Cleaning
Warning!! Before performing any maintenance, the Spray Gun should be unplugged and
you should be wearing your ANSI approved respirator and safety goggles or full face shield.
1. Clean your sprayer immediately after each use.
2. Pour the remaining material from the Container (#17) back into the material can.
3. Use an approved thinner or cleaner for the material used. Read and follow all of the
material manufacturer’s instructions regarding cleaners or thinners.
4. Pour a few ounces of the recommended thinner or cleaner into the Container (#17) and
close it tight. Plug in the sprayer. In a bucket, run the sprayer until the solution comes out
clean. Repeat the process if necessary. Unplug the unit. Contact your local hazardous
waste authority to find the proper outlet to dispose of your thinners, cleaners or paint.
5. Remove the Container (#17). Pull out the Suction Tube (#16). Lubricate the
Suction Tube (#16) hole with a light household oil. Clean the Suction Tube (#16) with a
brush, rinse out the Filter (#28) with hot soapy water or thinner.
6. Reassemble the unit.
Warning!! Never completely submerge your unit in water or any liquid.
7. Note: Replacement cylinders are available in a 4 pack from Harbor Freight
Tools - SKU #47366.
REV 10/02


